
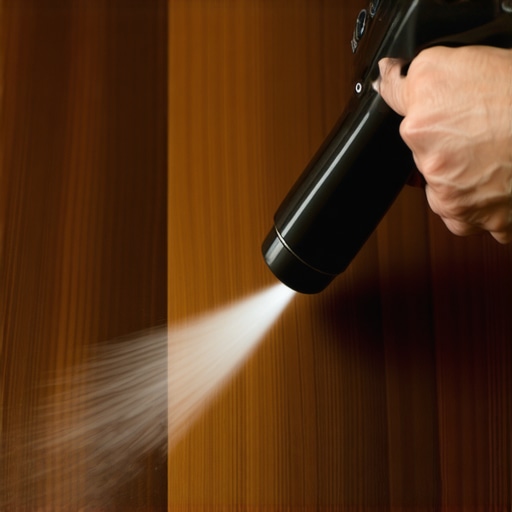
I vividly remember the sinking feeling in my stomach when I moved a coaster-less coffee mug and revealed that dreaded milky-white halo on my heirloom cherry wood side table. I’d spent years mastering effective house cleaning secrets from cleaning experts, but in that moment, I felt like a total amateur. My first instinct was to grab a damp rag and scrub, which is exactly what you should *never* do. I once ruined a finish by being too aggressive with a scouring pad, and I don’t want you to make that same mistake. Today, I’m going to show you how a common bathroom tool can save your furniture and your sanity.
Stop Panic-Scrubbing Your Beautiful Wood Tables
If you are currently staring at a white ring on your coffee table, take a deep breath. That white haze isn’t usually a permanent stain; it’s actually just moisture trapped between the wood and the finish. It’s a common panic point, much like discovering how to fix water damaged hardwood floors before the wood starts to warp, but the solution for furniture is much faster. I’ve used this hairdryer trick on everything from thrift store finds to my own dining table, and it works like magic because it gently draws that trapped moisture out.
Will a Hairdryer Actually Melt the Finish?
I know what you’re thinking—isn’t heat the enemy of wood? It’s a valid concern. However, as noted by the experts at Architectural Digest, white water rings are ‘blooms’ of moisture in the upper layers of the finish, and controlled heat is often the most effective way to evaporate that water without stripping the wood. Have you ever tried a ‘quick fix’ on your furniture only to realize you made the mark ten times worse? Let me know in the comments, because I’ve definitely been there. Before we get into the step-by-step, you need to understand why this works and why patience is your best friend here. It’s way cheaper than a hardwood refinishing project, I promise.
Wipe Away Surface Debris First
Before you even plug in your hairdryer, you must ensure the surface is pristine. If there is even a tiny bit of grit or dust on the wood, the heat can soften the finish just enough to embed that dirt permanently, creating a gritty texture you’ll never be able to buff out. I learned this the hard way with a gorgeous 1960s teak side table I found at a flea market. I was so excited to fix the coffee ring that I didn’t notice the layer of fine grit on top. After five minutes of heating, the ring was gone, but the surface felt like sandpaper. To avoid this, use a soft microfiber cloth. If the table is slightly sticky, you can use the dish soap trick for removing greasy buildup on kitchen cabinets to prep the area, ensuring the wood is totally dry before proceeding. Much like how why professional cleaners always start at the top of the room to avoid re-contaminating surfaces, prepping your wood finish ensures you aren’t sealing in today’s mess while trying to fix yesterday’s mistake.
Heat is the Key but Distance is Your Shield
Once the table is clean, set your hairdryer to a medium heat setting. You might be tempted to blast it on high to get the job done faster, but that’s a recipe for scorched lacquer. Think of this process like sunbathing; you want a gentle warmth to draw out the moisture, not a localized heatwave that blisters the ‘skin’ of your furniture. Hold the dryer about two to three inches away from the ring. If you get too close, you risk melting the finish, which is a much bigger headache than a simple water mark.
Sweeping Motions Prevent Heat Damage
While you apply the heat, keep the hairdryer moving constantly in a circular or sweeping motion. Never let the hot air sit on one spot for more than a second or two. This is very similar to the caution required in upholstery cleaning tips for a fresh home revival, where over-saturating or over-heating a specific fiber can lead to permanent distortion. As you move the dryer, you will slowly see the milky white haze start to fade. It’s an incredibly satisfying moment—like watching fog lift off a windshield in the morning. Just remember that patience is a virtue here; it might take five to ten minutes of steady, gentle heat to fully evaporate the trapped moisture. 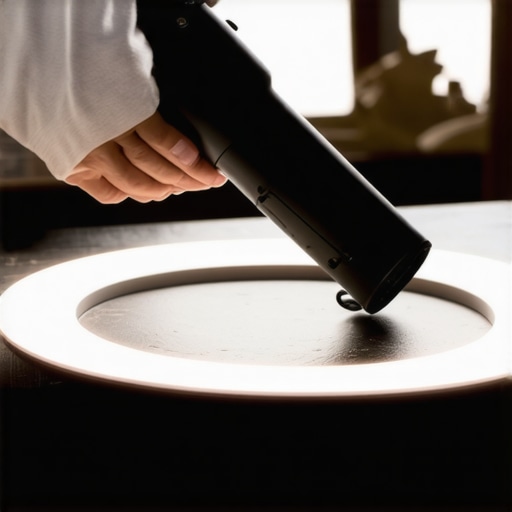
Restore the Shine with a Touch of Oil
After the ring has vanished, the wood might look a little ‘thirsty’ or dull in that specific spot. The heat that pulled out the water also dried out the natural oils in the finish. Just as there is the one thing you should never do when cleaning a velvet couch (which is over-scrubbing), you should never leave your wood finish parched after a heat treatment. While the wood is still slightly warm, apply a tiny amount of furniture polish or even a bit of lemon oil to the area. This helps the wood fibers relax and reseals the finish. If you aren’t sure if your furniture is a candidate for this type of DIY fix, you can check the simple trick for identifying if your old hardwood floors can be restored, as many of those same finish-testing principles apply to high-end furniture pieces as well.
Why Spraying Directly on Wood is a Costly Mistake
Many of us have the habit of misting a cleaner directly onto a table or countertop, but this is one of the most common pitfalls in home maintenance. When you spray a liquid directly onto a finished surface, you risk it seeping into microscopic cracks or under the veneer, which can cause the wood to swell or the finish to peel over time. It is much safer to spray your microfiber cloth first. I’ve seen countless people struggle with why your stainless steel appliances look smudged after wiping, and the culprit is almost always too much product sprayed directly on the metal. If you want a streak-free finish, less is always more. Why you should never spray cleaning products directly on surfaces boils down to protecting the integrity of the material, whether it is cherry wood or brushed steel.
Is Your Favorite Disinfectant Actually Doing Anything?
There is a massive difference between cleaning and sanitizing, and most people skip the first step entirely. You cannot effectively sanitize a surface that is still covered in physical dust or oils. The Centers for Disease Control and Prevention (CDC) emphasizes that cleaning with a detergent or soap is the necessary first step to physically remove germs; if you just spray a disinfectant on a dirty surface, the germs can hide under the organic matter. This is particularly vital when you are implementing effective sanitizing methods for a germ-free home. I have seen homeowners try to ‘sanitize’ their way through a move-out, only to lose their deposit because the grime was still there, just ‘disinfected’ grime. This is why following a move-out clean checklist to simplify your transition is so important—it reminds you to clean before you kill. 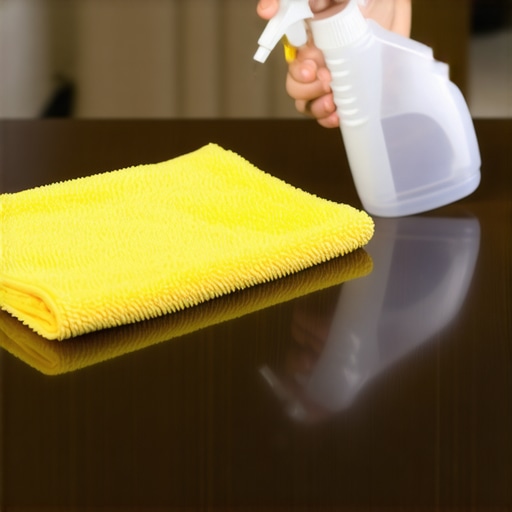
Can Too Much Steam Actually Kill Your Furniture?
This is the question I get most often from readers who want to be thorough. We are told that steam is the ultimate sanitizer, but I have seen it destroy luxury items in seconds. For instance, why you should never use a steam cleaner on these specific upholstery fabrics is a lesson in moisture sensitivity; heat and water can melt synthetic fibers or cause ‘water marks’ on delicate silks. Even when dealing with floors, why your steam mop might be damaging your laminate floors is often due to the steam forcing its way into the seams of the planks. Have you ever accidentally ruined a piece of furniture by trying to get it ‘extra’ clean? Let me know in the comments, because we can all learn from those high-heat mishaps. When in doubt, stick to the ultimate upholstery care guide for lasting freshness rather than reaching for the heavy machinery.
Keep Your Vacuum from Turning Into a Dust Cannon
I’ve seen it a hundred times: someone spends an hour vacuuming their rugs only to realize the room smells like a dusty attic. If you aren’t maintaining your equipment, you’re just moving dirt from the floor into the air you breathe. This is exactly why your vacuum filter might be making your allergies worse. To keep your machine running at peak performance, you need to wash or replace your HEPA filters every three to six months. According to technical specifications from Dyson’s engineering team, even a slightly clogged filter can reduce suction by up to 40%, leaving heavy allergens trapped deep in your carpet fibers. I personally set a calendar alert for the first of every season to check my filters and brush rolls. It’s a small habit that ensures my daily house cleaning routine to maintain perfection actually yields results rather than just noise.
Color-Code Your Rags to Stop Spreading Bathroom Germs
If you are using the same rag for your kitchen counters and your bathroom vanity, you are playing a dangerous game with cross-contamination. I recommend buying a bulk pack of high-quality microfiber cloths in four different colors. I use blue for glass, yellow for dusting, green for the kitchen, and red for high-risk areas like the bathroom. This system is a lifesaver when you are executing move-out cleaning strategies to secure your deposit, as it prevents you from accidentally wiping down a fridge with a cloth that touched the toilet. To get that professional finish, I always employ the two-cloth method for streak-free windows in half the time—one damp to clean and one bone-dry to buff. 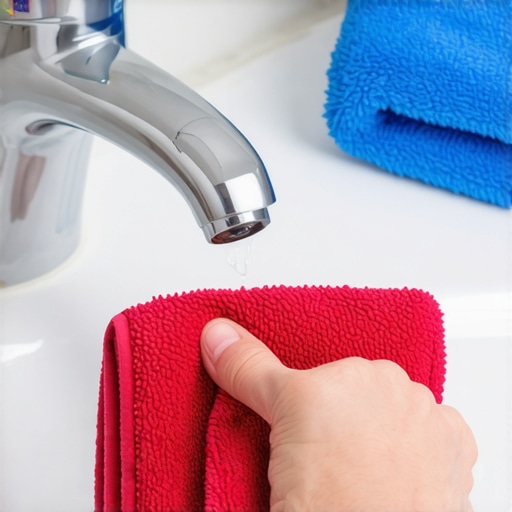
How do I keep my home truly clean without burning out?
The secret isn’t working harder; it’s working smarter by scheduling. I found that how to schedule a deep clean that actually lasts more than a week comes down to high-touch maintenance. Every Sunday evening, I spend exactly ten minutes wiping down the ‘invisible’ dirt—specifically the hidden grime on your light switches and how to kill it. Looking forward, I predict we will see a massive shift toward integrated UV-C sanitization built directly into our home HVAC systems and smart appliances. Until then, these manual habits are your best defense. I challenge you to go check your vacuum filter right now—if it’s grey or fuzzy, wash it today. You’ll be shocked at how much better your home feels when your tools are actually working for you. Staying ahead of the grime with sanitizing secrets for a safer house in 2025 means investing in quality tools today so you don’t have to scrub twice as hard tomorrow.
What My Worst Furniture Blunders Taught Me About Patience
Spending years in the industry reveals that the best results come from restraint rather than force. My biggest lightbulb moment was realizing that most cleaning damage happens because we rush the process. I’ve seen gorgeous cherry finishes ruined because a homeowner couldn’t wait five minutes for the hairdryer trick to work. Another hard truth: you can’t skip the small stuff when looking for the secret to getting your full security deposit back every time; it is always the filters and the baseboards that tell the real story. Lastly, remember that your environment directly impacts your health—mastering sanitizing hacks for safe house transitions isn’t just about looks, it’s about safety for your family.
The Micro-Toolkit That Keeps My Surfaces Flawless
You don’t need a massive collection of chemicals to maintain a luxury feel. I personally swear by just three specific items: a high-quality HEPA vacuum that is serviced seasonally, a set of color-coded microfiber cloths to stop cross-contamination in its tracks, and a simple pH-neutral wood oil. Implementing house cleaning strategies for a sparkling home today starts with using tools that work with the material, not against it. I always recommend the two-cloth method for any reflective surface—it’s the fastest way to eliminate streaks without using heavy sprays. #IMAGE_PLACE_HOLDER_E#
Give Your Home the Care It Deserves
You don’t have to renovate your entire house to feel a sense of renewal. Whether you are erasing a single water ring or applying effective sanitizing methods for a germ-free home, the care you show today protects your furniture and health for years to come. Don’t be afraid to slow down and treat your home like the investment it is. Have you ever accidentally ruined a piece of furniture by being too aggressive with a quick fix cleaning solution? Let me know your stories in the comments below!