
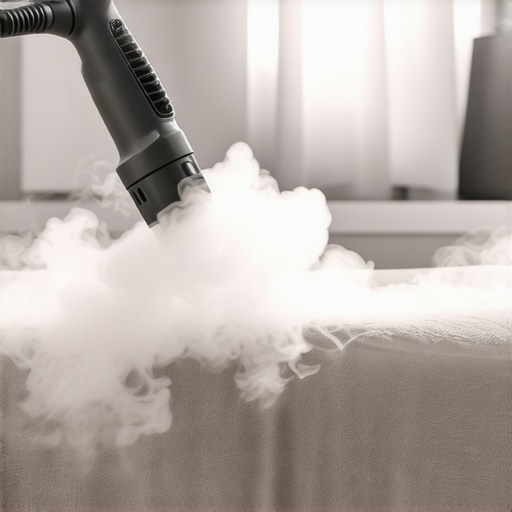
I still remember the smell of damp failure. It was a Saturday morning, and I had just hauled home a gorgeous, dusty-rose velvet armchair from an estate sale. Being a bit of a cleaning enthusiast, I reached for my heavy-duty steam cleaner, thinking I was about to perform some magic. Instead, within ten minutes, I had effectively melted the pile. That plush, luxurious texture turned into a crunchy, matted disaster that looked more like a wet dog than high-end furniture. It was a heartbreaking lesson in why hot and wet isn’t a universal solution for every fabric in your home. Today, I am going to save you from that same heartache by showing you exactly which fabrics should stay far away from your steamer and how you can still get a deep clean without the damage.
Why Your Steam Cleaner Is Sometimes the Enemy
We have all been told that steam is the ultimate sanitizer. And while steam is great for killing bacteria on hard surfaces, it can be an absolute death sentence for specific upholstery fibers. I see it all the time—people trying to secure their security deposit during a move-out clean and accidentally ruining a landlord’s sofa because they thought more heat meant more clean. The reality is that heat changes the molecular structure of some fibers.
Is steam really that dangerous for fabric?
Yes, and the stakes are higher than you might think. According to the Institute of Inspection Cleaning and Restoration Certification (IICRC), using excessive heat or moisture on certain fibers can cause permanent shrinkage, dye bleeding, or a phenomenon called browning. My biggest mistake early on was ignoring those tiny S labels. I used to think they were just suggestions to get you to buy expensive cleaners. They aren’t. Learning how to treat s-coded upholstery fabric properly changed my entire approach to upholstery care.
The Fabrics That Simply Cannot Handle the Heat
If you are dealing with silk, velvet, or anything with a delicate nap, you need to put the steamer down immediately. Even if you are desperate for effective sanitizing methods, using steam on these materials is like washing a cashmere sweater in boiling water. It ruins the hand of the fabric—that soft feeling we all love. For instance, if you’ve already had a mishap with a textured piece, you might need to look into how to restore the texture of a flattened velvet sofa at home rather than trying to steam it again. Have you ever tried to freshen up a sofa only to realize you have made the texture weirdly stiff? Let me know in the comments, because I have been there too.
Ditch the Water and Grab the Vacuum First
Before you even think about applying moisture to a delicate piece, you need to understand that loose debris is the enemy. On fabrics like velvet or silk, dust acts like sandpaper; if you add steam, you are essentially grinding that grit into the fibers. This is one of those effective house cleaning secrets from cleaning experts that most DIYers skip because they want the instant gratification of a ‘wet’ clean. I start every session with a thorough dry extraction using a soft brush attachment. If you are dealing with a pet-heavy household, you need to be especially careful. I once spent three hours trying to ‘wash’ a suede chair only to realize I was just making a mud paste out of trapped dander. Instead, learn the fastest way to remove dog hair from a suede armchair using dry friction before you ever reach for a cleaner. 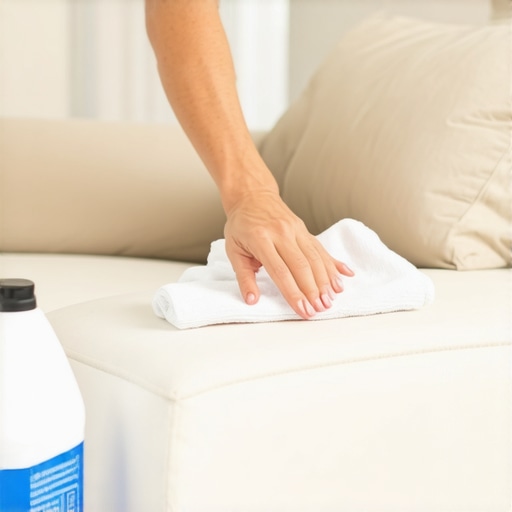
Master the Art of the Solvent Blot
When a label says ‘S,’ it means solvent-only. Using steam on these fabrics is like trying to wash a delicate silk tie in a dishwasher—it will never be the same again. To clean these safely, you need a high-quality dry-cleaning solvent and a white microfiber cloth. Never pour the liquid directly onto the furniture. Instead, dampen the cloth and use a ‘dab and twist’ motion. This lifts the stain into the cloth rather than pushing it deeper into the foam. This technique is vital when you are working through a move-out clean checklist to simplify your transition, as a single water ring on a designer chair can cost you hundreds from your security deposit. The goal is to keep the fabric as dry as possible throughout the entire process.
Why You Must Avoid the Infamous Tide Mark
I learned the hard way that ‘scrubbing’ is a dirty word in the world of delicate fabrics. Early in my career, I had a gorgeous cream linen ottoman that caught a muddy paw print. Instead of letting it dry and brushing it off, I grabbed a wet cloth and went to town. Within minutes, I didn’t just have a mud stain; I had a ‘tide mark’—a giant, permanent yellow ring where the water had settled and pulled the internal dust to the surface. It was a classic ‘S-coded’ disaster that could have been avoided. Knowing how to treat s-coded upholstery fabric without ruining it involves using minimal moisture and rapid drying. If you are dealing with older mishaps, you can still learn how to lift old pet stains from a linen ottoman without fading by being patient with the solvent chemistry rather than rushing with heat.
Always Test a Hidden Patch
Even if you are confident in your solvent, every dye lot is different. Pick a spot on the back of a cushion or the underside of the frame to test for colorfastness. Apply your cleaner, wait ten minutes, and press a white paper towel against the spot. If any color transfers to the paper, stop immediately. This small step is the difference between a successful refresh and a total loss. Keeping your furniture in top shape is about being a detective first and a cleaner second.Let’s dig deeper into the science of why your DIY attempts might be backfiring. Most people assume that if a cleaner is ‘natural’ or ‘mild,’ it’s safe for any surface. However, I’ve found that the obsession with vinegar as a universal solution is one of the most dangerous myths in the industry. While it’s a staple of many house cleaning strategies for a sparkling home today, the high acidity can permanently damage the protein structure of silk or wool blends. I once saw a client try to treat a minor spill on a designer silk chair with a vinegar-water mix, only to have the acid eat away at the fiber’s natural sheen, leaving a dull, sandpaper-like patch that no professional could fix.
Why does your fabric feel ‘crunchy’ after a deep clean?
This is the hidden nuance most homeowners miss: soap residue. When you use store-bought foam cleaners, you are often leaving behind a microscopic sticky film. This residue acts like a magnet for dust and pet dander. According to the Carpet and Rug Institute (CRI), unrinsed detergent is the primary cause of rapid re-soiling. You think you’ve cleaned it, but you’ve actually just turned your sofa into a giant piece of flypaper. This is a common pitfall during a move-out clean; you scrub the sofa to get your deposit back, but by the time the landlord does the walkthrough three days later, the fabric looks even dirtier than before. To avoid this, you must prioritize ‘rinsing’ with a slightly acidic textile rinse or simply using far less product than the bottle suggests.
Stop Using Heat to Kill Every Germ
We often equate heat with hygiene, but in 2025, we have better options. For those following sanitizing secrets for a safer house in 2025, it is important to remember that ‘clean’ doesn’t have to mean ‘boiled.’ High-heat steam can actually set protein-based stains—like blood or perspiration—permanently into the fabric. If you’re trying to figure out how to remove yellow perspiration stains from white fabric chairs, heat is your absolute enemy; it ‘cooks’ the proteins into the fibers. Instead, look into sanitizing hacks for safe house transitions that use UV-C light or specialized low-moisture antimicrobial sprays that don’t rely on damaging temperatures. 
Avoid the Hidden Danger of Disinfectant Wipes
Another major ‘oops’ factor is the use of disinfectant wipes on upholstery. Most people don’t realize these wipes are designed for non-porous surfaces. On fabric, the liquid doesn’t stay on the surface long enough to reach the ‘dwell time’ required to actually kill germs, but it stays long enough to bleach the dye. I’ve seen countless ruined armchairs because someone tried to ‘sanitize’ the armrests after a flu season. It’s a classic example of why following an ultimate upholstery care guide for lasting freshness is about more than just killing bacteria—it’s about preserving the material’s integrity. Have you ever fallen into this trap of over-sanitizing and accidentally bleaching your favorite chair? Let me know in the comments.Moving beyond the common mistakes requires a shift from ‘cleaning’ to ‘preservation.’ To achieve professional results, I rely on a specific toolkit that most homeowners overlook. For my daily house cleaning routine to maintain perfection, I never touch a sofa without a HEPA-certified vacuum. If your vacuum doesn’t have a sealed system, you are simply redistributing allergens. I personally use the IICRC S300 Standard for Professional Upholstery Cleaning as my bible; it emphasizes that up to 80% of upholstery soil is dry particulate matter. This means if you aren’t spending twenty minutes vacuuming every crevice, your wet cleaning will never be successful.
Stop Making Mud and Start Deep Cleaning
When I’m executing house cleaning strategies for a sparkling home today, I always carry a soft horsehair brush. This is my secret weapon for ‘grooming’ fabric after a clean. For those following an ultimate upholstery care guide for lasting freshness, the grooming step ensures the pile dries in the correct direction, preventing that crunchy, matted look I struggled with years ago. If you are dealing with moisture-sensitive pieces during a move-out clean, invest in a small air mover or a high-velocity fan. Pointing a fan directly at a treated spot can reduce drying time from hours to minutes, which is the best way to prevent those dreaded brown water rings. 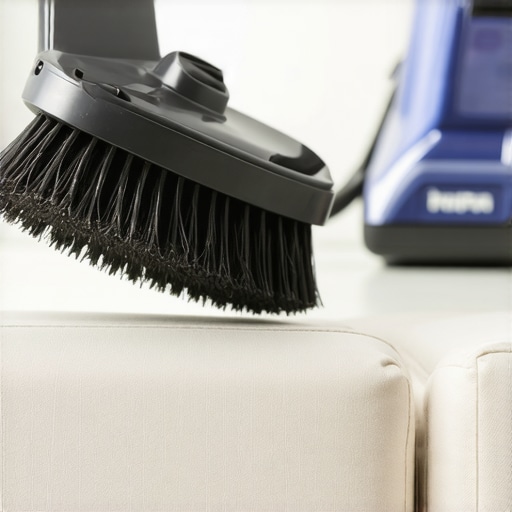
The Only Vacuum Attachment You Should Ever Use
Throw away those stiff plastic brushes that came with your vacuum. On delicate weaves, they cause pilling and fuzzing that cannot be undone. Instead, I use a motorized upholstery tool with nylon bristles or a dedicated lint-lifting velvet brush. This is essential for upholstery care, especially when you need to know the fastest way to remove dog hair from a suede armchair without scratching the surface.
How do I maintain my upholstery over time?
Consistency is the only way to avoid a total fabric failure. I recommend a ‘3-month rotation’ where you flip every cushion and vacuum the undersides. This prevents permanent compression of the foam and ensures that dirt doesn’t settle into the base of the fabric where it becomes impossible to reach. If you spot a mark, treat it immediately using effective sanitizing methods like a low-moisture antimicrobial mist rather than soaking the spot.
The Future of Smart Fabric Care
I predict that within the next few years, we will see smart vacuums equipped with optical sensors capable of identifying fabric codes (W, S, or WS) in real-time. This tech will automatically adjust suction and brush speed to prevent damage. Until then, you have to be the smart sensor. If you are ever in doubt, especially during a high-stakes move-out clean, I highly recommend using the ‘white cloth test’ with a tiny drop of distilled water before applying any chemical. Go grab a soft-bristled brush today and give your sofa a dry-brushing before your next vacuum session—you will be shocked at how much hidden dust you lift.
I Learned These Fabric Hard Truths the Expensive Way
My journey from ruining a rose velvet chair to becoming an expert taught me that the label is the law. One lightbulb moment was realizing that ‘S’ doesn’t just mean avoid water; it means water will literally change the chemistry of the dye and fiber. I also discovered that most people fail because they treat the stain but ignore the surrounding fabric, which is how those ugly yellow rings form. My biggest takeaway from years of trial and error is that effective house cleaning secrets from cleaning experts always prioritize dry extraction over wet scrubbing. If you aren’t spending the majority of your time vacuuming with a HEPA-sealed system, you are just moving mud around. I also stopped trusting ‘universal’ cleaners entirely; if a product says it works on everything from hubcaps to silk, it belongs in the trash, not on your sofa. Following a daily house cleaning routine to maintain perfection starts with respecting the specific needs of your furniture’s unique DNA.
My Personal Must-Haves for a Damage-Free Clean
You don’t need a massive machine to keep your home pristine, but you do need the right manual tools. I never go into a job without a genuine horsehair brush; it is soft enough to groom delicate velvet without snapping the fibers. For high-stakes situations like a move-out clean, I rely on professional-grade dry cleaning solvents rather than grocery store foams. I also highly recommend the IICRC S300 manual as a reference for anyone serious about upholstery care. These resources are why I can confidently tackle a spill on a designer piece without breaking a sweat. If you are prepping for a transition, using a move-out clean checklist to simplify your transition ensures you have the right solvents on hand before the pressure of moving day hits.
Start Your Path Toward a Truly Fresh Living Space
It is easy to feel overwhelmed by the technical side of fabric care, but remember that every expert started with a ruined piece of furniture and a lesson learned. By moving away from aggressive heat and embracing the patient, dry-focused methods we have discussed, you are doing more than just cleaning; you are preserving your home’s history. Use these upholstery cleaning tips for a fresh home revival to breathe new life into your space without the risk of a ‘steam-cleaning disaster.’ Your furniture is an investment in your comfort, and treating it with the right chemistry ensures it stays beautiful for years to come. Have you ever accidentally used the wrong cleaner and watched a stain get worse right before your eyes? Let me know your biggest fabric ‘oops’ moment in the comments below!