
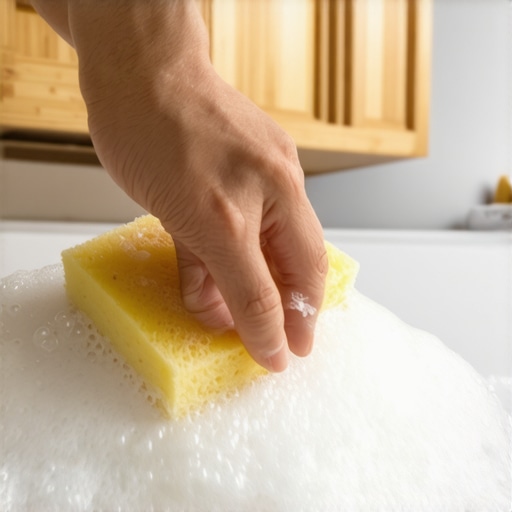
I was standing on a wobbly stepstool last Sunday, reaching for a serving platter I hadn’t touched in a year, when my fingers hit it. You know the feeling. It’s that thick, tacky, yellowed sludge that feels like a mix of industrial glue and old frying oil. It was disgusting. My first instinct was to grab a heavy-duty degreaser, but I’ve learned the hard way that those harsh chemicals can eat through wood finish faster than you can say ‘oops.’ I spent years trying expensive ‘cabinet-specific’ sprays that promised a miracle but left me with a sticky, streaky mess. Then, I remembered a tip from my grandmother—the simplest, cheapest thing in my pantry.
Your Kitchen Cabinets Deserve Better Than Harsh Chemicals
[IMAGE_PLACEHOLDER] We often think we need specialized, professional-grade chemicals to handle a professional deep clean, but the reality is much simpler. That ‘kitchen film’ is mostly airborne cooking oils that have settled and hardened over time. It’s a nightmare for renters too; if you’re trying to follow a move-out clean checklist, those greasy cabinet tops can be the difference between getting your deposit back and losing a chunk of it to cleaning fees. I’ve seen people lose their minds trying to remove the sticky film with nothing but vinegar, only to realize vinegar doesn’t actually cut through grease—it just moves it around.
Wait, can a $3 bottle of soap actually work?
I get the skepticism. We use dish soap for plates, not for ‘restoring’ furniture. However, the science is actually on our side here. According to the American Cleaning Institute, dish soaps are specifically engineered surfactants that lower the surface tension of water, allowing it to trap and lift oil molecules. I used to make the mistake of using boiling hot water and a scouring pad, which was a total disaster. I actually stripped the luster right off my mother-in-law’s cabinets once—talk about an awkward Thanksgiving. The trick isn’t about brute force; it’s about the chemistry of the soap doing the heavy lifting for you. Have you ever discovered a hidden layer of grease in a spot you thought you wiped down every week? It’s frustrating, right? But before you go out and buy a whole new set of cabinets or a gallon of bleach, let’s look at why this simple kitchen staple is actually your best friend for a house cleaning strategy that actually works. Whether you’re doing a routine scrub or trying to get grease off cabinets without removing the finish, the ‘dish soap trick’ is the gold standard.
Forget the Fancy Sprays and Grab Two Microfiber Cloths
To get started, you do not need an aisle’s worth of products. You need a bowl of warm water, a high-quality grease-cutting dish soap, and two microfiber cloths. Microfiber is essential here because the tiny fibers act like little hooks that grab the grease, whereas a standard cotton rag often just slides over the top of the sludge. Before you touch the wood, you need to prep your kitchen for a professional deep clean by clearing off the counters. I once tried to shortcut this and ended up knocking a bottle of olive oil onto my rug while reaching for the top of the cabinets. It turned a twenty-minute task into a two-hour ordeal involving an upholstery cleaning tips search at midnight.
Master the Damp-Not-Dripping Technique
The biggest mistake people make is using too much water. Wood is porous, and even finished wood can swell if water seeps into the joints. Think of your cloth like a humid breeze, not a rainstorm. Dip the cloth, wring it out until it is just barely damp, and then apply your soap directly to the cloth, not the cabinet. This gives you concentrated cleaning power exactly where the ‘tacky’ spots are. If you are a renter, this level of care is vital for your move-out clean checklist to simplify your transition because it prevents the damage that landlords look for when withholding deposits.
The Magic Ratio That Actually Dissolves Gunk
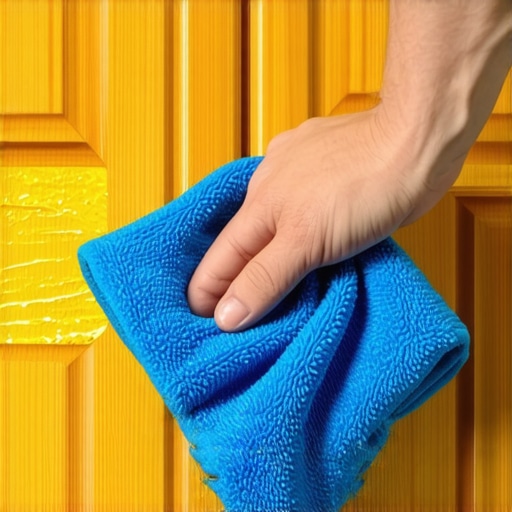 Use about a tablespoon of soap for every two cups of warm water. When you hit a particularly stubborn spot—like that thick layer on top of the fridge or the cabinets directly above the stove—let the damp, soapy cloth sit on the spot for sixty seconds. This is the ‘dwelling time.’ It allows the surfactants to break the chemical bonds of the old cooking oil. It’s the same logic we use for house cleaning strategies in the bathroom; let the product do the work so your arms don’t have to. I remember cleaning a client’s kitchen where the grease was so thick you could see fingerprints in it. By letting the soap dwell for just a minute, the gunk wiped away like melted butter.
Don’t Let the Soap Sit Too Long
While dwelling is good, leaving soap to dry is bad. Soap residue is actually sticky itself, and if you don’t rinse it off, it acts as a magnet for new dust and airborne flour. This is the only way to clean sticky grease off kitchen cabinets without peeling paint or creating a new layer of grime. Use your second cloth, dampened only with plain water, to ‘rinse’ the surface immediately after the grease is gone. Follow up with a dry towel to buff the wood back to its original luster. Incorporating this into a daily house cleaning routine to maintain perfection prevents that sludge from ever building up again. Remember that while soap handles the grease, there are still 3 germ hotspots in your kitchen that soap alone won’t fix, so keep your sanitizing spray handy for the handles and touchpoints.People often assume that a strong disinfectant is a one-step solution for a dirty kitchen, but here is the truth that professional cleaners won’t always tell you: you are probably wasting your product. If you spray a high-end sanitizer onto a layer of grease, the chemicals never actually reach the surface. This is one of the most common sanitizing secrets for a safer house in 2025—you must remove the organic matter, specifically that sticky cooking oil, before any disinfectant can do its job. The Centers for Disease Control and Prevention (CDC) explicitly states that cleaning is the physical removal of germs and dirt, while disinfecting kills them. If you skip the ‘soap and water’ step, those germs are essentially wearing a suit of greasy armor that shields them from your spray.
Stop Spraying Disinfectant on Greasy Surfaces
I’ve walked into kitchens where the owner spent sixty dollars on ‘medical grade’ sprays, yet the cabinets still felt like flypaper. This is a massive trap during a move-out cleaning hack to ensure your deposit refund. Landlords don’t just care if the surface is technically sterile; they care if it feels clean. If their fingers stick to the cabinet door during the walkthrough, they will assume it’s dirty, no matter how much bleach you used. Another ‘oops’ moment I see constantly is the urge to speed up the drying process with heat. Whether you are dealing with wood cabinets or a fabric armchair, never reach for a blow dryer. I’ve seen people permanently set a stain or even melt synthetic fibers because they thought heat would ‘activate’ the cleaner. In fact, why you should never use hairdryers on wet fabric spills is a foundational rule in professional restoration. 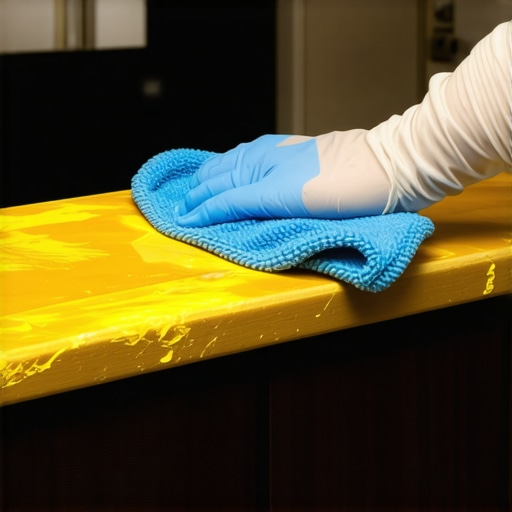
Wait, does my disinfectant actually need ten minutes to work?
This is the nuance that separates the pros from the amateurs. Most people spray and wipe instantly, which is essentially ‘performative cleaning.’ If you look at the fine print on any reputable disinfectant bottle, the ‘contact time’ or ‘dwell time’ is usually between four and ten minutes. If you wipe it off in ten seconds, you’ve basically just given the bacteria a lukewarm bath without killing anything. This is vital when you are trying to follow effective sanitizing methods for a germ-free home. You need to let the product sit until it’s nearly dry on its own to ensure the chemical reaction completes. It’s the same logic for the ultimate upholstery care guide for lasting freshness; chemistry takes time, and you can’t rush it with brute force. When you are tackling those sticky cabinets, remember the golden rule: clean the grease first to remove the physical barrier, then sanitize to kill the remaining microscopic threats. Have you ever fallen into this trap and wondered why your surfaces still felt ‘off’ after a deep clean? Let me know in the comments.
Invest in Better Tools if You Want Faster Results
I’ve spent years testing every gadget on the market, and I can tell you that a dollar-store rag will never give you the same results as a professional-grade tool. When I’m tackling a house cleaning strategy for a sparkling home today, I strictly use microfiber cloths with a GSM (grams per square meter) of at least 300. Most people don’t realize that the density of the weave dictates how much grease the cloth can actually trap before it starts just smearing the mess around. I personally prefer the dual-texture cloths—one side for scrubbing and the other for buffing. It’s a game changer when you’re trying to remove the sticky film on top of the kitchen fridge, which is often the most neglected spot in the house.  For the really tough corners where a cloth can’t reach, I keep a soft-bristled detail brush in my pocket. You’d be surprised how much gunk hides in the bevels of cabinet doors. This attention to detail is exactly what separates a standard tidy-up from the level of precision found in effective house cleaning secrets from cleaning experts. I’ve found that using the right tools reduces my physical effort by half, preventing that ‘cleaning burnout’ we all feel after a Sunday deep clean.
What is the best way to keep that sticky film from coming back?
The secret isn’t just in the cleaning; it’s in the prevention. Maintaining this level of detail is a core part of any daily house cleaning routine to maintain perfection. I recommend doing a quick ‘maintenance wipe’ once a week on the cabinets above your stove. You don’t need to do the full deep-clean process—just a quick pass with a damp microfiber will catch the oils before they have a chance to polymerize into that nasty sludge. If you’re a renter, keeping up with this makes your life infinitely easier when you eventually need to consult the move-out checklist for people who want their full deposit back. According to the IICRC S100 standard, which professional restorers use for textile and surface cleaning, the removal of dry soil and organic oils is the most critical step in preventing long-term surface degradation. If you let it sit, the acidity in the oils can actually bond with the finish of your wood.
The Future of Kitchen Hygiene Might Be Hands-Free
Looking ahead to 2025 and beyond, I predict we are going to see a massive shift toward oleophobic (oil-repellent) coatings even for residential wood finishes. We’re already seeing these sanitizing secrets for a safer house in 2025 manifesting in high-end appliance finishes that resist fingerprints. Soon, your cabinets might come with a factory-applied nano-coating that makes grease slide off with just plain water. Until that becomes the standard, however, we have to rely on smart chemistry and consistency. If you want to take your kitchen maintenance to the next level right now, here is my favorite advanced tip: after you’ve cleaned the tops of your high cabinets, lay down a single layer of parchment paper. It’s invisible from the ground, but it catches all the airborne grease. Every six months, you just roll up the paper, throw it away, and replace it. It’s a literal five-minute fix that saves hours of scrubbing. Give that trick a try this weekend and tell me it doesn’t change your life.
Secrets I Learned While Scraping Decade-Old Grease
One thing I realized after years of cleaning is that we often focus on the wrong spots. For instance, did you know that professional cleaners always start at the top of the room? If you don’t, you are just raining dust and grease back down on surfaces you have already scrubbed. Another lightbulb moment was realizing that ‘sticky’ does not always mean ‘dirty’—it can mean the cleaning product has bonded with the oil. This is why effective sanitizing methods for a germ-free home fail if the physical barrier of grease is still there. Finally, never underestimate the power of the hidden zone. I have seen so many people lose money because the space behind the oven costs most renters their deposit due to years of accumulated grease splatter that they forgot to wipe down.
My Go-To Toolkit for a Grime-Free Home
To really succeed, you need a few reliable items in your arsenal that go beyond standard sponges. First, invest in high-GSM microfiber cloths; they trap oil rather than spreading it. Second, do not ignore the tiny crevices where gunk hides; I always use the toothbrush trick for removing pet dander and grease from hinge gaps and bevels. Third, learn how to schedule a deep clean that actually lasts so you are not doing this heavy lifting every single week. These simple shifts in your strategy will turn a stressful chore into a manageable science.
Your Turn to Reclaim Your Kitchen Surfaces
Cleaning does not have to be an all-day battle against harsh, expensive chemicals. By using the simple dish soap method, you can effectively get grease off kitchen cabinets without removing the finish. It is about being smarter with your chemistry, not stronger with your scrubbing arm. Once you have cleared the gunk, establishing a daily house cleaning routine to maintain perfection ensures that tackiness never returns. You have got this—your kitchen is about to feel brand new again. Have you ever found a sticky spot that just would not budge? Let me know your worst kitchen cleaning story in the comments below!