
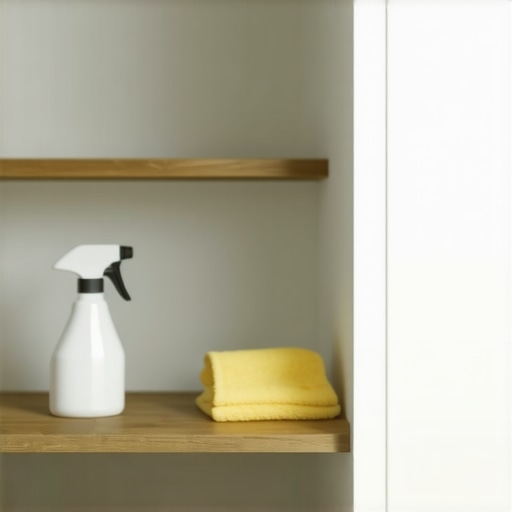
I remember the first time I moved into a place that “looked” spotless. I was so excited to unpack my gourmet oils and organic grains. Two weeks later, I pulled out a jar of peanut butter and it was covered in a sticky, grey film that smelled like old cooking oil. It turns out, I’d ignored the invisible layer of grease that previous tenants had left behind on the back walls of the cabinet. I felt like a total amateur. It’s a mistake I see so many people make when they are rushing through a move-out clean checklist or settling into a new home. You think because it’s empty, it’s clean. But kitchens are sneaky, and pantries are the ultimate hiding spot for years of crumbs and grime. Today, I’m showing you how to reclaim that space so your food actually stays fresh.
Stop Moving Your Groceries Into Hidden Germ Traps
Moving is exhausting. I know you just want to get your boxes unpacked and finally order pizza. However, skimping on the pantry deep clean is a recipe for future headaches, including pesky pantry pests and lingering odors that can actually ruin your expensive ingredients. When you follow a dedicated move-in checklist for your new home, you’re not just cleaning for aesthetics; you’re creating a sanitary sanctuary for your food. I’ve learned the hard way that a quick wipe-down with a generic sponge isn’t enough. You have to get into the crevices, the shelf pegs, and even check the sticky film on top of the fridge if you want to avoid that stale “old house” smell permeating your boxes of cereal.
Is a Deep Clean Really Necessary if the Shelves Look Bare?
You might be looking at those empty shelves and thinking, ‘I have twenty other boxes to open, can’t this wait?’ I used to think the same thing. Then I found out that according to the National Pest Management Association, certain pests like Indian Meal Moths can survive in tiny cracks for months without a direct food source. That ‘bare’ shelf could be hosting a future infestation. By tackling the germ hotspots in your kitchen before the food goes in, you save yourself the cost of throwing away a hundred dollars worth of ruined staples next month. Trust me, spending thirty minutes now is better than dealing with larvae later. Have you ever moved into a place and realized too late that the previous owner’s ‘clean’ wasn’t actually your version of clean? It’s a frustrating realization, isn’t it? We’re going to solve that today by using the right tools—like knowing why lemon juice is better than bleach for cutting through grease—to ensure your new kitchen is truly ready for your family.
Start at the Top and Work Your Way Down
You wouldn’t wash your car’s tires and then wax the roof, would you? The same logic applies to your kitchen. When you are executing a deep clean, you have to work with gravity, not against it. This is one of those effective house cleaning secrets from cleaning experts that saves you from cleaning the same shelf twice. Start by dusting the ceiling corners for cobwebs, then move to the tops of the cabinets. I once skipped the top of the cabinets in a rental, thinking nobody would see it. A month later, a gust of wind from the window blew a year’s worth of greasy dust bunnies directly into my morning pancake batter. It was a lesson I only needed to learn once. Once the high spots are clear, you can focus on the shelves themselves without debris falling onto your finished work.
Vacuum Before You Ever Touch a Wet Cloth
Most people reach for a spray bottle the second they open a cabinet door. Stop right there. If you spray liquid onto a shelf covered in loose crumbs, flour, or spice dust, you’ve just created a paste that’s ten times harder to remove. Instead, use the hose attachment on your vacuum to suck up every loose particle. I specifically use a brush attachment to get into the holes where the shelf pegs sit—those are prime real estate for moth eggs. If you notice a dusty smell while doing this, it might be time to check if your vacuum filter is making your allergies worse by blowing fine particles back into the kitchen air. After vacuuming, you’ll have a clear surface that’s actually ready for sanitizing.
Destroy the Sticky Residue That Attracts Pests
Pantry shelves are notorious for ‘mysterious’ stickiness. Usually, it’s a combination of evaporated cooking oils and spilled sugars. To tackle this, you need more than just a surface wipe. I’ve found that the dish soap trick for removing greasy buildup is the most effective way to break down those stubborn spots without using harsh industrial degreasers near your food storage. Take a microfiber cloth dampened with warm, soapy water and hold it against any hardened spills for sixty seconds. This softens the bond, allowing the grime to lift away easily. This is vital because that sticky residue acts like a magnet for ants and roaches. If your kitchen was previously neglected, you might even need to look into sanitizing secrets for a safer house to ensure the surfaces are truly food-grade clean.
Don’t Ignore the Gaskets and Seals
If your pantry is part of a built-in unit near the refrigerator, you need to extend your cleaning radius. I once found a colony of mold growing inside the rubber seal of a fridge right next to where I stored my bread. The mold spores don’t care about cabinet doors. Learning how to clean the gaskets in your fridge is a small step that prevents cross-contamination in your entire kitchen. Use a cotton swab to get into those rubber folds. Finally, finish your cabinet interior by wiping the hinges. Grease loves to hide in the metal hardware, and a quick wipe with a vinegar-dampened cloth will keep them moving smoothly and smelling fresh. This level of detail is what separates a standard move-in from a truly sparkling home transition.While we are on the subject of high-level cleaning, I have to challenge a popular trend: the obsession with steam cleaners for every surface. You’ve probably seen the videos where blasts of steam make everything look shiny instantly. But here is the truth that pros won’t always tell you: steam can be your worst enemy in a kitchen or pantry if you aren’t careful. If you blast high-heat moisture into the grain of older wooden shelves or near delicate fabrics, you aren’t just cleaning; you’re potentially warping wood or, worse, trapping moisture behind the cabinet backing where mold loves to grow. This is exactly why you should never use a steam cleaner on these specific upholstery fabrics or porous surfaces where it might trigger a fungal nightmare. The ‘Oops’ factor often comes down to chemical residue. Have you ever noticed why your floors feel sticky even after you finished mopping? It’s usually because of ‘product overload.’ We think more soap equals more clean, but in a pantry, that leftover film actually catches new dust and gives bacteria a place to anchor. According to the Cleaning Industry Research Institute (CIRI), improper rinsing can lead to the formation of biofilms—microscopic layers of bacteria that are incredibly resistant to standard wipes. You need effective sanitizing methods for a germ-free home that prioritize ‘clean and clear’ over ‘spray and pray.’ 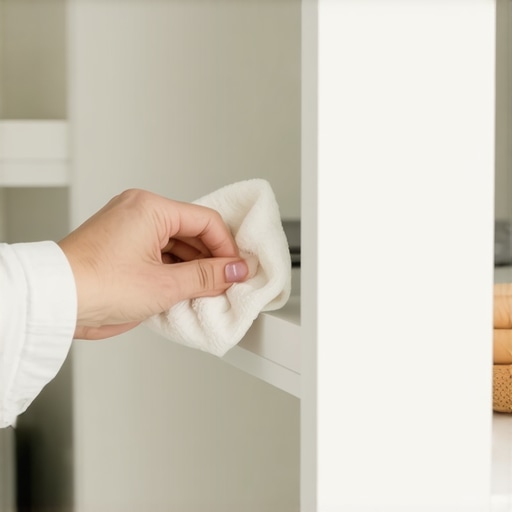
Why Does the Kitchen Still Smell After a Deep Clean?
If you’ve followed every step and the kitchen still has a faint, heavy odor, the culprit is likely hidden in plain sight: the upholstery on your breakfast nook or the fabric liners someone left behind. Odors are literally particles trapped in fibers. You can scrub the walls until they shine, but if you don’t use the ultimate upholstery care guide for lasting freshness, you’re fighting a losing battle. I’ve seen people lose their security deposits over ‘clean’ apartments that still smelled like the previous owner’s fried fish because they ignored the soft surfaces. If you’re in that boat, check out these move-out cleaning strategies to secure your deposit to ensure you aren’t leaving any olfactory evidence behind. I once spent three hours scrubbing a pantry only to realize I’d been using a dirty sponge that was just moving bacteria from the sink to the food shelves. It’s a common trap that even experienced movers fall into. Professional-grade results require fresh tools for every ‘zone’ of the kitchen. Have you ever fallen into this trap of accidentally spreading the mess while trying to fix it? Let me know in the comments.To avoid that cross-contamination trap, I moved to a color-coded system for my microfiber cloths. Blue is for glass, yellow for general surfaces, and red is strictly for high-bacteria zones like the sink. This isn’t just me being obsessive; it’s one of the effective house cleaning secrets from cleaning experts that keeps your home truly safe. I also swear by a vacuum with a sealed HEPA system. According to the IICRC S520 Standard (Standard for Professional Mold Remediation), proper filtration is crucial when dealing with microscopic particles like mold spores or allergens. If you’re using a cheap unit, you might find why your vacuum is blowing dust back into the air and effectively undoing all your hard work. For those hard-to-reach spots, like the gaps in your shelving, I use a narrow crevice tool. It’s the same logic behind the toothbrush trick for removing pet dander from baseboard crevices—you need mechanical agitation to dislodge what a simple wipe misses.
How do I maintain this level of cleanliness for the long haul?
The secret isn’t in a monthly marathon; it’s the daily house cleaning routine to maintain perfection. I spend exactly five minutes every evening checking the pantry for any new spills or open bags. If I see a smudge on the stainless steel, I address it immediately so it doesn’t become a permanent fixture. This level of consistency is how you ensure your house cleaning strategies for a sparkling home today actually work six months from now. Knowing how to schedule a deep clean that actually lasts more than a week is also about setting realistic goals for high-traffic zones. #IMAGE_PLACE_HOLDER_D#
The Shift Toward Smart Antimicrobial Storage
Looking ahead, I suspect we are moving toward a future where our homes do the heavy lifting for us. We are already seeing the rise of self-sanitizing surfaces and antimicrobial cabinet liners that use silver ion technology to kill bacteria on contact. By 2030, your pantry might even have built-in UV-C light cycles that run while you sleep to neutralize pathogens. Until then, we have to rely on our own effective sanitizing methods for a germ-free home. I also recommend looking at upholstery cleaning tips for a fresh home revival if your kitchen area includes upholstered chairs or stools, as these often trap the very smells we work so hard to eliminate from the cabinets. Don’t let the soft surfaces sabotage your hard surfaces. I want you to try one specific thing this week: adopt the two-cloth method for streak-free windows on any glass cabinet doors or microwave displays. It’s a game-changer for that final polished look.
Hard Truths About Kitchen Sanitation No One Mentions
I’ve learned that the biggest threat to a clean pantry isn’t actually dirt; it’s the illusion of clean. If you don’t follow a comprehensive move-in checklist for your new kitchen cabinets and pantry, you might miss the microscopic residue that invites pests back in within hours. Another hard lesson? The tools you use matter as much as the effort. If your vacuum isn’t filtering properly, you might discover why your vacuum is blowing dust back into the air before you even start sanitizing. It’s also vital to remember that “more product” isn’t better. Over-soaping is usually why your floors feel sticky even after you finished mopping, and the same science applies to your shelving surfaces—less is more when it comes to detergents.
The Gear I Actually Use in My Own Home
When I’m tackling a deep clean, I rely on a specific kit that has never failed me. First, I use a high-quality HEPA vacuum to ensure I’m not redistributing allergens. Second, I always have a set of fresh microfiber cloths; I recommend a color-coded system to prevent cross-contamination. Third, a simple mix of dish soap and warm water remains my go-to because the dish soap trick for removing greasy buildup is safer and more effective than harsh aerosols around food. Finally, I trust the toothbrush trick for removing pet dander and crumbs from those impossible-to-reach corner tracks where shelf pegs live. These are the effective house cleaning secrets from cleaning experts that actually make a difference.
Claim Your New Space and Cook with Confidence
Moving is the perfect time for a fresh start. By taking these effective sanitizing methods for a germ-free home to heart, you are setting a high standard for your family’s health and kitchen hygiene. It’s about more than just getting your deposit back using move-out cleaning strategies to secure your deposit; it’s about the peace of mind that comes from knowing every jar and box is sitting on a truly sanitary surface. Once you establish a daily house cleaning routine to maintain perfection, you’ll never have to do that exhausting deep clean from scratch again. You’ve got this! #IMAGE_PLACEHOLDER_E#
Have you ever discovered a “surprise” left behind by a previous tenant in your kitchen cabinets? Let me know in the comments below!