
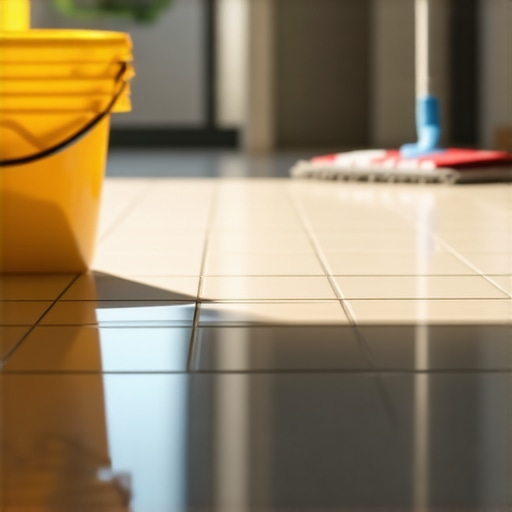
I remember it like it was yesterday: Saturday morning, sun streaming through the windows, and I’d just finished a marathon cleaning session. I’d used the “good” smelling soap, the extra-hot water, and enough elbow grease to power a small village. But then I took that first step barefoot. Tchk. Tchk. Tchk. My feet were literally sticking to the laminate. Instead of a pristine sanctuary, my kitchen felt like the floor of a dive bar at 2 AM. I felt defeated. How could something be “clean” yet feel so incredibly gross? It’s a specialized kind of frustration that makes you want to throw the mop bucket out the window and never clean again.
The Phantom Stickiness That Ruins Your Saturday
If you’re dealing with that tacky, gummy film right now, you aren’t alone. It’s one of the most common complaints I hear from people trying to master their house cleaning strategies. We’re going to peel back the layers—literally—on why your floors are acting like a giant piece of tape. Usually, it’s not a lack of effort; it’s actually an excess of something else. I spent years making the mistake of thinking more soap equals more clean. In reality, I was just building a skyscraper of residue that trapped every stray dog hair and dust mote in the house.
Is my expensive floor cleaner actually the problem?
It sounds counterintuitive, doesn’t it? You buy the premium “shine-enhancing” floor wash and expect a mirror finish. But here is the hard truth: most people use way too much product. According to the American Cleaning Institute, detergent residue is the primary cause of dullness and tackiness on hard surfaces. When you don’t rinse away that excess soap, it dries into a film that attracts dirt like a magnet. I used to pour half a cup into the bucket when the instructions called for a tablespoon. I was essentially creating a glue trap. If you’ve been using a steam mop to blast away the grime, you might even be making it worse; in fact, your steam mop might be ruining your laminate by pushing that residue deeper into the texture of the planks.
Have you ever spent hours scrubbing only to feel like you’ve made the floor more “grabby” than before? Tell me I’m not the only one who has had a “clean” floor crisis! Whether you’re worried about fixing water damaged hardwood or just trying to get through the weekend chores, understanding the chemistry of your cleaner is the first step. Next, we’re going to look at how to strip that gunk away without needing to hire a professional crew.
The Great Reset: Strip Away the Gunk Without Damaging the Finish
Before you can achieve that magazine-perfect shine, you have to perform a ‘cleanse.’ Think of your floor like a face that’s had ten layers of makeup applied without ever being washed; you can’t just add more powder. To break down the existing soap film, skip the fancy chemicals and go back to basics with a mixture of one cup of white distilled vinegar to a gallon of distilled water. The acidity of the vinegar acts like a solvent, cutting through the alkaline buildup of old detergents. If you are dealing with years of waxy buildup, you might need to learn how to strip floor wax without damaging the original wood finish to truly see the grain again. This isn’t just about looks; it’s about creating a sterile environment. Incorporating effective sanitizing methods for a germ-free home starts with removing the physical barriers—like sticky residue—that hide bacteria from your disinfectants.
Why Your Mop Bucket Needs a Strict Diet
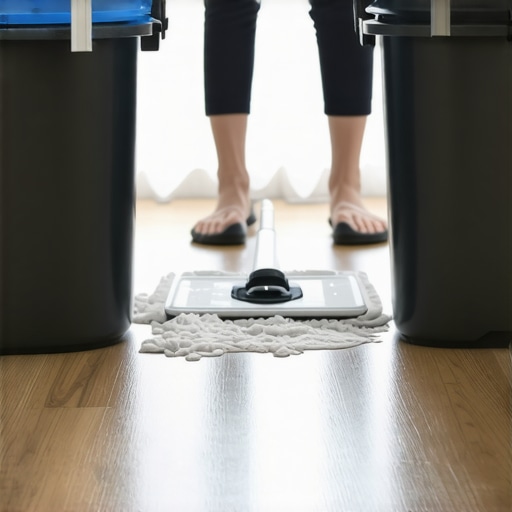
I learned the hard way that ‘more’ is usually ‘messy.’ A few years ago, I was prepping for a big family dinner and decided the kitchen floors needed a ‘heavy-duty’ wash. I poured a generous glug of Dawn dish soap directly into my bucket. Big mistake. The floors looked okay while wet, but as soon as they dried, they were so tacky I actually lost a flip-flop when it got stuck to a tile. I spent the next three hours performing an emergency ‘rinse only’ session. Now, I follow effective house cleaning secrets from cleaning experts: use exactly half of what the bottle recommends. If the water in your bucket looks like a bubble bath, you’ve already lost the battle. The goal is a solution that suspends dirt without leaving enough surfactant behind to create a secondary layer of grime.
The Two-Bucket System is Your New Best Friend
If you’re still using one bucket for both soapy water and rinsing, you’re essentially just moving liquid dirt from the left side of the room to the right. Professional cleaners use a two-bucket system: one for your cleaning solution and one for clean rinse water. Dip your mop in the soap, hit the floor, then rinse the dirty mop in the plain water before going back for more soap. This prevents the ‘gray water’ effect that leaves floors looking dull. This level of detail is exactly what’s required when you’re executing a move-out clean checklist to simplify your transition. Landlords don’t just look for ‘clean’ floors; they look for floors that don’t feel like flypaper under their shoes.
Stop the Cycle of Cross-Contamination
Residue isn’t just a floor problem. It’s a systemic issue that often starts in the bathroom and migrates. When you use the same tools or the same over-saturated cleaning style throughout the house, you carry stickiness from room to room. Learning how to stop cross-contamination while cleaning the bathroom is vital because the high-moisture environment there makes soap scum even more aggressive. The same logic applies to your furniture; if you’ve been over-spraying your couch, you’ll need upholstery cleaning tips for a fresh home revival to pull that ‘crunchy’ feeling out of the fabric fibers. Always remember: the cleaning agent is the vehicle for the dirt, and the rinse is the exit ramp. If you skip the exit, the dirt stays in the car.
I see it all the time with upholstery. People spray a generic ‘fabric refresher’ and think they’ve done their duty. In reality, they’ve just added more tackiness. You might think that if a little spray works, a whole drenching will work better. But here’s the contrarian truth: the more ‘stuff’ you put on a surface without a proper rinse, the more you are feeding the biofilm. This is especially true when people try to tackle upholstery cleaning tips for a fresh home revival. We see it constantly—homeowners using store-bought foams that smell like a spring meadow but leave a chemical trail that attracts skin oils and pet dander. It’s why your fabric sofa still smells after using store-bought deodorizers. You aren’t removing the source; you’re just burying it in a layer of scented glue.
The ‘Oops’ Factor often hits hardest during a high-stakes move-out. People focus on the middle of the floor but forget the vertical surfaces. If you want move-out cleaning hacks to ensure your deposit refund, stop ignoring the tops of doors and the space behind the fridge. I once lost a deposit because of the ‘sticky film’ on top of the kitchen cabinets—a mix of vaporized cooking grease and dust that I didn’t even know existed. If you’re in a rush, you’ll likely overlook why the space behind the oven costs most renters their deposit.
Is steam cleaning enough to kill bacteria on high-touch surfaces?
The short answer is: maybe, but probably not the way you’re doing it. For a steam cleaner to truly sanitize, the surface temperature needs to stay at 212°F (100°C) for several minutes. A quick pass-over just creates a warm, damp environment where bacteria thrive. According to a study published by the Journal of Hospital Infection, proper disinfection requires both the correct concentration of an agent and a specific duration of contact—often called dwell time. If you’re just ‘wiping’ away a sanitizer, you’re basically just giving the germs a bath. This is why is steam cleaning enough to kill bacteria on high-touch surfaces is such a debated topic; without dwell time, it’s just expensive humidity.
Have you ever fallen into the trap of ‘more soap is better’ only to have it backfire? Let me know in the comments! If you’re struggling with specific fabrics, you might need to look into how to treat s-coded upholstery fabric without ruining it. And remember, sanitizing hacks for safe house transitions aren’t just about the chemicals you use; they’re about the patience you have to let those chemicals actually do their job. Next time you’re executing your daily house cleaning routine to maintain perfection, try using 25% less product than you think you need. Your floors—and your feet—will thank you.
But what happens after you’ve stripped that gummy residue? You need a system to keep it from coming back, or you’ll find yourself right back in that ‘Tchk-Tchk’ nightmare by next Wednesday. My personal holy grail isn’t a secret spray; it’s a high-GSM (grams per square meter) microfiber cloth. Standard rags or those old-school string mops just push the slurry around until it finds a new home in the corners. According to the IICRC S300 Standard for Professional Upholstery Cleaning, the physical removal of soil is just as critical as the chemical breakdown. If you aren’t using a tool that actually traps the particles within its fibers, you’re just ‘decorating’ with dirt. This is why I always include tool maintenance in my daily house cleaning routine to maintain perfection. I personally swap my mop heads every two rooms—it might seem like overkill, but it’s the only way to ensure I’m not just spreading the floor-soap-cocktail elsewhere.
How do I keep my home surfaces pristine for years?
Maintenance isn’t a once-a-month deep dive that leaves you exhausted. It’s about ‘micro-cleans’ and using the right mechanical action. For instance, my ultimate upholstery care guide for lasting freshness always starts with the vacuum, not the spray bottle. If you don’t remove the dry soil first, adding any liquid just creates a muddy paste that sinks deep into the fabric weave. I’ve seen so many people ruin their favorite armchairs because they skipped the five-minute vacuuming step and went straight for the foam. Also, keep an eye on your equipment; why your vacuum filter might be making your allergies worse is usually down to simple neglect. If your filter is clogged, your suction drops, and that abrasive dust stays right where it is, grinding down your carpet fibers like sandpaper every time you walk on them.
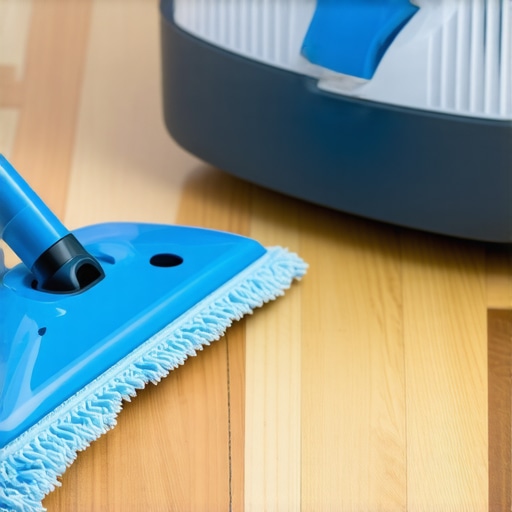
When you’re performing a high-stakes move-out cleaning hacks to ensure your deposit refund, your tools matter more than ever because you’re fighting months of ‘lived-in’ grime. I always keep a dedicated bucket for ‘exit-rinsing’—this is the final pass with plain, distilled water. Distilled water is a ‘hungry’ solvent; because it lacks minerals, it’s much more effective at grabbing onto those last molecules of soap. Looking forward, I predict that by 2030, we’ll move away from harsh chemical disinfectants entirely in favor of competitive exclusion—using ‘good’ probiotic bacteria to crowd out the bad ones. We are already seeing the beginning of this shift in sanitizing secrets for a safer house in 2025. It’s a cleaner, more sustainable way to handle high-traffic zones without creating that chemical buildup we’ve been trying to avoid.
Why proactive care beats reactive scrubbing every time
The secret to a home that feels ‘professional-clean’ is never letting the biofilm establish its residency. If you wait until the floor is sticky to clean it, you’ve already lost the battle against the grime. Instead, focus on the ‘rinse-first’ mindset. If you’ve been struggling with a specific piece of furniture, refer back to upholstery cleaning tips for a fresh home revival to ensure you aren’t accidentally sealing in the dirt with heat or the wrong surfactants. My challenge to you today: go check your vacuum filter. If it’s gray or smells even slightly like a wet dog, wash it or replace it immediately. It’s the single easiest way to stop circulating dust and actually make your cleaning efforts count.
The Reality Check That Changed My Cleaning Habits Forever
Looking back at my years of sticky-floor frustrations, I realized that my biggest mistakes weren’t about lack of effort—they were about chemistry and order of operations. Here are the lightbulb moments that finally stopped the ‘Tchk-Tchk’ cycle for me:
- Dry soil is the secret assassin. I used to reach for the mop the second I saw a footprint. Now, I know that if I don’t vacuum twice as long as I mop, I’m just creating a microscopic slurry that dries into a sticky film.
- Air quality affects floor quality. It sounds crazy, but if your vacuum isn’t efficient, you’re just depositing a fine layer of dust back onto your freshly damp floors. This is why your vacuum filter is actually spreading dust around your home while you think you’re helping.
- Gravity is your boss. Start with the high spots! I finally understood why professional cleaners always start at the top of the room; if you clean the floor first, the dust from your ceiling fans and shelves will just settle on your wet work.
What I Keep in My No-Gunk Toolkit
To stop the cycle of buildup, you have to move away from grocery store cleaners loaded with waxes and perfumes. Here is the gear I personally trust to keep my home feeling like a sanctuary: First, I always keep a gallon of distilled water on hand for my final rinse. Because it lacks minerals, it pulls remaining soap away from the surface better than tap water ever could. Second, I’ve swapped all my old sponges for 400 GSM microfiber cloths. These act like tiny little hooks that grab dirt rather than just pushing it around. Finally, I’ve simplified my cabinet to include targeted degreasers. When I’m trying to get rid of the sticky film on top of kitchen cabinets, I use a focused solution followed immediately by a neutralizer to ensure no new ‘glue’ is left behind.
#IMAGE_PLACEHOLDER_E#
Give Yourself Permission to Use Less Soap
It takes a while to unlearn the ‘more is better’ mentality. We are conditioned to think that bubbles equal clean, but in professional maintenance, bubbles are just a sign of future residue. By implementing these smarter house cleaning strategies, you aren’t just saving money on products; you’re saving the finish of your floors and the air quality of your home. You don’t need to be a slave to the mop bucket every Saturday. Once you strip away the old gunk, keeping it gone is surprisingly simple. Take it one room at a time, trust the science of the rinse, and enjoy the feeling of walking across your kitchen without a single sound. What is the one surface in your house that always feels ‘tacky’ no matter how much you scrub? Let me know in the comments and let’s troubleshoot it together!