
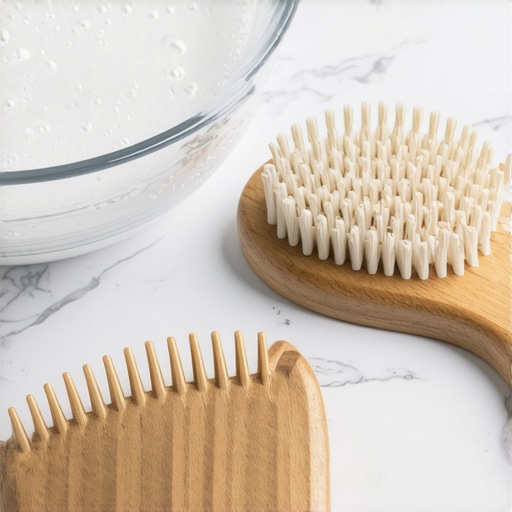
I remember standing in my bathroom last Tuesday, the morning light hitting my favorite paddle brush just right. What I saw wasn’t just a few stray strands of hair. It was a thick, fuzzy, gray carpet of… well, I didn’t even want to know. It hit me then: I spend so much time on my daily house cleaning routine to maintain perfection, yet I was literally brushing old scalp oils and dust back onto my freshly washed hair every single morning. It was a total “aha” moment—and not the good kind. It felt visceral, almost like realizing you’ve been using a dirty towel for a week. That gray, linty sludge is a mix of dead skin, hair products, and household dust that clings to the bristles like glue.
Why Your Hairbrush is Secretly Sabotaging Your Style
Most of us think a quick tug to remove the loose hair is enough. It’s not. If you’ve ever wondered why your hair feels heavy or greasy by noon, even after a fresh wash, your brush might be the secret culprit. We focus on effective sanitizing methods for a germ-free home in every other room, but our vanity tools often get ignored until they are visibly disgusting. Brushing with a dirty tool isn’t just gross; it’s counterproductive. You are redistributing bacteria and old oils right back onto your scalp.
Does a Little Dust Really Matter?
I used to be a “just pull the hair out” kind of person. I made the mistake of thinking if I couldn’t see a huge clump, it was clean. Early on, I even tried soaking a wooden-handled brush in a sink full of boiling water—big mistake. The wood warped, the glue dissolved, and I had to toss a forty-dollar brush. Trust me, you don’t want to learn that the hard way. According to research from the University of Arizona, hairbrushes can be a breeding ground for bacteria and yeast, often harboring more microbes than a pet’s dish. Have you ever looked at your comb under a bright light and felt that sudden urge to just throw it away? We need to treat these tools like we treat our linens. You wouldn’t skip how to sanitize your pillow protectors and cases for six months, right? Your brush deserves the same level of care. Today, I’m going to share the actual secret to getting those bristles back to factory-new condition without ruining them.
Get Every Single Hair Out First
Think of this first step like a move-out clean checklist to simplify your transition; you cannot deep clean the surfaces until you’ve cleared out the physical clutter. If you leave old hair trapped in the bristles, you are just washing a wig attached to a handle. I use the tail end of a rat-tail comb to lift the hair from the base, but a pair of scissors is your best friend for those stubborn, wound-up nests. It’s exactly like clearing a vacuum brush roll—if you don’t cut the hair, it just stays stuck. Once the ‘field’ is clear, you can actually see the gray residue hiding on the bed of the brush. This is the stuff that holds onto bacteria, much like how why your vacuum filter might be making your allergies-worse by trapping and redistributing dust.
The Magic Mix for Dissolving Scalp Oils
Now we need a degreaser. I’ve found that regular hand soap doesn’t quite cut it because hair products are designed to be water-resistant. Use a clarifying shampoo or even a few drops of grease-fighting dish soap. It’s similar to why lemon juice is better than bleach for cutting through grease in the kitchen—you need something that breaks down lipids. Fill a bowl with warm water—not hot, especially for plastic or cushioned brushes—and swirl the soap until it’s sudsy.
Scrub the Base with Precision
Grab an old toothbrush. This is the most underrated tool in your arsenal. Just as you’d use the toothbrush trick for removing pet dander from baseboard crevices, you need those small, stiff bristles to reach between the rows of your hairbrush. I remember the first time I did this; I was shocked to see the water turn a murky, milky gray within seconds. I had spent twenty minutes on my house cleaning strategies for a sparkling home today, yet my own grooming tool was literally filthy. Scrub the base of each bristle in a circular motion to lift that stubborn ‘lint’ that seems to grow there. 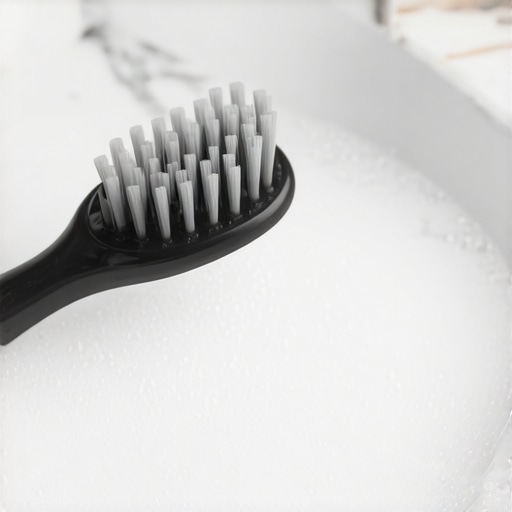
Rinse and Shake Out the Excess Water
Rinsing is where people usually mess up. You want to avoid submerging brushes with a soft, squishy pad (cushion brushes) completely in water, as it can get trapped inside and lead to mold. I learned this the hard way when I soaked a favorite paddle brush and it started smelling like a wet basement. It reminded me of how to get the mildew smell out of old towels—that unmistakable sour scent. Instead, dip the bristles and use your fingers to rinse the soap away.
Dry Your Brush Face Down
Never leave your brush sitting with the bristles facing up while it dries. Water will seep down into the handle or the cushion and rot the tool from the inside out. Always lay it face-down on a clean, dry towel. This is the same logic we use when we say why you should always vacuum your mattress before you sanitize it; you have to manage moisture and debris carefully to prevent making the problem worse. Let it sit overnight in a well-ventilated area so every bit of moisture can evaporate from the crevices.This moisture-management logic doesn’t just apply to hairbrushes; it’s the cornerstone of maintaining a truly healthy living space. Most people believe that to truly ‘sanitize,’ you need to drench a surface. However, professional cleaners know that ‘dwell time’—the time a disinfectant stays wet on a surface—is what actually matters, not the total volume of liquid. I’ve seen so many homeowners ruin their expensive furniture by thinking a steam cleaner is a universal cure-all. In reality, understanding why you should never use a steam cleaner on these specific upholstery fabrics is a lesson in how heat and excess water can permanently damage delicate fibers or trap moisture in the underlying foam, leading to internal mold growth that you can’t see but will definitely smell.
Can You Over-Sanitize Your Home and Make Things Worse?
Advanced cleaning isn’t about more chemicals; it’s about chemistry and precision. A common ‘trap’ I see is the over-reliance on acidic cleaners for every surface. While DIY blogs swear by it, the reason why vinegar is not always the best choice for granite countertops boils down to the fact that acid can etch natural stone, creating microscopic pits. These tiny craters become the perfect hiding spots for bacteria, making the surface harder to clean in the long run. According to research published by the American Society for Microbiology, improper cleaning techniques can lead to the development of ‘biofilms’—slimy layers of bacteria that are significantly more resistant to standard cleaners than individual microbes. If you aren’t following a structured ultimate upholstery care guide for lasting freshness, you might just be layering new grime over old, resilient biofilms.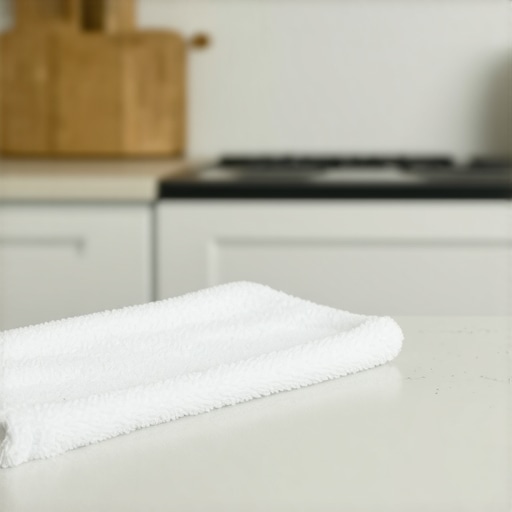 One ‘oops’ factor I always warn my clients about during a move-out cleaning hacks ensure your deposit refund mission is the ‘residue cycle.’ If you don’t thoroughly rinse your cleaning agents, the leftover soap acts like a magnet for new dust and oils. It’s the exact same reason why your floors feel sticky even after you finished mopping. You’re essentially creating a microscopic adhesive trap for the very skin cells and pet dander we’re trying to eliminate. Another nuance people miss is the ‘contact time’ on disinfecting wipes. For a wipe to actually kill 99.9% of germs, the surface usually needs to stay visibly wet for 4 to 10 minutes, depending on the brand. Wiping and immediately drying the surface is just an expensive way to move dirt from one side of the counter to the other. This is a critical nuance in effective sanitizing methods for a germ-free home that almost everyone misses. Have you ever fallen into this trap where you thought you were deep cleaning, but you actually made the surface a magnet for more dirt? Let me know in the comments below.Once you have mastered the art of restoring your personal tools, you start realizing that every surface in your home requires that same level of intentionality. If you want to move beyond just ‘getting it clean’ and transition into ‘keeping it clean,’ you need a strategy for your gear. I have completely stopped buying those cheap, colorful disposable sponges that quickly become a playground for mold; instead, I have switched entirely to high-GSM (grams per square meter) microfiber cloths. The reason is simple: split fibers are physically engineered to grab 99% of bacteria without needing a gallon of harsh chemicals. It is the same logic we apply in our upholstery cleaning tips for a fresh home revival—success depends on the quality of the fiber, not just the soap you pour on it. I also swear by a dedicated HEPA-filtered vacuum with a fully sealed system. If your vacuum does not have a high-grade rubber gasket seal around the filter, you are likely just redistributing the finest dust particles and allergens back into your breathing zone. This is exactly why your vacuum is blowing dust back into the air and why cheap uprights often fail the ‘sniff test’ after a few months of use.
Stop Using Disposables and Invest in Better Fibers
To truly scale your cleaning efforts, you need tools that work for you, not against you. According to a landmark study published in the Journal of Applied Microbiology, certain pathogens like Staphylococcus aureus can survive on household surfaces for weeks if the environmental conditions—like moisture trapped in a poor-quality cloth—are right. This is why I am looking toward the future of home health. I predict that sanitizing secrets for a safer house in 2025 will revolve around UV-C stabilization and long-term antimicrobial coatings that prevent the formation of those nasty biofilms I mentioned earlier. 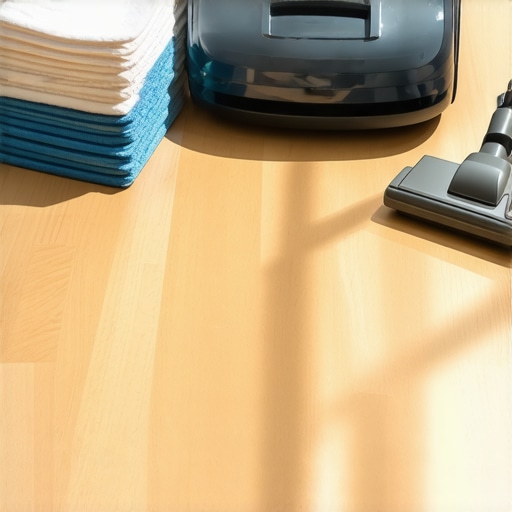
How do I maintain my sanitizing routine without burning out?
The secret is not a massive, exhausting weekend overhaul; it is the ‘low and slow’ approach to home maintenance. I follow a strict how to schedule a deep clean that actually lasts more than a week by tackling one high-touch zone every Tuesday morning. For instance, while your hairbrush is drying face-down, spend five minutes on your electronics. It is the perfect time to learn how to sanitize your tv remote without damaging the electronics or how to clean your computer mouse and scroll wheel. These small wins build the momentum you need to keep the whole house in peak condition. If you are preparing for a bigger life change, such as a relocation, integrating sanitizing hacks for safe house transitions into your daily routine prevents the dreaded mountain of work on move-out day. If you really want to level up your results tonight, I challenge you to try the ‘Two-Cloth Method.’ Use one damp microfiber to lift the grime and a second, bone-dry microfiber to buff the surface immediately. You will be amazed at how this prevents the sticky residue that typically makes your house a magnet for new dirt. For more complex challenges, like reviving old furniture, you can always look into how we extract deep-set smoke odors from vintage-armchairs to see the professional-grade logic we use for long-term restoration.
The Hardest Lesson I Learned About My Filthy Cleaning Tools
I used to think that as long as the floors looked shiny, my home was healthy. I was wrong. The biggest shift in my mindset came when I realized that my tools—my brushes, my sponges, and even my vacuum—were often the dirtiest things in the room. If you aren’t cleaning the things that clean your home, you’re just moving the mess around. Another epiphany: High-quality tools save money in the long run. I stopped buying disposable junk and invested in items that could be deep-cleaned and reused. This aligns perfectly with effective house cleaning secrets from cleaning experts who prioritize durability over convenience. Lastly, don’t wait for visible dirt to appear. By the time you can see the grime with the naked eye, a biofilm has likely already formed. Regular, light maintenance is significantly easier than the intensive scrubbing required for a total restoration.
Gear That Actually Makes a Difference in My Routine
I don’t believe in having a cabinet overflowing with expensive chemicals. Instead, I rely on a few high-performance essentials that never let me down. First, High-GSM Microfiber cloths; they aren’t just rags, but mechanical tools designed to lift bacteria from surfaces. Second, I swear by the two-cloth method for streak-free windows in half the time because it prevents the sticky residue that attracts dust and oils. Third, a dedicated HEPA vacuum is non-negotiable for anyone with allergies. Finally, a simple degreaser like pH-neutral dish soap is often more effective than most specialty sprays for breaking down the scalp oils found on hairbrushes. #IMAGE_PLACEHOLDER_E#
Transform Your Home One Tool at a Time
Taking the time to sanitize your personal grooming tools and your living space isn’t just about aesthetics; it’s about your well-being. When you master effective sanitizing methods for a germ-free home, you create a sanctuary where you can truly relax and breathe easy. Don’t feel like you have to overhaul your entire life in one weekend. Start with your favorite hairbrush tonight and feel the immediate difference for yourself. Have you ever found something truly shocking hiding in your hairbrush or under a sofa cushion? Let me know in the comments below!