
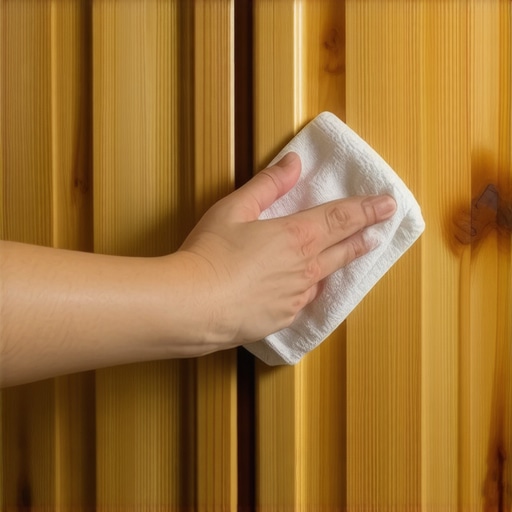
I’ll never forget the afternoon I finally snapped. The golden hour light was streaming through the window, and instead of a cozy kitchen glow, all I saw were hundreds of smudged, oily fingerprints plastered across my oak cabinets. It looked like a squad of toddlers had been using my kitchen for finger painting practice with butter. I grabbed a generic spray and a paper towel, scrubbed like my life depended on it, and watched in horror as the finish turned cloudy and dull. I’d actually managed to make a bad situation worse by being too aggressive with the wrong tools. That was my “rock bottom” moment in the kitchen, and it’s exactly why I spent weeks testing every method under the sun to find the real secret to restoring that original luster without ruining the wood.
My Kitchen Looked Like a Crime Scene
[IMAGE_PLACEHOLDER]Most people think that a quick wipe-down with a damp rag is enough, but grease is a different beast entirely. It’s a mix of cooking oils, skin oils, and airborne dust that creates a stubborn, sticky film over time. If you’ve ever felt that tacky texture when you reach for a plate, you know exactly what I’m talking about. I’ve learned the hard way that house cleaning strategies for a sparkling home today require more than just elbow grease; they require chemistry. When I was preparing for a big move a few years back, I realized that ignoring these prints was the fastest way to lose a chunk of my security deposit. I had to get serious about move-out cleaning hacks to ensure my deposit refund, and the cabinets were the biggest hurdle.
Does Mild Soap Actually Cut Through Years of Grime?
You might be skeptical. I certainly was. I used to think I needed a heavy-duty degreaser that smelled like a chemistry lab to get results. But here’s the truth: most of those harsh chemicals strip the protective sealant off your wood, leaving it vulnerable to moisture and warping. According to a study by the American Cleaning Institute, over-cleaning with abrasive materials is one of the top causes of premature furniture aging. I made the mistake of using a “natural” vinegar solution once, only to realize later that why vinegar is not always the best choice for certain surfaces applies to finished wood too—it can slowly eat away at the wax. Have you ever tried a “viral” cleaning hack only to have it backfire and leave your cabinets looking worse than before? I’d love to hear your horror stories in the comments so we can all learn what to avoid!
Why Your Standard Spray is Doing More Harm Than Good
The real secret isn’t a fancy bottle from the store. It’s actually a technique I call the “emulsification lift.” Most sprays just move the grease around, creating a thin, invisible smear that attracts even more dust by the next morning. If you’re tired of seeing why your stainless steel appliances look smudged after wiping, you’ll find that wood cabinets suffer from a very similar “ghosting” effect. To truly fix it, we have to break the bond between the oil and the wood grain. This is a game-changer whether you’re doing a routine Sunday reset or following a move-out clean checklist to simplify your transition. In the next section, I’m going to walk you through the exact two-step process that saved my kitchen and my sanity.
Stop Spraying Your Cabinets Directly
I made this mistake for years: I would aim my spray bottle right at the cabinet door and pull the trigger. It seems logical, right? But liquid is lazy; it follows the path of least resistance. On a vertical surface, that means it runs straight into the joints of your doors and the crevices of the wood grain. This moisture sits there, swelling the wood and eventually causing the finish to crack. This is why you should never spray cleaning products directly on surfaces. Instead, imagine your cleaning cloth is a sponge that needs to be perfectly calibrated. I spray my cloth—never the wood—until it’s damp but not dripping. This gives me total control and prevents the ‘drip-stain’ effect that often haunts old oak cabinets.
The Dish Soap Trick That Actually Dissolves Grease
If you want to cut through a year’s worth of bacon splatter and steam-borne oils, you don’t need a heavy-duty industrial degreaser. Think about how you clean a greasy pan—you use dish soap because it’s designed to break down lipids. I swear by the dish soap trick for removing greasy buildup on kitchen cabinets. Mix a few drops of a high-quality grease-cutting dish soap in a bowl of warm water. When you apply this with a microfiber cloth, the soap molecules act like tiny magnets, grabbing the oil molecules and lifting them away from the wood.  I remember helping a friend prep for a grueling rental inspection where the cabinets were actually sticky to the touch. We used this soap method and, within twenty minutes, the ‘tackiness’ was gone, and the wood felt smooth again. It’s one of those essential move-out cleaning strategies to secure your deposit because it restores the feel of the kitchen, not just the look.
Why You Need to Rinse Even When It Looks Clean
The biggest mistake people make is stopping once the grease is gone. If you leave soap residue on the wood, it becomes a magnet for new dust. Have you ever noticed why your floors feel sticky even after you finished mopping? It’s the same principle. You must go back over the surface with a second, clean cloth dampened only with plain water. This ‘rinse’ step is what creates that high-end glow rather than a dull, waxy film. If you’re tackling a high-traffic home, incorporating effective sanitizing methods for a germ-free home means ensuring surfaces are clean and residue-free before any disinfectant is applied. Finishing with a dry microfiber cloth to buff the wood in the direction of the grain is the final touch that makes the cabinets look brand new.
Clean Doesn’t Actually Have a Scent
Everyone loves that ‘fresh lemon’ or ‘pine’ smell after a long day of scrubbing, but I’m going to let you in on a secret: in the professional world, clean has no scent at all. We’ve been conditioned by marketing to believe that a strong fragrance equals a germ-free environment, but usually, those scents are just volatile organic compounds (VOCs) masking the odors of leftover bacteria. When I first started obsessing over effective house cleaning secrets from cleaning experts, I realized that if I could smell my cleaner ten minutes later, I hadn’t rinsed well enough. This is especially true when you’re using sanitizing hacks for safe house transitions. If a chemical residue is left behind, it creates a sticky microscopic film that actually traps new pathogens and dust faster than a dirty surface would.
The Invisible Residue Ruining Your Hard Work
 The biggest ‘oops’ factor I see with DIY deep cleans is the lack of ‘dwell time.’ Most people spray a surface and wipe it immediately. However, according to the American Journal of Infection Control, most household disinfectants require three to ten minutes of remaining visibly wet to actually kill the bacteria they claim to target. If you’re rushing through your move-out cleaning hacks to ensure your deposit refund, you might be leaving behind a colony of microbes just because you were too fast with the towel. This is also why effective sanitizing methods for a germ-free home require patience above all else. I once spent four hours sanitizing a nursery only to find out my ‘quick wipes’ did almost nothing because the surface dried in thirty seconds. Have you ever fallen into the trap of thinking faster is better? Let me know in the comments if you’ve had a ‘clean’ surface still feel tacky!
Why is Your Upholstery Turning Yellow After a Deep Clean?
This is a common frustration for anyone trying to level up their home maintenance. You spend all afternoon scrubbing a sofa, only to wake up the next morning and see weird, brownish-yellow rings. This is called ‘wicking.’ When you over-saturate a fabric, the water travels deep into the padding, dissolves old dirt you didn’t even know was there, and then brings it to the surface as it evaporates. Mastering upholstery cleaning tips for a fresh home revival means understanding that ‘less is more’ when it comes to moisture. Use a foam-based cleaner or a damp—not soaking—cloth to prevent that deep-seated grime from rising to the top. It’s a nuance that separates the amateurs from the pros, ensuring your furniture stays fresh without those unsightly watermarks.If you’ve been burned by yellowing upholstery, you know that professional-grade results require professional-grade gear. I used to think a store-bought vacuum was enough, but after I started researching why your vacuum filter might be making your allergies worse, I realized my “clean” air was actually full of fine dust and allergens. Now, I never start a deep clean without my HEPA-certified canister vacuum. It’s the difference between moving dust around and actually removing it from the environment. For those of you following my ultimate upholstery care guide for lasting freshness, investing in a small extraction machine or even just high-density microfiber towels is a non-negotiable step to avoid that dreaded wicking effect we discussed.
My Go-To Gear for a Flawless Finish
One specific tool that stays in my pocket is a set of waffle-weave microfiber cloths. I adopted the two-cloth method for streak-free windows in half the time because it completely eliminates the need for chemical-heavy glass cleaners that just leave a greasy film. Using a damp cloth to lift and a dry cloth to buff is a technique I now apply to everything from mirrors to marble. 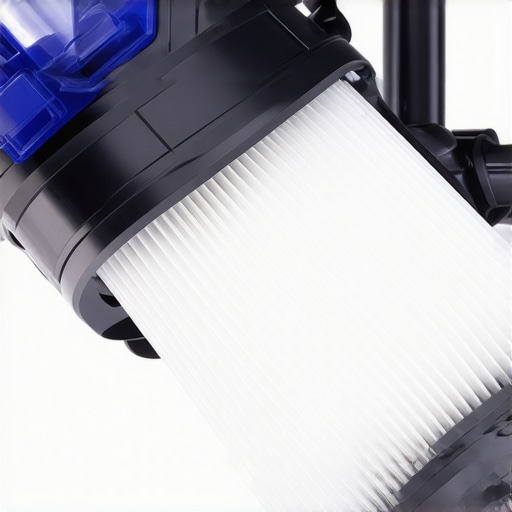 I’ve found that using the right density of cloth—measured in grams per square meter (GSM)—is the secret detail most people overlook. For glass, I stick to a lower GSM, while for dusting, I want something plush and thirsty.
How do I maintain professional-level cleanliness over time?
The secret isn’t doing a massive, exhausting deep clean once a month; it’s the power of the “micro-reset.” I’ve found that a daily house cleaning routine to maintain perfection is much less draining than trying to fix a month’s worth of neglect in a single weekend. I set a timer for fifteen minutes every evening to hit the high-touch surfaces, like the fridge handle and the kitchen faucet. This prevents the sticky buildup on cabinets from ever forming, making your deep cleans significantly faster.
The Future of Home Care is Probiotic
Looking ahead, I see a massive shift toward “living” cleaners. We’re moving away from the “kill 99.9% of everything” mindset and toward sanitizing secrets for a safer house in 2025 that involve probiotic solutions. These are cleaners that leave behind beneficial bacteria to eat away at organic matter long after you’ve stopped scrubbing. It sounds like something out of a sci-fi novel, but the IICRC (Institute of Inspection Cleaning and Restoration Certification) already emphasizes the importance of soil suspension and pH balance in their S300 standards for professional upholstery care. The industry is getting more technical, and homeowners who understand the chemistry of their surfaces will always have the best-looking houses on the block. I challenge you to try the dry-buffing technique on just one wooden surface or mirror tonight—see if you can spot the difference when the residue is gone!
The Three Hardest Truths I Learned About Scrubbing
I spent years thinking that if I just scrubbed harder, the grime would vanish. It took a ruined set of oak cabinets to realize that pressure is the enemy of preservation. My first big ‘lightbulb moment’ was realizing that vinegar is a powerful acid; it’s great for glass but can be a disaster for wood finishes. I also learned that how to remove water rings from wood furniture using a hairdryer is a much safer bet than reaching for the sandpaper. If you want the secret to getting your full security deposit back every time, you have to stop thinking about what looks clean and start thinking about what feels clean. Sticky residues are the first thing an inspector touches, and they’re the fastest way to lose your deposit. Lastly, remember that your cleaning tools are only as good as their maintenance; a dirty cloth just redistributes the grease you’re trying to lift.
What Lives in My Cleaning Caddy Every Day
I’ve narrowed my toolkit down to the essentials that never fail me. First is a HEPA-certified vacuum because I’ve seen firsthand why your vacuum filter might be making your allergies worse by blowing fine dust back into your lungs. Second, I always keep a pH-neutral dish soap for the ’emulsification lift’ technique we discussed for those stubborn kitchen cabinets. Third, I never tackle a living room without knowing the one thing you should never do when cleaning a velvet couch—which is using excessive water that causes wicking. These tools, combined with high-GSM microfiber cloths, are the only things you need to achieve a professional-grade finish without the professional-grade price tag.
Your Move Toward a Brighter Kitchen Starts Today
Reclaiming your home from the ‘cooking film’ that accumulates over time doesn’t have to be a daunting task. By implementing these effective house cleaning secrets from cleaning experts, you’re not just scrubbing; you’re preserving the value and history of your furniture. Whether you are prepping for a move or just want to enjoy the golden hour light without seeing fingerprints, the key is consistency and the right chemistry. Take it one cabinet door at a time and watch the original luster return. Have you ever accidentally ruined a wood finish or a piece of furniture while trying to clean it? Tell me your story in the comments below!