
I’ll never forget the sound of my grandmother’s gasp when she caught me standing over the sink with a bottle of blue dish soap and a steel wool pad, ready to go to town on her thirty-year-old Griswold. I thought I was being helpful after a Sunday morning bacon feast, but in her eyes, I was committing a culinary crime. I’ve made every mistake in the book, from letting a pan soak overnight—hello, rust!—to thinking I had to scrub until the metal looked shiny again. It turns out, that “shiny” silver color is actually the enemy. After years of trial and error in my own kitchen, I realized that the secret isn’t about being aggressive; it’s about understanding the chemistry of the pan itself. Today, I’m going to walk you through the exact steps to keep your cast iron slicker than a greased lightning bolt, so you never have to fear the “sticky pan” syndrome again.
Stop Being Afraid of Your Skillet
Most people treat their cast iron like a fragile museum piece, but these things are virtually indestructible if you know the right tricks. I used to think that if I didn’t get every single speck of carbon off immediately, I was doing it wrong. In reality, the best house cleaning secrets involve a bit of patience and the right tools. If you’ve ever dealt with smudged stainless steel, you know that the wrong technique just moves the mess around. With cast iron, the “mess” is often just flavor and protection in the making.
Will a Drop of Soap Actually Kill the Seasoning?
This is the big one. We’ve been told for decades that soap is the devil’s tool for cast iron. But here is the truth: modern dish soap doesn’t contain the lye that used to strip pans back in the day. According to food science experts at Serious Eats, seasoning is actually a layer of polymerized oil—which is more like a plastic than a fat—meaning a quick wash with mild soap won’t touch it. I still prefer the grease-cutting power of salt for the heavy lifting, especially when things get really stuck. Have you ever accidentally stripped your pan because you thought it needed a deep “sanitizing” scrub? Trust me, we’ve all been there. It’s much easier to maintain it daily with a simple cleaning routine than to start from scratch every month.
Scrub While the Iron is Still Hot
The best time to clean your skillet is when it is still warm to the touch. I learned this the hard way after a dinner party where I left my 12-inch Lodge sitting on the stove until the next morning. The steak fat had turned into a solid, gluey wax that required a literal chisel to remove. If I had just spent sixty seconds cleaning it while it was warm, it would have been effortless. Run it under hot water and use a stiff nylon brush. Think of the residual heat as a natural solvent; it keeps the fats liquid so they slide right off. Just like some effective house cleaning secrets from cleaning experts, the key here is momentum. If you let the pan cool completely, you are fighting physics and risking a much more aggressive scrub later. 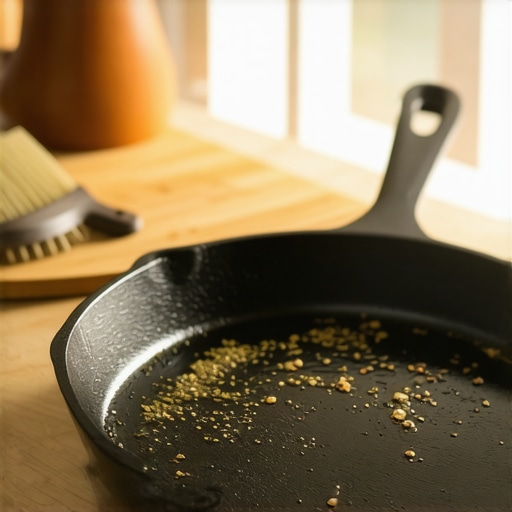
Stop Trusting Your Dish Towel
Rust is the silent killer of cast iron. You might think hand-drying with a cotton towel is sufficient, but iron is porous—it is like a hard sponge at a microscopic level. Even a tiny amount of moisture trapped in those pores will lead to orange spots. I once dried a skillet and put it away in a humid cabinet, only to find it looking like it had been pulled from a shipwreck a week later. Dealing with that corrosion was a nightmare and much harder than learning how to remove rust stains from porcelain sinks. To avoid this, place your “clean” pan back on a medium-low burner for two minutes. When the wisps of steam stop rising, the pan is truly dry and ready for the next step.
The Salt Scrub for Burnt-On Disasters
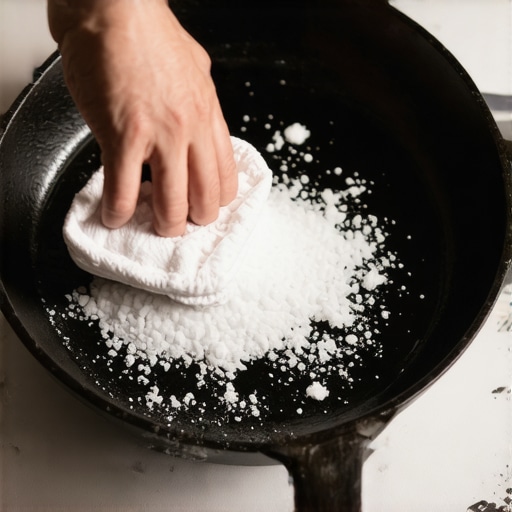
When you have got stuck-on bits of salmon skin or charred marinade, do not reach for the steel wool. Reach for the Kosher salt. This is one of those house cleaning strategies for a sparkling home today that works better than any chemical. Pour a quarter-cup of salt into the pan and use a folded paper towel to scrub in circular motions. The salt acts as a gentle abrasive that will not strip the seasoning but will scour away the carbon. It is a lot like the process used for removing sticky residue from new appliances—you need friction without total destruction of the surface. Using the grease-cutting power of salt ensures you do not have to resort to soaking, which is the quickest way to ruin your pan.
Apply the Final Seal to Build the Non-Stick Layer
Once the pan is bone-dry and still hot from the burner, you need to apply the final seal. Use a tiny drop of grapeseed or flaxseed oil. We are talking half a teaspoon for the entire surface. If you use too much, the pan will get tacky and gross, similar to why your stainless steel appliances look smudged after wiping. Buff the oil into the surface with a paper towel until the pan looks matte, not greasy. This 30-second step is what builds that legendary non-stick surface over time and should be a non-negotiable part of your daily house cleaning routine to maintain perfection. By doing this every single time, you are effectively adding a new coat of armor to the metal.
While that final oil seal on your skillet feels like the end of the journey, it’s actually just the beginning of a larger philosophy: treating your home surfaces with the respect their chemistry demands. If you think cast iron is finicky, wait until you tackle a vintage velvet armchair or a high-traffic entryway rug. I used to be a ‘more is better’ cleaner—more soap, more water, more heat. I quickly learned that this approach is the fastest way to ruin expensive furniture. Many people assume that a heavy-duty steam cleaner is the ultimate tool for a fresh home revival, but in my experience, heat is often the enemy. For instance, why you should never use a steam cleaner on certain synthetics or wool blends is down to the fact that high temperatures can permanently shrink fibers or melt delicate glues.
The Myth of the Instant Disinfectant
We’ve been conditioned by commercials to believe that a quick ‘spray and wipe’ kills 99.9% of germs instantly. This is a dangerous misconception. Most people are essentially just moving dirt around and giving bacteria a bath. To truly sanitize, you have to respect ‘dwell time.’ According to the Environmental Protection Agency (EPA), most household disinfectants must remain visibly wet on a surface for several minutes to effectively neutralize pathogens. If you’re rushing through sanitizing hacks for safe house transitions during a move, you might be leaving behind more than just memories. Have you ever fallen into this trap of wiping too quickly? Let me know in the comments.
Why is Your Sanitized Countertop Still Crawling with Bacteria?
It comes down to biofilm. If you don’t perform a daily house cleaning routine that removes the physical layer of grease and organic matter first, your disinfectant is just sitting on top of a protective shield for germs. You have to clean the surface before you can sanitize it. This is a common hurdle when people are trying to use move-out cleaning hacks to impress a landlord; they sanitize the grime instead of removing it. 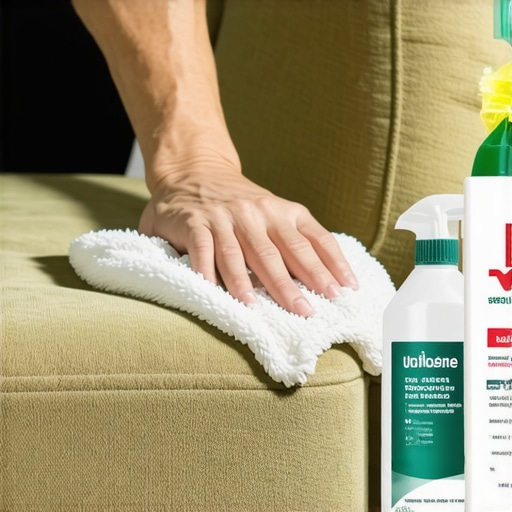
Don’t Let Over-Wetting Kill Your Sofa
The biggest ‘oops’ factor I see with upholstery is over-saturation. When a stain happens, our instinct is to douse it with cleaner. However, if you get the backing of the fabric too wet, you risk ‘wicking.’ This is when the stain sinks into the cushion foam and then migrates back to the surface as it dries, often bringing along new brown rings from the internal materials. Learning how to clean a fabric headboard without getting it too wet is a skill that translates to every piece of furniture you own. It’s better to use a dry foam or a damp microfiber cloth than to soak the piece. If you’re dealing with a delicate texture, remember the one thing you should never do is scrub against the grain, which can permanently distort the ‘nap’ of the fabric. Just like with the salt scrub on your cast iron, the goal is effective friction without total destruction. By slowing down and understanding the specific needs of your upholstery and surfaces, you ensure your home stays truly clean, not just ‘visibly’ clean.
Maintaining that ‘just-cleaned’ feeling isn’t about a Herculean effort once a month; it’s about the small, strategic choices you make daily. I’ve found that the biggest hurdle to a daily house cleaning routine to maintain perfection is often having the wrong gear. If you’re still using a cheap plastic-bristled brush on your sofa, you’re likely fraying the fibers without even knowing it. I personally swear by a natural horsehair brush. It’s soft enough for delicate linens but firm enough to agitate dust out of the weave without causing pilling. By agitating the fabric before you vacuum, you release the grit that acts like sandpaper on your upholstery fibers. This is one of those upholstery cleaning tips for a fresh home revival that professionals use but rarely talk about. When you combine this with an ultimate upholstery care guide for lasting freshness, you significantly extend the life of your furniture.
Stick to a Schedule to Save Your Sanity
The secret to never having a ‘disaster day’ is frequency. If you’re tackling a move-out cleaning strategy to secure your deposit, you know how stressful it is to face six months of grime at once. Instead, I treat my home like a high-end hotel. I focus on high-touch surfaces twice a week using effective sanitizing methods for a germ-free home. I also make sure to check my vacuum; if you don’t clean the equipment, you’re just spreading dust. I’ve written before about why your vacuum filter might be making your allergies worse, and it’s a lesson I learned after a sneezing fit that lasted three days. 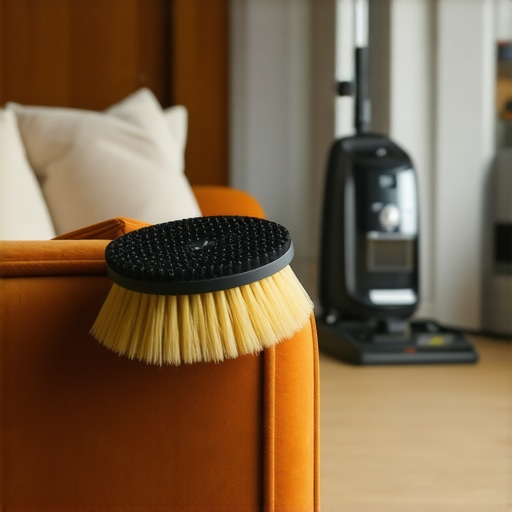
The Brush Every Couch Owner Needs
According to the Institute of Inspection Cleaning and Restoration Certification (IICRC), their S300 standard emphasizes that dry soil removal—meaning vacuuming and mechanical agitation—is responsible for removing over 70% of the soil in a typical piece of furniture. That is why the horsehair brush is my holy grail tool. I use it on everything from my sofa to my lamp shades. It’s about precision, not power. Most effective house cleaning secrets from cleaning experts center on this idea of being gentle but thorough. When you stop relying on harsh chemicals and start relying on better mechanical tools, your home stays cleaner longer because you aren’t leaving behind sticky soap residues that actually attract more dirt.
What the Future Holds for Home Hygiene
I predict that by 2030, our reliance on traditional spray bottles will diminish significantly. The future of sanitizing secrets for a safer house in 2025 and beyond lies in integrated UV-C technology and probiotic cleaners that leave behind ‘good’ bacteria to fight the bad ones for weeks after application. We are moving toward a ‘smart’ home that cleans itself at the molecular level.
How do I maintain my home’s deep-clean results over time?
Consistency is your only real weapon. I recommend setting a ’15-minute timer’ every evening. Spend those minutes solely on high-impact areas: the kitchen counters, the sofa cushions, and the entryway. If you want to see a massive difference today, try this advanced tip: use a dry, natural-bristle brush to ‘groom’ your rug or sofa in one direction after vacuuming. It resets the nap of the fabric and prevents the ‘crushed’ look that makes furniture look old before its time. It’s a small detail, but those are the details that separate a lived-in home from a truly cared-for one.
What I Finally Figured Out About Cleaning Without Killing the Character
Looking back at my grandmother’s kitchen, I realize the biggest mistake wasn’t just using the wrong soap; it was the mindset that cleanliness required destruction. First, I learned that “sterile” doesn’t always mean “clean.” If you strip away the protective oils on your wood or the seasoning on your iron, you’re just inviting damage. Second, friction is a surgical tool, not a blunt instrument. Whether you are using the salt trick or a horsehair brush, the goal is to move the debris, not the surface. Finally, I’ve accepted that a home is a living thing. It needs a deep clean that actually lasts rather than a frantic scrub every few months.
The Gear That Makes My Daily Routine Effortless
If you are looking to build your own “pro-level” cleaning kit, there are a few items I never compromise on. I trust my natural horsehair brush for upholstery because synthetic bristles are simply too aggressive for modern weaves. For glass and mirrors, I ditched the paper towels long ago for the two-cloth method for streak-free windows—it’s a total game changer. If you’re transitioning between homes, don’t guess what the landlord wants; use a move-out clean checklist to simplify your transition. These tools aren’t just about speed; they are about preserving the integrity of your belongings.
The Future of Your Clean Sanctuary Starts Today
The most important thing I can tell you is to trust the process. Whether you are maintaining a century-old skillet or trying out effective sanitizing methods for a germ-free home, your consistency is what creates the results. You don’t need to be perfect every day, but being mindful of the chemistry in your home will save you thousands in replacements over the years. As we look toward sanitizing secrets for a safer house in 2025, remember that the basics—heat, drying, and gentle agitation—will always be your best friends. Have you ever accidentally ruined a piece of furniture or a pan by being a little too enthusiastic with the cleaning? Let me know your “oops” moments in the comments below!