
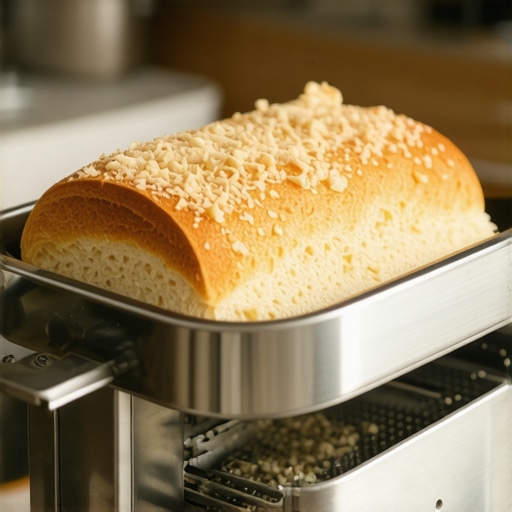
I’ll never forget the morning I thought my kitchen was actually on fire. I was just trying to crisp up a slice of sourdough, but instead of the smell of warm yeast, a thick, acrid cloud of grey smoke started pouring out of my stainless steel toaster. I panicked, unplugged the thing, and realized my mistake: I hadn’t looked at the bottom of that appliance in over a year. It wasn’t just breadcrumbs down there; it was a charred, dusty graveyard that was one spark away from a real disaster.
Why Your Kitchen Smells Like Burning Hair Every Morning
It’s easy to focus on the big stuff like upholstery cleaning tips for a fresh home revival or scrubbing the floors, but those small appliances are often the biggest culprits for odors and safety risks. When I finally flipped my toaster over, I was horrified. We often talk about the hidden crumbs in your toaster that attract kitchen pests, but the fire risk is even more pressing. According to the National Fire Protection Association, cooking equipment is the leading cause of home fires, and neglected crumbs are a fuel source right on your countertop. I used to think a quick shake over the sink was enough to keep things tidy. That was my first big mistake. Most toasters have a secret trapdoor or a slide-out tray that holds months of debris, and just shaking the unit doesn’t clear the grease that sticks to the heating elements. Have you ever noticed a weird smell when you press the lever down?
Is it really worth the effort to take the bottom off?
You might be thinking that a few crumbs won’t hurt anyone, but that buildup affects how your bread toasts and can even shorten the life of your appliance. It’s a classic example of 3 germ hotspots in your kitchen that soap alone won’t fix because it requires a specific approach. When I finally learned effective house cleaning secrets from cleaning experts, I realized that maintenance isn’t just about looks—it’s about peace of mind. Today, I’m going to show you how to deep-clean that toaster so you never have to deal with a smoke alarm at 7:00 AM again. Trust me, if I can stop my kitchen from smelling like a campfire, so can you. Have you checked your crumb tray in the last month, or are you living on the edge like I was?
Unplug Your Toaster Before You Touch Anything
Before you even think about grabbing a sponge, pull that plug out of the wall. It sounds obvious, but I once made the mistake of poking around a plugged-in appliance with a damp cloth, and the static shock was enough to make me drop my favorite mug. This isn’t just about avoiding a zap; it’s one of the most critical sanitizing hacks for safe house transitions because it protects both you and the delicate internal wiring. Treating your toaster like a high-voltage piece of equipment ensures that you can scrub without fear. Once it’s powered down, move it to a clear, dry space on your counter where you have plenty of room to work.
Dump the Crumb Tray Once and For All
Most people forget that the little slide-out tray at the bottom is essentially a fireplace for tiny bits of bread. Slide that tray out and dump the contents into the trash. If the crumbs are stuck or greasy, take it to the sink and wash it with warm, soapy water. I remember a time when I let my tray go for six months, and the grease had basically glued the crumbs to the metal. I had to use effective house cleaning secrets from cleaning experts, specifically soaking it in a bit of vinegar and dawn, just to see the silver again. Make sure this tray is 100% dry before you even think about sliding it back in, as any moisture trapped inside can lead to rust or electrical shorts. 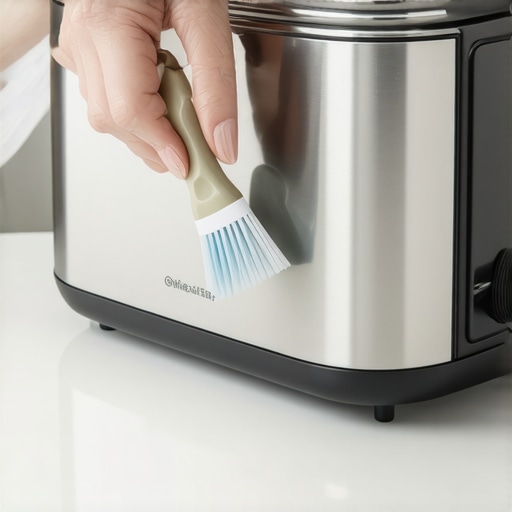
Reach the Deep Grooves With a Small Brush
Even with the tray out, there are always stubborn crumbs caught in the heating elements or the corners of the slots. Turn the toaster upside down over the sink or a trash can and give it a few gentle shakes. Don’t go wild; you don’t want to break the fragile wires inside. To get the stuff that won’t budge, I use a clean, dry pastry brush or a soft-bristled toothbrush. This is very similar to the toothbrush trick for removing pet dander from baseboard crevices because the small bristles can reach where a rag simply cannot. Gently sweep from the top down, letting the debris fall through the open bottom where the tray usually sits. It’s tedious, but the first time I did this, I realized my toaster wasn’t actually ‘broken’—it was just suffocating under a layer of burnt panko.
Bring Back the Shine to That Dull Exterior
The outside of your toaster is a magnet for fingerprints and splattered cooking oil. If you have a stainless steel model, you’ve probably noticed that it looks dull and streaky. To fix this, you need to know how to get grease off kitchen cabinets without removing the finish, as the same gentle approach applies here. Avoid abrasive scourers that leave permanent scratches. Instead, use a soft microfiber cloth with a tiny bit of glass cleaner or specialized metal polish. I’m a huge fan of the two-cloth method for streak-free windows in half the time for my appliances as well. Use one damp cloth to cut through the grime and a second, bone-dry cloth to buff the surface to a mirror finish. This stops that annoying problem where your stainless steel appliances look smudged after wiping. By the time you’re done, the toaster should look as good as the day you unboxed it.But while you’re buffing that toaster, I want to pull back the curtain on a bigger mistake I see almost everyone make during a deep clean. We’ve been conditioned to think that more soap equals a cleaner home, but in reality, over-using products is the fastest way to ruin your surfaces. When I was prepping for a big move, I thought drenching my sofa in cleaner was the best of the upholstery cleaning tips for a fresh home revival. I was wrong. I ended up with a crunchy, sticky mess because I didn’t realize that residue actually attracts more dirt. This is exactly why your floors feel sticky even after you finished mopping—you’re basically creating a magnet for grime.
The Big Vinegar Lie You’re Probably Falling For
Everyone treats white vinegar like a magic potion, but here is the contrarian truth: it can be your kitchen’s worst enemy. If you have natural stone, using vinegar is a recipe for permanent etching. I’ve seen beautiful islands ruined because someone didn’t know why vinegar is not always the best choice for granite countertops. It’s a classic trap where we prioritize natural over compatible. 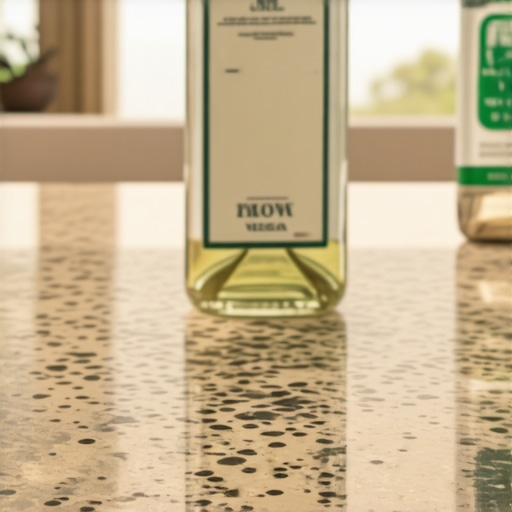 Always check your material’s pH sensitivity before you go the DIY route.
Does Dwell Time Actually Matter for Your Health?
Most people spray a surface and wipe it immediately. If you’re doing this, you aren’t actually sanitizing; you’re just moving dirt around. To achieve effective sanitizing methods for a germ-free home, you have to respect dwell time. According to the Environmental Protection Agency (EPA), most household disinfectants need to remain visibly wet on a surface for 4 to 10 minutes to effectively kill viruses and bacteria. Wiping it off after five seconds is a huge mistake that leaves the invisible germs behind. This is one of those sanitizing secrets for a safer house in 2025 that separates the amateurs from the pros. If you skip this step during a move-out cleaning hack, you’re essentially leaving a bio-hazard for the next tenant.
Don’t Steam Your Problems Away Too Fast
Another advanced nuance involves heat. We assume heat kills everything, but understanding why you should never use a steam cleaner on these specific upholstery fabrics comes down to protein-based stains and delicate fibers like silk or S coded polyesters. If you steam a fresh blood or milk stain, you effectively cook the protein into the fiber, making it permanent. This is a common reason why your living room still smells like pets after you vacuum—you’ve baked the odor into the padding rather than extracting it. Have you ever fallen into this trap of over-cleaning and making things worse? Let me know in the comments.It’s one thing to get your kitchen or living room looking like a magazine cover for a day, but keeping it that way is where the real work begins. I used to think I needed a massive closet full of chemicals, but I’ve since scaled back to a few high-quality tools that actually deliver. For starters, if you aren’t using a vacuum with a certified HEPA filter, you’re likely just redistributing allergens back into the air you breathe. The IICRC S300 Standard for Professional Upholstery Cleaning emphasizes that dry soil extraction is 90% of the battle; if you don’t remove the dry particulate first, the wet cleaning process just creates a slurry of mud deep in the fibers. This is why I always tell people to consult the ultimate upholstery care guide for lasting freshness before they touch a single drop of water.
How do I keep the results from fading after a deep clean?
The secret isn’t more scrubbing; it’s a consistent daily house cleaning routine to maintain perfection. I personally use a ‘micro-cleaning’ approach where I tackle one high-traffic area for just five minutes every morning. For my upholstery, I keep a lint roller and a stiff nylon brush nearby—the kind used by automotive detailers. This helps me lift pet hair and dust before they become woven into the fabric. If you’re preparing for a transition, following move-out cleaning strategies to secure your deposit will save you from the stress of a three-day cleaning marathon at the end of your lease. 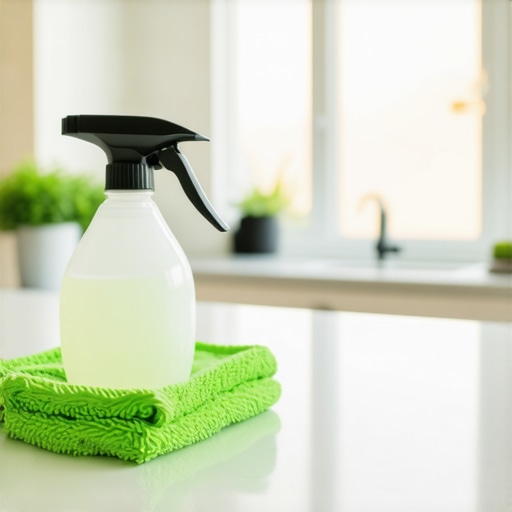 I’m also a huge advocate for using pH-neutral cleaners for almost everything. Many off-the-shelf ‘multi-surface’ sprays are far too alkaline or acidic, which can strip the finish off your floors or the luster from your fabrics over time. When I’m implementing house cleaning strategies for a sparkling home today, I reach for a dedicated pump sprayer instead of those cheap trigger bottles that fail after two weeks. It gives a more even mist, which is vital for respecting the dwell time we talked about earlier. Looking ahead, I predict we are going to see a massive shift toward AI-integrated ‘smart’ cleaning tools. Imagine a vacuum or a steam cleaner that can detect exactly what fabric it’s on and automatically adjust the temperature and suction power to prevent damage. We’re already seeing early versions of this in high-end robotic vacuums that map out different flooring types. For now, the best tool you have is knowledge and high-quality textiles. Start by swapping your generic rags for 400 GSM microfiber cloths. They hold more water and trap more dirt than the cheap ones you buy in bulk at the grocery store. My big challenge for you this week: pick one appliance—your toaster, your microwave, or your coffee maker—and apply the dwell time rule. Let the cleaner sit for a full five minutes and see how much easier the grime comes off without the need for heavy scrubbing.
The Hardest Lessons My Kitchen Toaster Taught Me About Deep Cleaning
Looking back at that smoky morning, I realized that my approach to maintenance was all wrong. I was focused on the visible surfaces but ignoring the literal fuel sources hiding in my appliances. One of the biggest lightbulb moments I had was learning that dry cleaning—simply brushing or vacuuming out dust and crumbs—is actually more effective than dousing everything in liquid. This is one of those effective house cleaning secrets from cleaning experts that saves you from creating a muddy mess in tight corners. I also learned that more soap usually means more dirt later; the residue left behind acts like a magnet for fresh grime. If you skip the simple shake-out, you’re not just risking a smell; you’re risking a countertop emergency.
#IMAGE_PLACEHOLDER_E#
Tools I Actually Trust to Keep My Home Spotless
If you want to move beyond the basics, you need to stop using whatever is under the sink and get intentional with your gear. First, check your vacuum. If it doesn’t have a HEPA seal, why your vacuum filter might be making your allergies worse 2 is likely because it’s spitting fine dust back into your lungs every time you try to tidy up. I also swear by 400 GSM microfiber cloths. Unlike the thin rags from the grocery store, these are dense enough to actually trap oils and bacteria rather than just smearing them around. Finally, I recommend a simple move-out clean checklist to simplify your transition, even if you aren’t moving. It serves as a master map for all the spots we usually forget, like the top of the fridge or the inner tracks of the sliding door.
Take Control of Your Space Today
Cleaning shouldn’t feel like a punishment or a day-long marathon. By focusing on small, high-impact tasks—like that five-minute toaster refresh—you’re protecting your home and your peace of mind. Integrating a daily house cleaning routine to maintain perfection prevents the mountain of chores from ever forming in the first place. You’ve got the tools and the knowledge now, so go ahead and unplug that toaster. You’ll be amazed at how much lighter your kitchen feels when the hidden grime is finally gone. Have you checked the bottom of your toaster lately, or did you find something unexpected in there? Let me know in the comments below!