
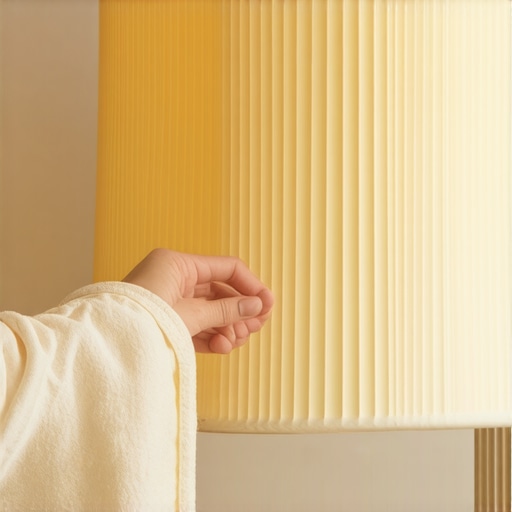
I stood there, lint roller in one hand and a prayer in the other, looking at my grandmother’s vintage silk lampshade. It was a beautiful, intricate piece, but it had spent the last decade in an attic, and it was currently wearing a thick, fuzzy coat of gray dust that seemed glued to the delicate fibers. My first instinct was to grab a damp cloth and start scrubbing, but a memory of a previous disaster stopped me cold. A few years ago, I tried to wipe down a pleated paper shade with a wet sponge, thinking I was being thorough. In seconds, the paper warped, the glue dissolved, and I was left with a soggy, misshapen mess that went straight into the trash. It was a heartbreaking lesson in why some things need a much gentler touch. We spend so much time worrying about upholstery cleaning tips for a fresh home revival, yet we often ignore the very things that sit right at eye level, casting a literal shadow on our decor. When you see dust dancing in the light beams of your living room, you might wonder why your vacuum is blowing dust back into the air, but the real culprit is often the static-cling of those fabric shades. Today, I am going to share the low-stress, no-moisture method that saved my vintage find and will keep your home looking sharp.
Stop Fighting with Those Dusty Pleated Shades
The problem with lamp shades is that they aren’t just fabric; they are fabric stretched over wire, often held together by age-old adhesives that hate moisture as much as a cat hates a bath. When you ignore them, the heat from the bulb actually ‘bakes’ the dust into the material, making it even harder to remove later. This isn’t just about aesthetics, either. According to the American Lung Association, accumulated dust in household textiles can significantly impact indoor air quality and trigger allergies, making those fuzzy shades a secret health hazard. I used to think that real cleanliness required harsh chemicals or heavy scrubbing, but I’ve learned some effective house cleaning secrets from cleaning experts that prove less is often more. For delicate silk, parchment, or hand-painted shades, the ‘wet’ approach is your absolute worst enemy. You need tools that lift the dust away rather than pushing it deeper into the weave. Have you ever accidentally ruined a favorite piece of decor by being just a little too enthusiastic with the cleaning spray? I certainly have, and it’s a mistake you only want to make once.
Is it actually possible to clean silk without a pro?
Many people assume that once a high-end lamp shade gets dirty, it’s a lost cause or requires a trip to a specialized dry cleaner. I’m here to tell you that’s a myth. While it’s true that you can’t just toss a silk shade into the wash, you can absolutely restore its luster with a few household items you probably already have in your junk drawer. The skepticism is understandable—silk is finicky and parchment is fragile. But by focusing on dry-extraction methods, you protect the structural integrity of the shade while removing the grit that dulls its appearance. We are going to dive into the exact tools that work, from the humble paintbrush to the surprising power of a piece of bread, so you can stop fearing the dust and start enjoying the glow again.
Start with the Gentlest Touch Possible
Before you even think about touching the shade, you need to prepare the area. Think of a lamp shade like a magnet for airborne debris; once you start moving things around, that dust wants to find a new home immediately. I always recommend working over a drop cloth or even a large towel to catch the fallout. This is very similar to how you would prep for a move-out clean checklist to simplify your transition, where containment is half the battle. If you don’t contain the dust, it simply migrates to your carpets or furniture, leading to more work later. Always remove the shade from the base. Trying to clean a shade while it is still attached to a lamp is a recipe for a knocked-over heirloom and a broken bulb.
Grab a Clean Paintbrush First
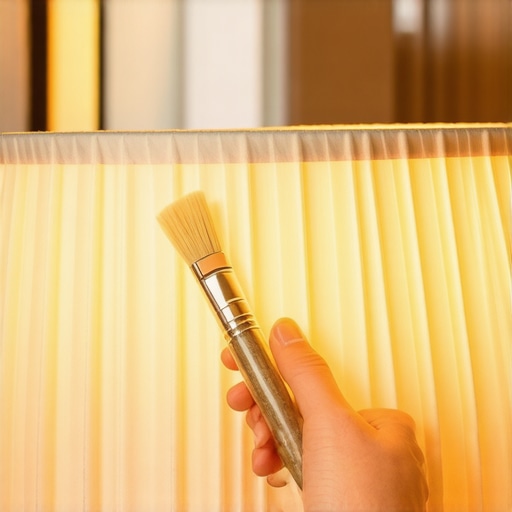
For silk and fine fabric, a soft-bristled paintbrush is your best friend. It acts like a precision tool, reaching into the microscopic valleys of the fabric weave. I use a 2-inch brush with natural bristles because they have enough ‘give’ to be gentle but enough structure to flick the dust away. Start at the top of the shade and work your way down in short, vertical strokes. This is one of those effective house cleaning secrets from cleaning experts: always work with gravity. If you start at the bottom, you’ll just be raining dust down onto the areas you’ve already cleaned. It’s exactly like the logic used when people ask why professional cleaners always start at the top of the room. Cleaning a silk shade is like grooming a long-haired cat—one wrong move with a wet hand and you’ve got a tangled, matted mess that’s impossible to fix.
The Magic of the Dry Sponge
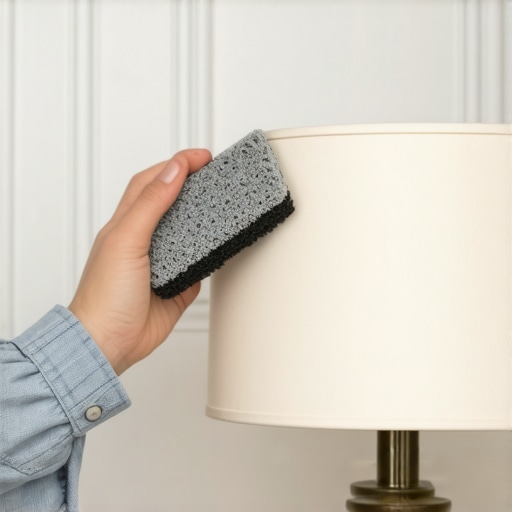
If the dust has moved beyond a light coating and into a ‘film’ (usually caused by cooking oils or smoke in the air), the paintbrush won’t be enough. This is where a dry cleaning sponge—often called a chemical sponge—comes into play. These are made of vulcanized rubber and are designed to lift soot and smoke without moisture. I remember the first time I used one on a shade in a house where the previous owner was a heavy smoker. I thought for sure I’d need a pro, but as I wiped the sponge across the fabric, it lifted the yellowed grime like a literal eraser. You don’t rub; you use long, firm strokes. When the sponge gets black, you just shave off the dirty layer with a pair of scissors and keep going. This technique is actually part of the ultimate upholstery care guide for lasting freshness because it protects the underlying fibers from water damage.
The Bread Hack for Stubborn Spots
It sounds like an old wives’ tale, but using a piece of white bread is a legitimate way to clean parchment or paper shades. You take a piece of plain white bread, remove the crusts, and roll it into a ball. Dabbing this over the surface of a paper shade lifts oils and fingerprints that a brush can’t touch. I tried this on a mid-century modern paper shade that had a giant thumbprint right in the middle of the pleat. I was terrified I’d leave a grease stain from the bread, but the starches in the bread acted like a gentle adhesive for the grime. It’s similar to how to clean a fabric headboard without getting it too wet; you are looking for a dry transfer of dirt. Just make sure the bread isn’t the seeded variety, or you’ll be picking rye out of your decor for weeks.
Dealing with Intricate Pleats and Fringes
Pleated shades are the most difficult because they have so many ‘pockets’ for dust to hide. If your vacuum has a brush attachment and variable suction, you can use it, but only if you cover the nozzle with a piece of pantyhose secured by a rubber band. This prevents the vacuum from sucking the fabric into the nozzle and causing a permanent crease. This is a common strategy for upholstery cleaning tips for a fresh home revival. I once forgot the pantyhose trick and the vacuum literally ate a 1940s fringe. I had to spend three hours with a needle and thread trying to reconstruct the damage. Now, I stick to the ‘blow and brush’ method. Use a hair dryer on the ‘cool’ setting to blast dust out of the pleats while simultaneously flicking it away with your paintbrush. This ensures the dust is truly gone and not just relocated to another fold.
I see it all the time in DIY forums: someone recommends ‘deep cleaning’ an old fabric shade by dunking it in a bathtub of soapy water. Please, for the love of your decor, do not do this. While the intention is pure, the physics are a disaster. Most people assume that cleanliness is a product of volume—more water, more soap, more scrubbing. But when dealing with high-end textiles, the opposite is true. Expertise in this field isn’t about how hard you can scrub; it’s about understanding the chemistry of the fibers and the mechanics of the bond holding that shade together. You have to move beyond the basics of a daily house cleaning routine to maintain perfection and start thinking like a conservator.
Stop Thinking Steam is a Universal Solution
One of the biggest myths in the cleaning world is that steam is the ultimate ‘safe’ sanitizer for everything. While it’s great for floor tile, you should know why you should never use a steam cleaner on these specific upholstery fabrics, especially silk and parchment shades. The high heat doesn’t just clean; it denatures proteins in natural fibers and can liquefy the specialized glues used in lamp construction. I’ve seen beautiful pleated shades simply slide off their wire frames because the steam turned the adhesive back into a liquid. If you are preparing for a move, you might be tempted to blast everything with heat as part of your sanitizing hacks for safe house transitions, but with lamp shades, you are likely to cause permanent ‘cellulosic browning’—those ugly brown water rings that no amount of cleaning can remove.
Does Dry Cleaning Actually Kill Bacteria and Viruses?
This is the question I get most often from readers who are worried about germs but own delicate items. The short answer is yes, but it’s about the method, not the moisture. According to the Institute of Inspection Cleaning and Restoration Certification (IICRC), the removal of the soil itself is the first and most critical step in sanitization. By using a dry-extraction method—like the dry sponge or the soft brush techniques I mentioned earlier—you are physically removing the organic matter that bacteria thrive on. For a more intensive approach without the risk of warping, look into effective sanitizing methods for a germ-free home that utilize UVC light or specialized dry-chemical mists rather than saturation.
The Invisible Risk of Frame Bleed
Here is the ‘oops’ factor that ruins more vintage shades than anything else: the frame itself. Many older lamp shades use iron or low-grade steel wires. The moment you introduce moisture, even a ‘gentle’ misting, you risk triggering instant oxidation. This leads to rust ‘bleed,’ where bright orange spots seep through the fabric from the inside out. Once that rust hits the silk, it’s chemically bonded. This is why I always emphasize the ultimate upholstery care guide for lasting freshness which focuses on moisture control. If you absolutely must use a damp cloth for a stubborn spot, you must dry the area immediately with a hair dryer on a cool setting to prevent the metal underneath from reacting. It’s a high-stakes game of speed that most beginners lose.
Cleaning your home’s most delicate accents shouldn’t feel like a gamble. When you respect the materials and avoid the ‘water-fixes-everything’ trap, you can keep those heirloom pieces for decades. Have you ever fallen into this trap or accidentally ruined a shade by being too thorough? Let me know in the comments below, and let’s troubleshoot your toughest cleaning dilemmas together!
The Only Tools That Actually Touch My Heirlooms
If you are serious about preserving high-end textiles, you have to move beyond the grocery store cleaning aisle. I personally swear by a specialized kit that includes a high-quality horsehair detailing brush—the kind used by automotive restorers for delicate leather. These bristles are softer than nylon and won’t snag the fine threads of a silk shade. I also recommend investing in a vacuum with a certified HEPA filter. If you have ever wondered why your vacuum filter might be making your allergies worse, it is likely because a low-quality filter is simply recirculating the microscopic dust you just worked so hard to remove. For those preparing for a transition, these tools are essential components of any move-out clean checklist to simplify your transition, ensuring you don’t leave a trail of allergens behind for the next tenant.
How can I keep my shades looking brand new for years?
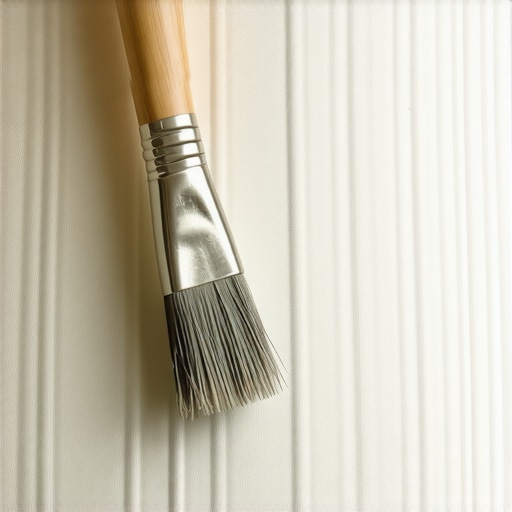
Maintenance is less about a single deep clean and more about a consistent, gentle cadence. I integrate shade dusting into my daily house cleaning routine to maintain perfection, using a quick blast from a handheld air blower (the kind used for computer keyboards) once a week. This prevents the ‘baking’ effect I mentioned earlier. According to the Smithsonian Museum Conservation Institute, dust is not just unsightly; it acts as a catalyst for chemical degradation when combined with the heat from your light bulbs. To combat the germs without the moisture, I’ve started using a handheld UVC wand. This is one of the most effective sanitizing methods for a germ-free home because it kills bacteria at a DNA level without ever touching the fabric. It is a vital part of the ultimate upholstery care guide for lasting freshness, especially for items that can’t handle traditional liquid disinfectants.
Look Toward the Future of Dust-Repellent Design
Looking ahead to 2025 and beyond, I predict we are going to see a massive shift toward ‘self-cleaning’ textiles. We are already seeing the emergence of nanocoatings that use the lotus effect to repel dust and oils entirely. Imagine a silk lamp shade that literally cannot get dirty because the fibers are engineered at a molecular level to be hydrophobic and oleophobic. Until that becomes the standard for every household, we have to rely on smart techniques. If you’re feeling overwhelmed by a particular stain or a fragile vintage piece, don’t risk a DIY disaster. Reach out to us through our contact page so we can help you walk through the process. I challenge you to try the ‘cool-air hairdryer’ trick on your most pleated shade this weekend—you will be shocked at how much brighter your room feels when the light isn’t fighting through a layer of gray film.
Hard-Won Lessons from My Textile Restoration Disasters
After years of experimenting with high-end decor, I have learned that the most important cleaning agent you possess is actually patience. If you rush a stain on silk or parchment, you are essentially making it a permanent part of the design. I once tried to ‘speed dry’ a damp spot with a high-heat blow dryer, only to watch the fabric shrink and pull away from the wire frame in real-time. This taught me that the ultimate upholstery care guide for lasting freshness is really about temperature control and minimal intervention. I also discovered that ambient humidity matters; trying to dry-clean a paper shade on a rainy day when the air is thick with moisture can lead to unexpected warping. Most importantly, always test a tiny, hidden section of the internal frame before you start; if the metal is cheap, even a hint of moisture can cause rust to bleed through the fabric, ruining the piece forever.
The Specialized Kit I Keep for Fragile Decor
If you want results that look like you hired a pro, you need to step away from the multi-purpose sprays. I recommend four specific items that should be in every home restoration kit. First, a horsehair detailing brush is non-negotiable for silk pleats because the bristles are softer than synthetic fibers. Second, I always use a vacuum with a HEPA filter to prevent redistributing the grit; if you’ve noticed why your vacuum filter might be making your allergies worse, it is likely because it is missing this critical filtration. Third, keep a fresh dry-cleaning sponge on hand for smoke film, and finally, consider a UVC light wand. This is one of the most effective sanitizing methods for a germ-free home because it kills bacteria on delicate textiles without using a single drop of liquid.
#IMAGE_PLACEHOLDER_E#
Give Your Living Room the Glow It Deserves
The first time I successfully restored my grandmother’s vintage shade, the entire atmosphere of my living room shifted. It wasn’t just that the light was brighter—it was that the ‘stale’ feeling of the room vanished along with the dust. Reclaiming your home from years of neglect doesn’t have to be a high-stakes gamble. When you apply these upholstery cleaning tips for a fresh home revival, you are protecting your investment and your history. Just remember the golden rule of high-end textiles: if you are in doubt, stay dry. Avoid the temptation to blast away grime with heat, especially since you now know why you should never use a steam cleaner on these specific upholstery fabrics. You have the tools, the techniques, and the confidence to make your home shine from the top down. Have you ever accidentally ruined a shade by trying to wash it, or do you have a secret hack for those tricky pleats? Let me know in the comments below!