
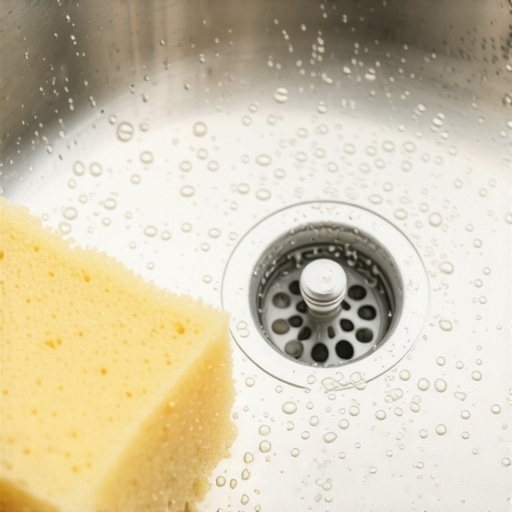
I used to be the person who thought a quick spray of the faucet and a squirt of dish soap made my kitchen sink clean enough to prep a salad in. I was wrong. Dead wrong. I remember one Tuesday evening, I was rushing to finish a move-out clean for a friend and realized my own sink at home smelled slightly off. It wasn’t until I really looked at the grime hiding in the drain flange that I realized I’d been living in a bacterial minefield. If you’ve ever felt like your kitchen always has a weird lingering scent, you’re not alone. Today, I’m going to show you exactly why that stainless steel basin is hiding more than just yesterday’s leftovers and how we can fix it together.
Your Sink Is Way Grubbier Than Your Toilet Seat
It sounds like a gross urban legend, doesn’t it? But it’s the cold, hard truth. I spent years focusing all my energy on house cleaning strategies for a sparkling home while completely ignoring the damp environment where I wash my vegetables. According to a study by the National Sanitation Foundation (NSF), the kitchen sink is actually the most germ-ridden place in the average home, often harboring more E. coli and salmonella than the bathroom. I made the massive mistake early on of thinking that because the sink gets wet and soapy all day, it basically cleans itself. That logic is a recipe for disaster. We need to talk about sanitizing secrets for a safer house in 2025 because a simple rinse just doesn’t kill the colonies growing in your drain.
Is it actually worth the extra effort to deep clean a sink every single day?
You might be thinking that life is too short to scrub the sink every night. I get it. I’m a busy neighbor too. But when you realize that your cutting boards and dishes are being rinsed in a basin that is potentially crawling with more pathogens than a public restroom, the motivation kicks in pretty fast. Have you ever noticed a slimy film around your drain or felt a bit skeptical about the cleanliness of your kitchen after a long day of cooking? Let me know if you’ve ever had that lightbulb moment where you realized your kitchen was hiding a secret. We are going to dive into effective house cleaning secrets that will actually protect your family and make that stainless steel shine again. Setting the stage for a truly clean home starts right here at the faucet.
The Three-Step Scrub That Actually Kills Germs
First, clear everything out. If you have dishes piled up, tackle those first because we need an empty canvas. I treat the sink basin like a high-traffic zone on a carpet; it needs a thorough prep before the real work begins. If you’ve ever wondered why your carpet is still dirty after you shampooed it, the answer is usually the same as a dirty sink: you didn’t remove the surface debris first. Once empty, rinse the basin with hot water to loosen any dried-on grease. Treating the sink as part of your daily house cleaning routine to maintain perfection prevents that overwhelming crust from building up in the first place.
Turn Your Sink Into a No-Fly Zone for Bacteria
Grab some baking soda. It’s a mild abrasive that won’t scratch your stainless steel but will lift off the film of biofilm. Think of it like a gentle facial for your kitchen. Sprinkle it liberally and use a sponge to work it into a paste. I remember a particularly nasty move-out clean where the sink was almost black. I spent twenty minutes just on the corners, realizing that effective sanitizing methods for a germ-free home always involve physical agitation, not just spraying a chemical and walking away.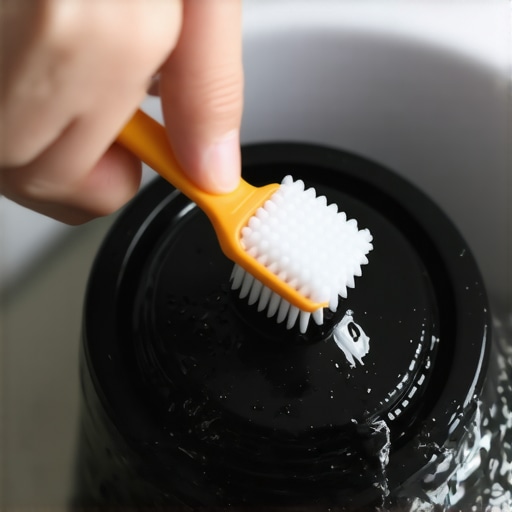
The Drain Is Where the Real Horror Lives
This is the part most people skip. That rubber splash guard in your disposal? It’s a breeding ground. I once pulled mine out and found a layer of slime so thick it looked like something out of a sci-fi movie. Take an old toothbrush and scrub the underside of that rubber. It’s one of those sanitizing hacks for safe house transitions that separates the amateurs from the pros. If you’re dealing with odors, use the vinegar and baking soda trick for clogged drains to fizz away the gunk hiding in the pipes. I’ve seen people use a move-out clean checklist to simplify your transition, and the sink drain is often the difference between getting a deposit back and getting a bill.
Make It Shine Like a Showroom
Once the scrubbing is done and the drain is sanitized, rinse everything with the hottest water your tap can provide. To get that mirror-like finish, use a dry microfiber cloth and a drop of olive oil or mineral oil. It sounds counterintuitive to put oil in a clean sink, but it creates a water-repellent barrier. It’s the same logic behind the secret to making your stainless steel sink shine like new. I used this trick during a friend’s frantic move-out, and her landlord actually asked if she’d bought a new sink. Knowing what your move-out inspector is really looking for in the kitchen can save you hundreds in deposit deductions. Buffing the surface dry ensures no hard water spots form, keeping it looking fresh until the next meal prep.
Why Your Clean Sink Might Still Be a Germ Factory
You’ve got the shine, but let’s dig deeper into the invisible mistakes most of us make. Most people believe that if a surface looks sparkling, it’s sanitized. This is a dangerous misconception. In my years of refining house cleaning strategies for a sparkling home today, I’ve learned that ‘clean’ is a visual state, but ‘sanitized’ is a microscopic one. A common contrarian view I hold is that using more chemicals doesn’t lead to a cleaner home; it often leads to a sticky residue that actually traps more bacteria. This biofilm acts like a magnet for the very germs you’re trying to kill. If you’ve ever noticed your surfaces feeling slightly tacky after a deep clean, you’ve fallen into the residue trap.
Stop Spraying Directly on Your Countertops
Here is the big ‘oops’ factor that even seasoned cleaners miss. Why you should never spray cleaning products directly on surfaces comes down to two things: overspray and uneven distribution. When you spray a fine mist, much of it stays airborne or lands on things you didn’t intend to clean—like your fruit bowl or clean dishes. Instead, spray your microfiber cloth first. This ensures you’re applying a concentrated, even layer of disinfectant exactly where it’s needed. This nuance is especially critical when you’re following upholstery cleaning tips for a fresh home revival. Spraying liquids directly onto fabric can lead to water spots or, worse, mold growth deep inside the cushions. 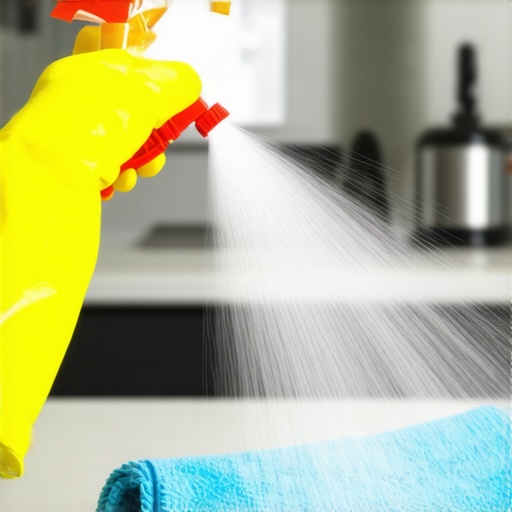
Is it possible to over-sanitize your kitchen?
It’s a sophisticated question that many of my most meticulous neighbors ask. According to research led by Dr. Charles Gerba at the University of Arizona, the issue isn’t just the frequency of cleaning, but the method of cross-contamination. If you use the same sponge for the sink as you do for the counters, you aren’t sanitizing; you’re just relocating E. coli. Using effective sanitizing methods for a germ-free home means using color-coded cloths or disposable wipes for high-risk zones. Over-relying on harsh disinfectants without proper mechanical scrubbing (the ‘elbow grease’ part) can also lead to resistant bacterial strains in your own home.
Expert Secrets for Soft Surfaces and Fabric
When we transition from the sink to the rest of the house, the rules change. A major mistake in move-out cleaning strategies to secure your deposit is ignoring the soft surfaces. Most people try to scrub a stain out of a couch immediately, but why professional cleaners always vacuum the sofa before wiping it is because adding liquid to dry dust creates mud. This ‘mud’ then sinks deeper into the fibers, making the stain permanent. Whether you are consulting an ultimate upholstery care guide for lasting freshness or just doing a weekly touch-up, always remove the dry particulates first. Mastering these sanitizing secrets for a safer house in 2025 requires a shift in perspective. Have you ever fallen into the trap of thinking ‘more spray equals more clean’? Let me know in the comments below, and let’s troubleshoot your toughest cleaning hurdles together.
To keep these results from fading by next Wednesday, we have to talk about the ‘gear’ that actually makes a difference. I used to grab those bulk packs of yellow rags from the hardware store, but I quickly learned why my microfiber cloths are leaving lint everywhere. If you want professional results, you need a cloth with a high GSM (grams per square meter). I personally swear by 300 GSM split-fiber microfiber. The ‘split’ part is the secret—it creates tiny hooks that physically grab bacteria and lock them away rather than just pushing them around the counter. This is the foundation of house cleaning strategies for a sparkling home today.
Switch to Steam and Ditch the Chemical Bucket
If I could only keep one tool in my cleaning closet, it would be a high-pressure steam cleaner. It’s the ultimate game-changer for someone who hates the smell of bleach but wants a lab-clean environment. When you learn how to sanitize your bathroom floor using steam alone, you realize that heat is a much more efficient killer of pathogens than most household sprays. I’ve used steam to blast out the grime in sliding door tracks and to refresh a tired sofa without using a drop of soap. It’s a core part of effective sanitizing methods for a germ-free home because it reaches temperatures that instantly denature proteins in viruses and bacteria.
How do I maintain this level of sanitization without burning out?
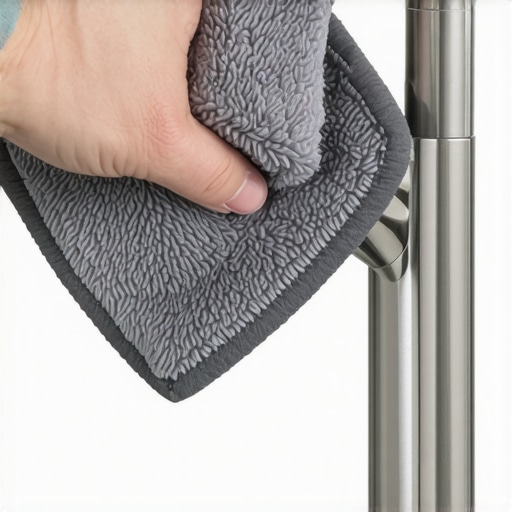
The trick is ‘zoning’ your maintenance. Don’t try to deep clean the whole house on Saturday morning. Instead, integrate small tasks into your daily house cleaning routine to maintain perfection. For example, I keep a dedicated microfiber cloth under the sink just for a ten-second buff of the faucet after the dinner dishes are done. This prevents mineral buildup and keeps the area dry so bacteria can’t thrive. According to the Environmental Protection Agency (EPA), many disinfectants require a ‘dwell time’ of up to ten minutes to be fully effective (check their ‘List N’ for specific product requirements). Most people wipe it off in ten seconds, essentially wasting the product. My strategy? Spray, walk away to fold one load of laundry, then come back to wipe. It’s about working smarter, not harder.
The Future of Home Hygiene and Smart Sensors
I predict that in the next five years, we won’t be guessing if our sinks are clean. We are already seeing the rise of UV-C integrated faucets and smart sensors that can detect organic matter on surfaces. We are moving toward a ‘proactive’ home where your appliances will alert you when a biofilm is starting to form. Until then, mastering upholstery cleaning tips for a fresh home revival and staying consistent with your kitchen sanitization is your best defense. If you’re feeling overwhelmed, start with just one thing tonight: dry-buff your sink after you use it. You’ll be amazed at how much cleaner the whole room feels when that one surface shines. If you’ve got a specific stain or a ‘mystery smell’ you can’t solve, reach out through my contact us page—I love a good cleaning challenge!
The Hard Lessons I Learned While Chasing a Truly Sterile Kitchen
Over the years, I’ve realized that clean is often just a feeling, while sanitized is a result. One major lightbulb moment was discovering that my cleaning tools were often the culprits. If you don’t sanitize your reusable water bottle properly or swap your sponges daily, you’re just moving the mess around. I also learned that the area surrounding the sink is just as vital; knowing how to clean the space between the stove and countertop prevents food debris from attracting pests that then migrate to your sink basin. Finally, never underestimate the power of a dry surface. Bacteria love moisture, so that final buff with a dry cloth isn’t just for vanity—it’s a tactical strike against regrowth.
Gear That Actually Belongs in Your Cleaning Cabinet
I don’t believe in cluttering your home with gadgets. Instead, focus on these staples that changed my life. First, high-quality 300 GSM microfiber cloths—they are the workhorses of any sanitizing hacks for safe house transitions. Second, a long-handled stiff brush specifically for cleaning the area under the kitchen sink, where leaks and dust bunnies often hide. Finally, don’t ignore the bin nearby; learning about the hidden grime on the bottom of your trash can and how to kill it ensures that the odors you’ve scrubbed out of your sink don’t just relocate to the floor.
#IMAGE_PLACEHOLDER_E#
Build a Home That Breathes Better Tonight
Taking control of your kitchen’s hygiene doesn’t have to feel like an uphill battle. It starts with small, intentional shifts in how you view your surfaces. Whether you are tackling a deep move-out clean or just refining your evening flow, remember that every scrub makes your environment safer for the people you love. By mastering these sanitizing techniques, you aren’t just cleaning a house; you are creating a sanctuary. I’m so excited for you to feel that sense of peace when you walk into a kitchen that truly shines from the inside out. What’s the one spot in your kitchen that always seems to collect grime no matter how often you scrub? Let me know in the comments below!