
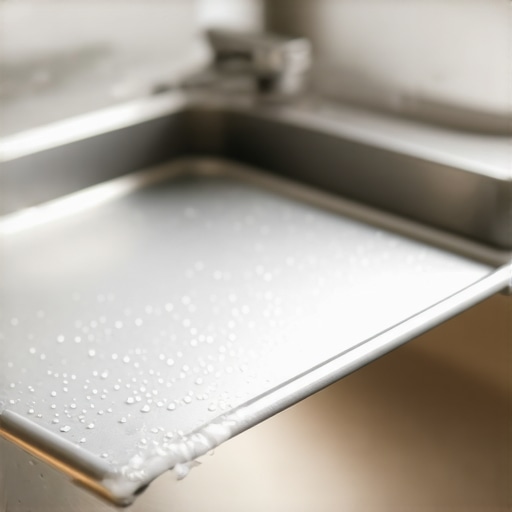
I’ll never forget my first apartment move-out in Kansas City. I had scrubbed the baseboards until my fingers bled and even tackled the hidden grime under the trash can. I felt invincible. Then, the landlord walked in, slid out the toaster tray, and tipped a mountain of charred bread crumbs onto the floor. His look said it all. It’s funny how the smallest things—the ones we use every single morning—are the easiest to overlook when you’re following a move-out clean checklist. I was embarrassed, and honestly, a little annoyed at myself.
My Nightmare with the Move-Out Inspector
That one neglected tray taught me a lot about what your move-out inspector is really looking for in the kitchen. It wasn’t just about the mess; it was about the detail. I thought I knew house cleaning secrets, but that burnt-on carbon was like a permanent part of the metal. I tried scraping it with a butter knife. Bad idea. I scratched the tray, which made it look even worse and probably caught more crumbs later. That’s why I’m here today. I want to show you the absolute best way to clean a toaster tray before your final walkthrough so you can secure your deposit without the drama. [IMAGE_PLACEHOLDER]
Is a tiny crumb tray really going to cost me money?
Short answer: Yes. Inspectors look for neglected appliances because it signals how you treated the rest of the home. It’s a psychological thing. According to the National Fire Protection Association, toaster-related fires are a significant risk when crumbs are left to accumulate and ignite near heating elements. So, it’s not just about aesthetics; it’s a safety issue. Today, we’re going to fix it using cleaning methods without harsh chemicals.
The Easy Way to Handle Burnt-on Messes
Early in my “cleaning journey,” I made the mistake of soaking the entire toaster in the sink. Don’t do that. You’ll ruin the heating element and definitely lose your deposit if the next tenant gets a shock. Instead, we’re focusing on the tray itself. Have you ever been blindsided by a “small” cleaning task during an inspection? Let me know in the comments if you’ve had a similar “crumb catastrophe.” Now, let’s get into the nitty-gritty of the process that changed everything for me and finally gave me peace of mind during move-out day.
Clear the decks and unplug first
I once saw a friend try to shake out a toaster while it was still plugged in. It didn’t end in a hospital visit, but the sparks were enough to convince me that safety is the first step in any daily house cleaning routine. Unplug the unit. It sounds obvious, but when you’re stressed about a move-out clean checklist, you might skip the basics. Move the toaster to a flat, well-lit surface—ideally near your kitchen sink so you aren’t carrying a tray of loose crumbs across the carpet. This prevents you from having to look up why your vacuum isn’t picking up dirt later because you’ve ground charred bread into the rugs.
My battle with the black crust of 2019
I lived in a rental near the Plaza where the previous tenants had clearly never heard of a crumb tray. When I finally pulled it out, it wasn’t just dirty; it had a literal topographical map of burnt carbon. I initially reached for a wire brush, but luckily I remembered a tip about never using a wire brush on delicate surfaces—the same logic applies to these thin metal trays. Instead, I grabbed a box of baking soda and a lemon. It took three rounds of scrubbing, and my kitchen smelled like a science project, but that tray eventually looked brand new. It was a huge win for my deposit refund strategy.
Use the salt and soda trick for stubborn spots
If the crumbs are fused to the metal, you need an abrasive that won’t destroy the finish. Mix two tablespoons of baking soda with a teaspoon of coarse salt. These are house cleaning secrets that pros use to avoid scratching surfaces. Sprinkle the mixture onto the dry tray and use a damp microfiber cloth to rub in small circles. The salt provides the grit while the soda reacts with the acidic oils in the burnt food. 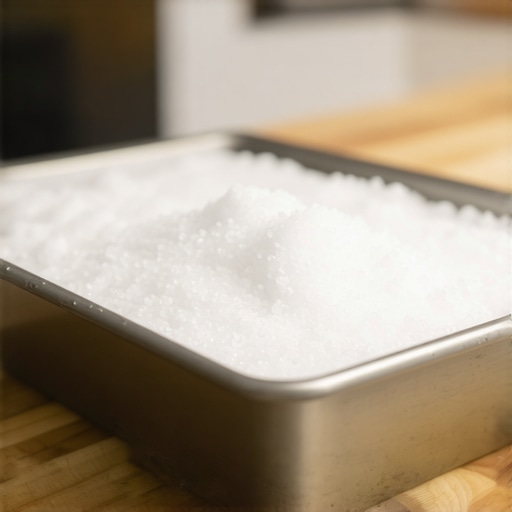
Make a paste for the worst areas
For those corners where the carbon is thick and black, create a thick paste using the same ingredients but with a few drops of water. Spread it on and let it sit for twenty minutes. This is very similar to cleaning your oven racks naturally. After it sits, the carbon should soften enough to be wiped away with a firm sponge. If you still see streaks, you can use the secret to making your stainless steel sink shine like new—a tiny drop of dish soap and a final buff with a dry cloth. This ensures you are using effective sanitizing methods without damaging the appliance.
How to dry it without inviting rust
Most of these trays are made of cheap galvanized steel or aluminum. If you put them back while they are even slightly damp, they will rust or grow mold. These are the kinds of sanitizing hacks that ensure a safe transition for the next family. Use a clean towel to dry both sides, then let it sit on the counter for an hour before sliding it back in. While it dries, take a moment to look at the hidden grime on your dishwasher gasket or other kitchen appliances. The inspector will definitely notice if one appliance is sparkling and the others are neglected, so staying consistent is key to your move-out cleaning hacks.Let’s dig deeper into the psychology of a clean home, because most people assume that more product equals a better result, but that’s the biggest ‘oops’ factor in the book. If you’re following a move-out clean checklist, you might be tempted to douse everything in bleach or heavy degreasers. However, excessive chemical use leaves behind a film that acts like a magnet for dust and hair. This is why I always preach sanitizing secrets for a safer house in 2025 that focus on technique over volume. I’ve seen tenants lose money on move-out cleaning strategies to secure your deposit simply because their ‘clean’ windows were actually covered in a hazy residue that signaled a rushed job. 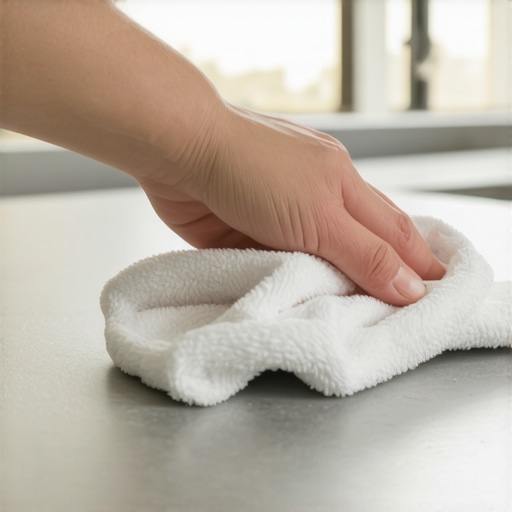
Chemical residue can actually cost you your deposit
The real trick to house cleaning strategies for a sparkling home today is the ‘less is more’ approach. When you use too much soap on carpets, for instance, you’re basically creating a sticky trap. This is exactly why your carpet is still dirty after you shampooed it. The soap remains in the fibers and pulls in grime the second you walk on it. I once lost a portion of a deposit because I thought ‘extra soap’ meant ‘extra clean,’ only to have the carpet look grey again within 48 hours.
Why scrubbing that couch stain is a recipe for disaster
Another massive mistake involves furniture. If you’re trying to spruce up the living room with an ultimate upholstery care guide for lasting freshness, your instinct might be to scrub hard at any spot. Stop right there. This is the one thing you should never do when cleaning a velvet couch or any delicate fabric. Scrubbing breaks down the fibers and can leave a permanent ‘fuzzy’ patch that an inspector will interpret as damage. Instead, follow upholstery cleaning tips for a fresh home revival and blot from the outside in with a clean, dry cloth.
Does ‘smelling clean’ actually mean the house is sanitized?
Not necessarily. There is a huge difference between ‘clean’ and ‘sanitized.’ According to the American Cleaning Institute, many DIYers fail to respect ‘dwell time’—the specific amount of time a disinfectant must remain wet on a surface to actually be effective. If you spray and immediately wipe, you’ve done nothing but spread the bacteria around. For effective sanitizing methods for a germ-free home, you must let the product sit for the duration listed on the label. Have you ever fallen into this trap of ‘spray-and-wipe’ only to realize you weren’t actually killing anything? Let me know in the comments.
Mechanical action beats chemicals every time
Finally, don’t underestimate the power of a good microfiber cloth and physical friction. These are part of any daily house cleaning routine to maintain perfection because they physically lift pathogens off the surface. It’s a core part of effective house cleaning secrets from cleaning experts. If you rely solely on sprays, you’re missing the mechanical removal of grime. This mistake is often why your house still feels dusty even after you just vacuumed; you’re moving particles rather than removing them from the environment. Focusing on sanitizing hacks for safe house transitions that emphasize multiple passes with clean cloths will ensure the inspector finds zero faults.
Ditch the heavy chemicals for a high-pressure steam cleaner
If you’re serious about your move-out game, it’s time to move past the spray bottle and into the world of steam. I personally stopped using multi-purpose sprays for the heavy lifting years ago. Instead, I rely on a high-pressure handheld steam cleaner to reach into the crevices of window tracks and sliding door rails. I swear by my handheld steam cleaner for how to deep clean your window tracks in five minutes without any scrubbing. The heat does the work for you, breaking down the molecular bonds of grease and dust. This is a core pillar of effective sanitizing methods for a germ-free home because the high temperature kills pathogens on contact, leaving the surface truly sterile without any sticky chemical film. 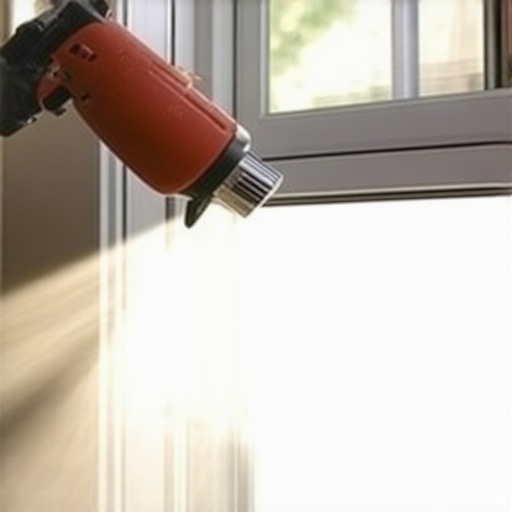
Why the physics of heat wins the cleaning war
For those of us focused on move-out cleaning strategies to secure your deposit, the goal is efficiency. I’ve found that high-quality microfiber cloths paired with heat are more effective than the most expensive soaps. When I’m tackling the living room, I use an ultimate upholstery care guide for lasting freshness that focuses on gentle extraction. According to the IICRC S100 Standard for Professional Carpet Cleaning, “soil suspension” is the most critical phase—and heat is one of the four key elements that makes it happen. If you just spray a cleaner and wipe, you’re leaving most of the soil behind. But if you use steam to suspend the dirt and then a clean microfiber to lift it, the results are night and day. This is also vital for your floors; remember that why your vacuum brush roll is ruining your hardwood floors is often because the bristles are too aggressive, whereas steam is powerful yet non-abrasive.
How do I maintain a professional-level clean over time?
The secret isn’t a deep clean once a year; it’s a daily house cleaning routine to maintain perfection that prevents buildup from happening in the first place. I recommend spending five minutes every evening with a damp cloth on high-touch surfaces. This small habit is one of the best move-out cleaning hacks to ensure your deposit refund later because it prevents “carbonization” on stoves and “mineralization” in bathrooms. Looking ahead, I predict that sanitizing secrets for a safer house in 2025 will revolve around probiotic cleaning agents. These are live bacteria that continue to eat away at organic stains and odors for up to 24 hours after you’ve finished wiping. It’s a “set it and forget it” approach to long-term hygiene.
The tool that keeps my upholstery looking new
When it comes to fabrics, I never use a standard brush. I only use soft-bristled upholstery tools that attach to a HEPA-filter vacuum. This is a game-changer for upholstery cleaning tips for a fresh home revival. It pulls allergens out of the padding rather than just shifting dust on the surface. If you want to see an immediate difference in your home’s air quality and surface clarity, try this one tip: use a steam cleaner on your kitchen cabinet handles tonight. You’ll be shocked at the gunk that melts off. Consistency and the right mechanical action are the real effective house cleaning secrets from cleaning experts that the pros use to stay ahead.
What Most Renters Get Wrong About the Move-Out Inspector’s Checklist
Over the years, I’ve realized that it’s rarely the big windows or the center of the floor that trips people up during a final walkthrough. It’s the “ghost” grime. For example, knowing how to clean greasy range hood filters is often the difference between a pass and a fail in the kitchen. Here are a few lightbulb moments I wish I had sooner: Inspectors often check the very spots you touch every day but never look at, like the tops of door frames and the hidden grime on your light switches. Scrubbing is often your enemy; I used to think more muscle meant more clean, but as we saw with the upholstery, it usually just damages the finish. Sanitizing isn’t just a buzzword; it’s a safety standard. If you’ve been prepping food, you need to know how to sanitize your cutting boards using salt and lemon properly to leave the kitchen truly safe for the next family.
[IMAGE_PLACEHOLDER]
My Secret Weapons for a Stress-Free Transition
You don’t need a professional crew if you have the right mindset and a few key items in your cleaning bucket. Here is the essential toolkit I personally use every time I move: First, high-quality microfiber. Not the cheap ones that leave fuzz everywhere; you want the real deal to implement effective house cleaning secrets from cleaning experts. Next, a handheld steamer. This is my go-to for how to sanitize your bathroom floor using steam alone without leaving a slippery chemical residue. Finally, never underestimate a fresh lemon and a box of baking soda. They are often more effective than 90% of the specialized cleaners sold in big-box stores.
Walk Out the Door Without a Single Regret
Moving is an emotional whirlwind, but there is an incredible sense of closure that comes from leaving a home in better shape than you found it. When you follow a move-out clean checklist, you aren’t just working for a refund—you’re practicing a daily house cleaning routine to maintain perfection that will serve you well in your next adventure. Take a deep breath, tackle one room at a time, and use these move-out cleaning hacks to ensure your deposit refund. You’ve got this! Have you ever had an inspector find something tiny that you totally missed? Let me know in the comments below!