
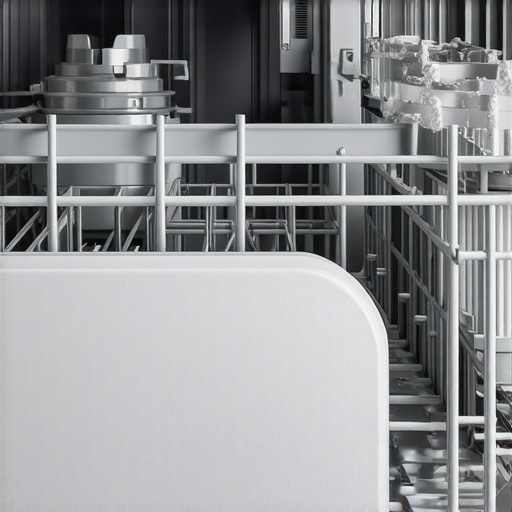
I stood there, staring at my “clean” dinner plate, and I honestly wanted to cry. There it was—a stubborn, dried-on speck of oatmeal from Tuesday, mocking me. I had just spent forty-five minutes loading the machine, only to realize I’d have to hand-wash half of it anyway. It’s a classic frustration, isn’t it? We buy these expensive appliances to make our lives easier, yet we end up doing the work ourselves. I used to think my machine was just “getting old” or that I needed more expensive detergent. The truth was much grosser. My dishwasher was literally choking on its own accumulated gunk.
Stop Ignoring the Grime Hiding in Your Dishwasher
For years, I made the mistake of assuming that because a machine’s job is to clean, it somehow cleans itself. It’s a logical fallacy that cost me a lot of wasted water and time. If you’ve noticed that your dishwasher is leaving food particles on your plates, you aren’t alone. It’s usually not a mechanical failure; it’s a cry for help from your filter and spray arms. When I finally worked up the courage to reach into the bottom of the tub and pull out the filter, I was horrified. It looked like a science experiment gone wrong. This isn’t just about sparkling plates, though; it’s about hygiene. Especially if you are prepping for a move-out clean or trying to maintain a sanitized home environment, you cannot ignore the heart of your kitchen.
Is This Deep Cleaning Task Actually Worth Your Time?
I get it. You’re busy. You’ve got a thousand other things to do, and the idea of scrubbing a plastic mesh cylinder sounds about as fun as a root canal. You might even wonder if those “dishwasher cleaner” tablets are enough. I’ll be honest: I relied on those for three years, and they did almost nothing for the physical blockages in my spray arms. According to experts at NSF International, a residential dishwasher must reach specific temperatures to truly sanitize, but if the water flow is restricted by debris in the spray arms, you aren’t actually hitting those marks. You’re just swirling lukewarm, dirty water around. I learned this the hard way when my family kept getting minor stomach bugs that we finally traced back to a clogged, moldy dishwasher gasket. Don’t forget the hidden grime on your gasket either; it’s a hotspot for bacteria. Have you ever pulled out the filter and been genuinely shocked by what you found? Today, I’m going to show you exactly how to strip things down and get that machine back to its factory-fresh performance. We are going to tackle the spray arms and the filter without needing a degree in engineering. It’s time to stop the “pre-wash” cycle at the sink and let your machine do the heavy lifting again.
Rescue Your Filter from the Sludge
You can’t expect a machine to clean your dishes if it’s drowning in its own waste. The first thing you need to do is clear the deck. Pull out the bottom rack completely and set it aside. This is where most people stop, but we are going deeper. Locate the cylindrical filter at the bottom of the tub. In most models, a simple quarter-turn counter-clockwise will unlock it. When I did this for the first time after three years of neglect, the smell was enough to make me rethink every meal I’d eaten that week. It wasn’t just old food; it was a gray, slimy film of undissolved detergent and grease. To get this truly clean, skip the harsh chemicals and use a soft-bristled brush with warm, soapy water. If you want to maintain this level of hygiene as part of your daily house cleaning routine to maintain perfection, you should be rinsing this filter at least once a month. This simple act prevents the redeposit of soil back onto your glassware, ensuring you aren’t just sanitizing with filth.
Free the Spray Arms to Restore Pressure
Think of your dishwasher’s spray arms like a showerhead. If the tiny holes are clogged with mineral deposits or stray peppercorns, the water pressure drops to a pathetic trickle. Most lower spray arms just pop off with a gentle tug, while the upper ones might require unscrewing a plastic nut. Once they are out, take them to the sink and shake them. Do you hear anything rattling inside? That’s the enemy. I remember when my dishwasher started sounding like a dying tractor; I pulled the lower arm and found a single, calcified popcorn kernel wedged perfectly into the main nozzle. It acted like a tiny cork. I used a straightened paperclip to poke through every single hole, followed by a high-pressure rinse under the kitchen faucet to flush the debris out of the center hub. This level of detail is exactly what makes the difference when you are following the moving day checklist for a spotless kitchen or simply trying to improve your home’s efficiency. 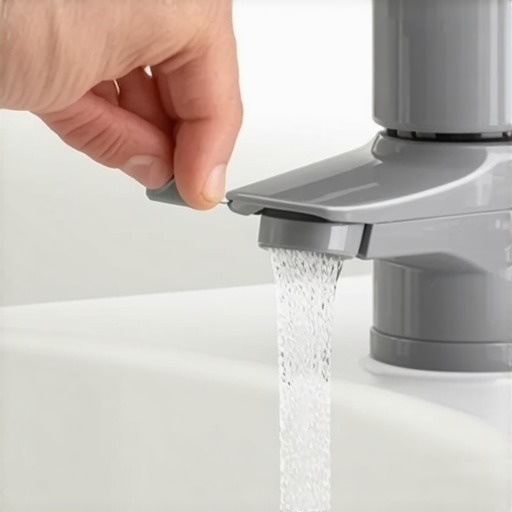
Tiny Tools for Massive Cleaning Results
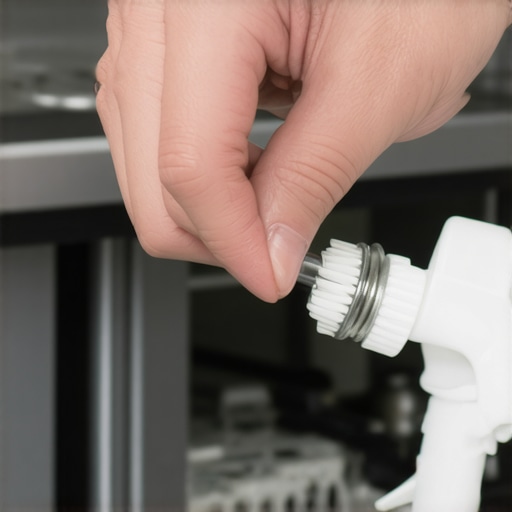
While the spray arms are soaking, look at the manifold where the water enters the arms. Often, there is a buildup of limescale here that prevents a watertight seal. If you live in an area with hard water, this is your biggest hurdle. I found that using a small toothbrush dipped in white vinegar works wonders for dissolving these crusty deposits without damaging the plastic. This is one of those effective sanitizing methods for a germ-free home that professionals won’t always tell you because it’s so simple. If you’ve recently dealt with illness in the house, knowing how to sanitize your home after the flu hits your family includes these hidden appliance interiors where bacteria love to hide in the damp, warm crevices. Once everything is scrubbed and the holes are clear, snap the arms back into place and give them a manual spin. They should move freely and silently, ready to blast away grime with the same force they had the day you bought the machine.
Why Extra Detergent Is Your Kitchen’s Secret Enemy
Most people believe that if a little bit of detergent cleans well, a lot of it will clean even better. In reality, this is one of the most common mistakes I see that ruins appliance efficiency. Modern dishwasher pods and gels are highly concentrated; using too much creates a soapy slurry that the machine simply cannot fully rinse away. This leads to a sticky, microscopic film on your plates that actually attracts food particles and odors. It is the same underlying principle behind why your carpet is still dirty after you shampooed it—the leftover chemical residue acts like a magnet for new grime. If you are currently studying an ultimate upholstery care guide for lasting freshness, you will find the same recurring warning: over-saturation with soap is the enemy of a true, long-lasting clean.
Can Dangerous Biofilms Survive Your Dishwasher’s Hottest Cycle?
You might think the ‘Sanitize’ button on your machine is a magic wand, but expert research suggests otherwise. According to the American Cleaning Institute, if a surface hasn’t been physically cleared of organic matter, a high-heat ‘sanitizing’ cycle can actually ‘bake’ a biofilm onto the surface. Biofilm is a resilient colony of bacteria that protects itself with a slimy, extracellular matrix. If your spray arms were previously clogged and couldn’t provide mechanical agitation, the heat doesn’t kill everything; it just hardens the outer shell of the gunk. This is a critical nuance often missed in sanitizing secrets for a safer house in 2025. You must scrub away the physical sludge manually before you can expect the heat to achieve true sterilization. 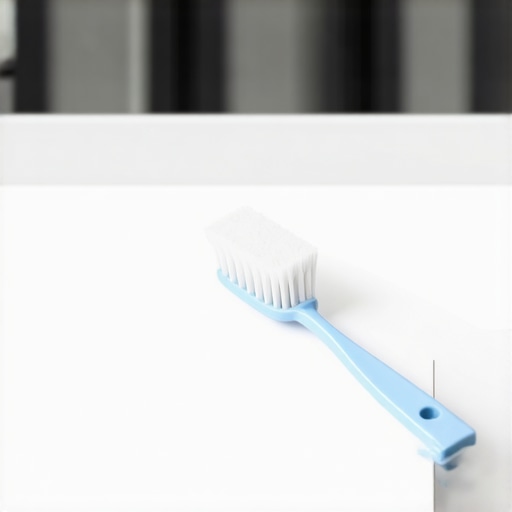
Avoid the Common Vinegar Trap for Real Sanitization
I see it everywhere on social media: ‘Just use vinegar for everything!’ While I am the first to admit why vinegar is your best friend for cleaning hard water stains, it is not a broad-spectrum disinfectant. If you are trying to learn how to sanitize your home after the flu hits your family, relying solely on vinegar is a dangerous ‘oops’ factor. It is not registered by the EPA to kill pathogens like salmonella or the flu virus as effectively as dedicated sanitizers. Furthermore, the high acidity of vinegar can actually degrade the rubber gaskets and hoses in your dishwasher over time, leading to slow leaks and expensive repairs. When you are executing move-out cleaning strategies to secure your deposit, the last thing you want is a surprise leak under the kitchen floor. Also, be careful with your floors; using the wrong DIY mix is often the real reason your luxury vinyl plank floors look cloudy after you mop. True expertise means knowing when to use natural solutions and when to reach for the heavy hitters. Have you ever fallen into the ‘more soap equals more clean’ trap? Let me know in the comments.
If you want to move beyond the ’emergency scrub’ and into a phase of true long-term maintenance, you need the right kit. I’ve personally retired my generic scouring pads for this specific job. Instead, I rely on a set of nylon detail brushes and, believe it or not, a professional-grade dental pick. I use the pick specifically for the tiny exit holes in the spray arms. It’s the only way to ensure 100% water flow, which is often the culprit when your dishwasher is leaving food particles on your plates. A cloth simply cannot reach the compressed lime scale hiding inside those nozzles. This level of precision is a non-negotiable part of my daily house cleaning routine to maintain perfection.
How can I maintain my cleaning standards without it becoming a full-time job?
Scaling this process means shifting your mindset from ‘fixing a problem’ to ‘preventing a failure.’ The secret is to integrate small, high-impact tasks into your existing schedule. For instance, while you wait for the coffee to brew, you can give your dishwasher gasket a quick wipe-over. This habit-stacking is one of the effective house cleaning secrets from cleaning experts that prevents the need for a three-hour deep clean later. According to a technical brief by the Association of Home Appliance Manufacturers (AHAM), consistent removal of food soils from filtration systems prevents the internal pump from overworking, which is the leading cause of motor burnout. This same logic applies when you are prepping for a move-out clean checklist to simplify your transition; maintaining the machine as you go ensures you aren’t stuck with a broken appliance on moving day.
Looking ahead, I predict that by the end of this decade, we won’t be guessing about clogs at all. We are already seeing the integration of advanced turbidity sensors in high-end models, but the next step—already in development—is AI-driven diagnostic alerts that will notify your smartphone when the internal filter reaches 80% capacity. This will revolutionize sanitizing secrets for a safer house in 2025 and beyond. Until that technology becomes the standard, you remain the primary sensor. Whether you are following an ultimate upholstery care guide for lasting freshness or scrubbing a dishwasher, the principle of early intervention remains the same. True efficiency is found in the tools you choose and the frequency of your care. Utilizing effective sanitizing methods for a germ-free home isn’t just about the chemicals; it’s about the mechanical removal of the environment where germs thrive. My advanced tip for today: go to your kitchen right now, pull out the bottom rack, and do the ‘paperclip test’ on your spray arm holes. If even one hole is blocked, clear it out and witness the immediate jump in cleaning performance.
The Hardest Lesson I Learned About Clogged Spray Arms
For years, I thought a ‘clean’ cycle was enough, but my biggest lightbulb moment was realizing that physical blockages bypass even the most expensive detergents. If the water can’t reach the plate, the soap is just expensive perfume for your grime. I also learned that consistency beats intensity. Spending five minutes once a month is better than a four-hour rescue mission when you are trying to execute move-out cleaning hacks to ensure your deposit refund. Lastly, trust your nose; if the machine smells even slightly funky, that biofilm is already winning. It is much like finding out why your dishwasher is leaving food particles on your plates—it is almost always a maintenance issue, not a machine failure.
The Minimalist Kit for a Factory-Fresh Machine
You don’t need a professional plumber’s kit to get results. I personally swear by a set of nylon detail brushes because they don’t scratch the plastic manifold. For those tiny nozzles, a simple dental pick or a straightened paperclip is your best friend. I also keep a bottle of distilled white vinegar on hand, specifically for the hard water deposits on the heating element. These are the same house cleaning strategies for a sparkling home today that I use for every major appliance in my kitchen. Having these tools ready in a small caddy makes the task feel like a quick tune-up rather than a dreaded event.
Reclaim the Heavy Lifting for Your Kitchen
Cleaning your dishwasher isn’t just another chore to add to the list; it’s an investment in your time and health. When the machine works properly, you get those forty-five minutes of your evening back. Whether you are transitioning to a new home or just maintaining your current sanctuary, these steps ensure your kitchen remains the heart of a healthy home. If you’ve enjoyed these tips, you might find my upholstery cleaning tips for a fresh home revival just as transformative for your living room. Take the first step today by checking that filter—your future self will thank you for the sparkling results.
#IMAGE_PLACEHOLDER_E#
Have you ever pulled your dishwasher filter out and been genuinely shocked by what you found? Let me know in the comments below!