
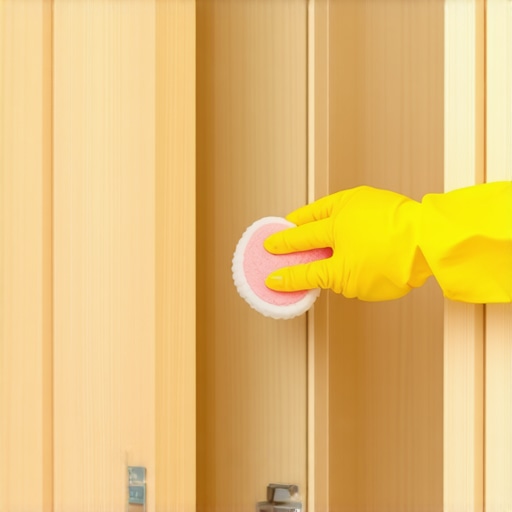
I stood there, keys in hand, staring at what was supposed to be my dream kitchen. But as I reached up to open the pantry, my fingers sank into a tacky, yellowish film that smelled faintly of old onions and despair. It was the classic move-in disappointment—the cabinets looked decent from across the room, but the reality was a sticky nightmare that no quick wipe could fix. I tried scrubbing a small patch with a damp paper towel, but that just turned the dust into a thick, grey paste that refused to budge. I actually sat on the floor and debated if I could just live out of moving boxes forever because I didn’t want to put my clean plates anywhere near those shelves.
Stop Moving Your Dishes Into Someone Else’s Grease
Moving is exhausting, and it is so tempting to just slap down some cheap shelf liner and call it a day. Don’t do it. If you don’t tackle that hidden grime now, your kitchen will always have that stale, heavy smell that no scented candle can mask. I learned the hard way during my first apartment move that a quick swipe isn’t enough; you need a strategy to break down the molecular bond of three-year-old cooking oil. That sticky residue isn’t just an eyesore; it is a literal magnet for dust, pet hair, and pests. Before you even think about unpacking your spice rack, you need to check out the move-in cleaning checklist for a truly fresh start in your new home to ensure you aren’t missing the spots that actually matter. My biggest mistake early on was using a generic all-purpose spray and a soft microfiber cloth. I spent three hours scrubbing one single cabinet and barely made a dent. It turns out, kitchen grease is acidic and stubborn, and it requires a specific approach to dissolve without ruining the wood finish. According to the National Sanitation Foundation (NSF), the kitchen is frequently the most germ-laden room in the house, with cabinet interiors harboring significantly more bacteria than most people realize. You really have to get into the nitty-gritty, specifically the area under the kitchen sink, where moisture and grime love to hide.
Is vinegar actually strong enough for this mess?
You might be skeptical about using what is essentially salad dressing to clean a grease trap, and honestly, I was too. I thought I needed the harshest, most caustic chemicals available to feel like the space was truly sanitized. But once you understand the secret to cleaning greasy handprints from wood cabinets, you realize it is more about the chemistry and heat than the toxicity of the cleaner. We are going to focus on breaking down those oils effectively without stripping the paint or finish off your new home’s cabinets. Have you ever opened a cabinet in a new place and immediately closed it again in horror? Tell me your worst move-in discovery! We aren’t just wiping surfaces; we are reclaiming your territory. Since your kitchen sink is likely the dirtiest place in your home, it stands to reason the surrounding storage is equally compromised. Let’s get into the step-by-step process of turning those grimy boxes into a sanitary sanctuary for your cookware.
Work From the Ceiling Down to Save Your Sanity
The first rule of cleaning any new space is gravity-based. If you start with the base cabinets and then move to the uppers, you are just going to drip dirty, oily water onto your freshly cleaned surfaces. It sounds obvious, but when you are in the middle of a move-in frenzy, common sense often flies out the window. You should always start cleaning from the top of the room, including the tops of the cabinets where dust and aerosolized grease create a thick, felt-like layer. I remember my first studio apartment; I spent an hour scrubbing the counters until they sparkled, only to wipe the top of the fridge and have a deluge of grey sludge pour right onto my clean granite. Never again. Use a vacuum with a brush attachment first to get the loose dust before you introduce any liquid, otherwise, you are just painting with mud.
Dissolve the Cooking Oil Without Stripping the Finish
To actually win the war against that tacky residue, you need a mixture of very warm water, a degreasing dish soap, and a splash of white vinegar. The soap breaks the surface tension of the oil, while the vinegar helps cut through the alkaline buildup. This is the secret to cleaning greasy handprints from wood cabinets without using harsh strippers that can cloud the lacquer. Use a soft sponge—never a scouring pad—and work in small circles. If the grease is particularly thick, let the damp sponge sit on the spot for sixty seconds to soften the bond. Once the grease is gone, wipe the area with a dry cloth immediately. Leaving moisture on wood is the fastest way to cause warping or finish failure. 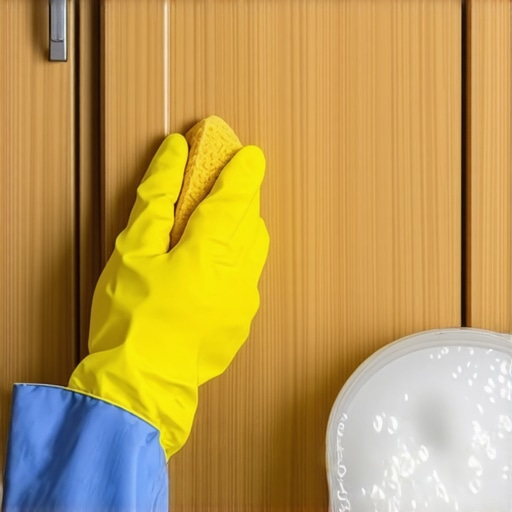
Attack the Range Hood and Hidden Gaskets
If the cabinets are sticky, the range hood filter is likely a solid block of old lard. Instead of scrubbing it for hours, use the pro move: boiling water and baking soda. Check out the secret to cleaning greasy range hood filters with boiling water to see how the grease literally melts away in seconds. While those are soaking, turn your attention to the dishwasher. Most people assume the dishwasher is self-cleaning, but the hidden grime on your dishwasher gasket is often the source of that mysterious ‘old house’ smell. Wipe the rubber seals with a vinegar-soaked cloth to kill mold spores and remove trapped food particles.
Sanitize the Pantry for Your Plates and Dry Goods
Once the grease is handled, you need to address the actual safety of the surfaces. You are about to put your food here, so you need sanitizing secrets for a safer house that don’t involve leaving toxic residue behind. Before you line the shelves, follow the checklist for deep cleaning your pantry before moving in, focusing on the corners where flour mites or crumbs might be hiding. I once found a petrified bag of marshmallows in the back of a ‘clean’ pantry that had basically turned into a structural component of the shelf. Scrape out any old contact paper carefully; the glue underneath is a breeding ground for bacteria. A quick wipe with a diluted isopropyl alcohol solution will dry almost instantly and leave the shelves sterile for your dishes.
Stop confusing “fresh scents” with actual hygiene
Most people walk into a newly cleaned apartment, smell a whiff of bleach or “lemon breeze,” and assume the job is done. This is a massive mistake. In my years of obsessing over surface safety, I’ve realized that a “clean” smell is often just a mask for poor technique or, worse, a lingering chemical hazard. If you can smell the cleaner hours later, it is likely because the product hasn’t been properly rinsed away. This leads to effective sanitizing methods for a germ-free home being ignored in favor of aesthetics. You aren’t just looking for a scent; you are looking for the total absence of biological matter and chemical film. In fact, some of the most dangerous pathogens are completely odorless, meaning your nose is the least reliable tool in your cleaning kit.
The sticky soap trap that makes your floors dirtier
One of the biggest “oops” factors in house cleaning is the “more is better” mentality. We think that using double the detergent or more spray will kill more germs. However, the American Cleaning Institute (ACI) warns that excessive use of cleaning agents leaves behind a microscopic, tacky film. This film acts like a magnet for new dirt the second you start walking on the surface. This is exactly why your carpet is still dirty after you shampooed it; the leftover soap literally pulls the grime off your shoes and locks it into the fibers. When you are tackling a move, use effective house cleaning secrets from cleaning experts: use less product, focus on mechanical action (scrubbing), and always follow with a thorough clean-water rinse.
Why does your carpet look worse a week after cleaning?
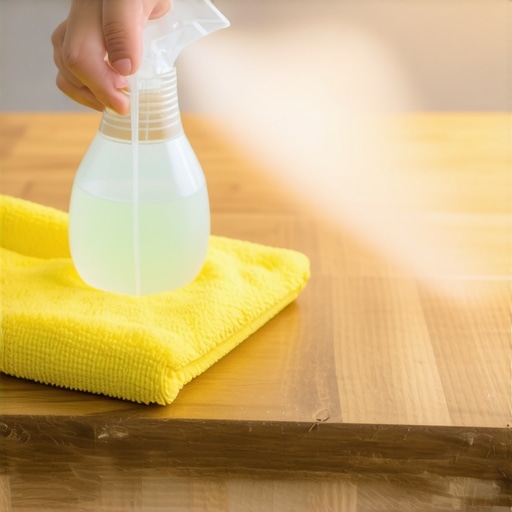 It is called rapid re-soiling, and it is the bane of move-in cleaning. If you have ever noticed dark patches appearing on your rugs or sofa shortly after a deep clean, it is likely because you used too much heat or too much chemical. This is a common issue with upholstery cleaning tips for a fresh home revival—people soak the fabric, which then wicks up dirt from the deep padding as it dries. To avoid this, you should never spray cleaning products directly on surfaces; instead, spray your microfiber cloth to control the moisture levels. This prevents the “wicking” effect that brings old, deep-set stains back to the surface as the moisture evaporates.
Don’t let your vacuum destroy your security deposit
Another nuance that beginners miss is the equipment itself. I’ve seen people try to be thorough by vacuuming every inch of a new place, only to realize why your vacuum brush roll is ruining your hardwood floors. The stiff bristles meant for agitation on carpet can leave microscopic scratches on poly-coated wood or laminate, dulling the shine over time. If you are prepping for a final walkthrough, check move-out cleaning hacks to ensure your deposit refund and remember to switch to a hard-floor setting or a soft-head attachment. Have you ever fallen into this trap where you thought you were cleaning but actually made things worse? Let me know in the comments. I’m curious if I’m the only one who has accidentally “cleaned” the finish right off a floor!I finally stopped buying those fifteen-dollar mystery vacuums from big-box stores when I realized they were essentially just loud machines that redistributed dust. If you want to actually keep your home sanitized, you have to look at your tools as an investment in your health. For example, a true HEPA (High-Efficiency Particulate Air) filter is non-negotiable. The U.S. Department of Energy (DOE) specifies that these filters must trap 99.97% of particles that are 0.3 microns in diameter—which includes most allergens and bacteria. When you use inferior equipment, you’re often just blowing the fine particles back into the air, which is exactly why your house still feels dusty even after you just vacuumed. I personally use a vacuum with a sealed system because any leak in the casing bypasses the filter entirely, rendering that expensive HEPA label useless. If you feel like your suction is dropping, you need to troubleshoot why your vacuum isnt picking up dirt like it used to before you blame the carpet.
How do I maintain this level of clean over time?
The secret isn’t a massive weekend-long scrub fest every month; it is about micro-habits that prevent the grease from ever bonding to your cabinets again. Once you have used house cleaning strategies for a sparkling home today, you should implement a five-minute nightly wipe-down of high-touch surfaces. This prevents the molecular buildup we talked about earlier. Creating a daily house cleaning routine to maintain perfection sounds daunting, but it really just means wiping the stove after you cook and ensuring the sink is dry. These small actions stop the ‘stale house’ smell before it starts.
Stop treating your microfiber cloths like regular rags
This is my biggest pet peeve. Most people wash their microfiber with cotton towels and regular detergent, which is a recipe for disaster. Cotton fibers get trapped in the microscopic hooks of the microfiber, and standard fabric softeners coat those hooks in wax, making them completely non-absorbent. This is why your microfiber cloths stop working and how to fix them: you must wash them alone in cool water and never, ever use heat in the dryer. If you treat your tools with respect, they will actually pull bacteria off your surfaces rather than just moving it around. 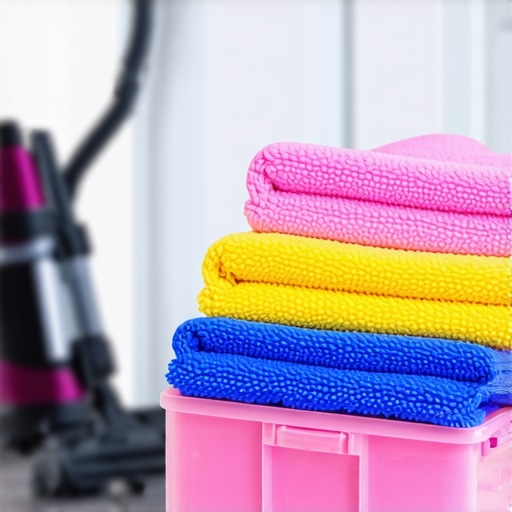
The future of cleaning is biological rather than chemical
Looking ahead to the next few years, I predict we will see a massive shift away from ‘kill-all’ disinfectants toward bio-enzymatic and probiotic cleaners. We are starting to understand that stripping a home of every single microbe actually leaves a vacuum for the ‘bad’ bacteria to recolonize faster. Future sanitizing secrets for a safer house in 2025 will likely involve applying ‘good’ bacteria to surfaces that actively eat grease and organic waste for days after you finish wiping. It’s a much more sustainable way to keep a kitchen pristine without the harsh fumes. For now, I want you to try one advanced tip: the next time you finish a deep clean, use a small amount of mineral oil on your stainless steel. It creates a microscopic barrier that prevents fingerprints from sticking. If you’re ready to stop the endless cycle of scrubbing, check out effective house cleaning secrets from cleaning experts to refine your kit.
The Hard Lessons I Learned Scrubbing My First Kitchen
If there is one thing I’ve realized after years of transitions, it’s that a “clean” surface often hides a layer of biological film that no quick spray can touch. One of my biggest lightbulb moments was realizing that speed is the enemy of hygiene. When you rush through a move-out clean, you aren’t actually removing dirt; you’re just spreading it thinner across the room. I’ve also learned that scent is a liar. That “ocean breeze” spray didn’t make my kitchen safer; it just masked the smell of the old grease I was too tired to scrub. Now, I prioritize sanitizing hacks for safe house transitions that focus on dwell time rather than physical force. Letting a cleaner sit for five minutes does more work than thirty minutes of exhausted scrubbing. Finally, don’t underestimate the power of a headlamp. It sounds silly, but seeing the actual dust in the back of a cabinet changed how I approach a deep clean forever. Using a move-out clean checklist to simplify your transition ensures no corner is left behind.
Equip Your Move-In Kit Like a Professional
To do this right, you need more than a bucket and a prayer. I personally swear by three specific categories of tools. First, stop buying cheap sponges that fall apart in ten minutes; invest in high-density melamine sponges for those truly impossible scuffs on baseboards. Second, I always carry a dedicated vacuum with a motorized brush head that doesn’t just surface-clean but reaches deep into the fibers. Third, if you want to save your back, get a long-handled grout brush. I trust these tools because they turn a six-hour ordeal into a manageable two-hour task. You can find more expert-level gear recommendations by checking out effective house cleaning secrets from cleaning experts to ensure you aren’t wasting money on gimmicks.
Reclaim Your Territory One Shelf at a Time
Taking the time to deep clean before you unpack isn’t just about germs; it’s about mental peace. There is an incredible psychological shift that happens when you know your plates are sitting on a truly sterile surface. By applying house cleaning strategies for a sparkling home today, you are setting the foundation for a healthier, more organized life in your new environment. Don’t let the exhaustion of the move stop you from doing the job right. Once those boxes are open, you’ll never want to go back and scrub the shelves again. You’ve got this—reclaim your sanctuary! What is the one spot in your new home that you’re absolutely terrified to look at? Let me know your move-in horror stories in the comments below!