
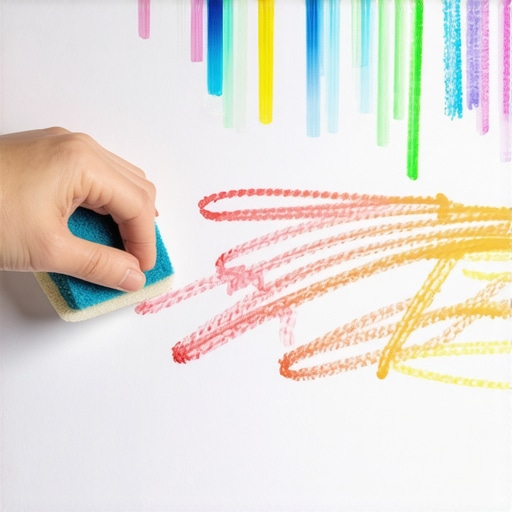
I walked into the living room and felt that sudden, icy prickle of dread. Silence—especially the kind that lasts more than three minutes—is usually a warning sign in a house with toddlers. Sure enough, my three-year-old had "redecorated." A jagged, neon-orange sunset now spanned the entire length of the hallway, right at waist height. My first instinct was to panic. My second was to grab the harshest chemical under the sink and scrub like my life depended on it. But stop right there! If you are in the middle of a move-out clean or just trying to maintain your sanity, you know that aggressive scrubbing is the fastest way to turn a small crayon mark into a permanent, shiny bald spot on your wall. Today, I am going to show you how to lift that wax without ruining your beautiful finish.
Stop Scrubbing Harder and Start Thinking Smarter
We often think of cleaning as a battle of physical strength, but with crayon, it is really a battle of chemistry. Crayon is essentially pigmented paraffin wax. When it hits your wall, it grips into the microscopic texture of the paint. If you go in with a rough sponge, you are not just removing the wax; you are sanding down the paint’s "sheen." I learned this the hard way during my first apartment transition. I thought I was being clever using a heavy-duty degreaser and a scouring pad, only to realize I had stripped the finish right off. It looked far worse than the crayon! Whether you are following a daily house cleaning routine or desperately trying to learn the quickest way to get crayon marks off the baseboards, the goal is to gently melt or lift the wax. Have you ever stared at a crayon-smeared wall and considered just hanging a very large, very strategically placed picture over it? Trust me, we can fix this properly.
Will these methods actually work on flat or matte paint?
This is the question I hear most often from my neighbors. Flat paint is notoriously unforgiving because it doesn’t have that protective, glossy layer to shield it. According to the American Coatings Association, the "scrubbability" of a paint depends heavily on its resin content, and matte finishes have much less of it to maintain that velvety look. However, even the most stubborn marks can be coaxed off if you use heat or a mild solvent rather than sheer elbow grease. We want to avoid those house cleaning strategies that involve abrasive chemicals which can leave a permanent ghost of the stain behind. Let’s look at the gentle tools you actually need.
Soften the Wax Before You Touch It
Crayons are basically tiny sticks of colored oil and wax. If you try to wipe it while it is cold and hard, you are essentially trying to smear a candle across your wall. The most effective way to break that bond is with a hair dryer. Set it to a medium heat and hold it a few inches away from the marks. Once you see the wax start to glisten, you can gently wipe it away with a soft microfiber cloth. I remember doing this in my first studio apartment where I was terrified of losing my security deposit. I got so impatient that I held the dryer too close and actually softened the paint itself—don’t do that! Keep the heat moving. This is also the quickest way to get crayon marks off the baseboards because it prevents you from having to scrub at floor level where dust usually settles. 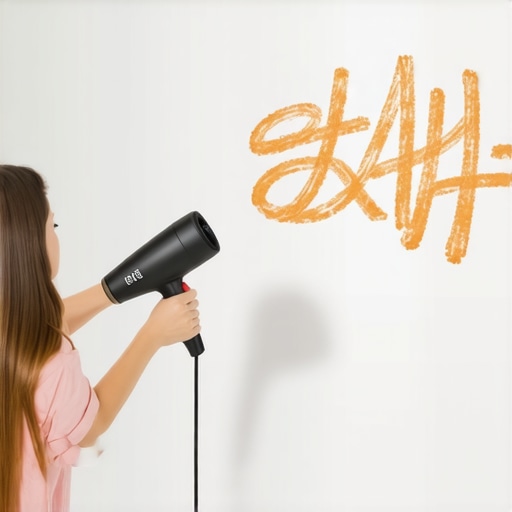
The Kitchen Cabinet Secret for Painted Surfaces
If the hair dryer doesn’t lift every bit of pigment, you need a degreaser that won’t eat through your eggshell finish. You might already know about the dish soap trick for removing greasy buildup on kitchen cabinets, and it works wonders here too. Mix a few drops of grease-cutting dish soap with warm water. Use a white cloth—colored rags can bleed dye onto your wall—and dab the area. If you’re dealing with a larger mess during a move-out clean, this method saves your arms from the fatigue of scrubbing. The soap surrounds the wax molecules, making them slide off the paint rather than into it. I once tried using a standard kitchen sponge’s scrubby side for this, and it left a permanent gray haze on my blue dining room wall. Stick to soft cloths or even an old t-shirt to keep the texture of your paint intact.
What to Do When the Crayon Hits Your Furniture
Toddlers don’t just stop at walls; they often treat the side of a linen armchair like a fresh canvas. When this happens, stay away from the hair dryer. Heat can actually set stains into certain fabrics permanently. Instead, use a dull butter knife to gently scrape away the excess wax. For the remaining pigment, consult the ultimate upholstery care guide for lasting freshness. Usually, a tiny bit of rubbing alcohol on a cotton swab will dissolve the wax, but always test an inconspicuous spot first. I once ruined a velvet stool by being too aggressive with a scrub brush, and it left a bald patch that I had to hide with a throw blanket for three years. Gently blotting is the only way to protect the fibers.
Clean the Residue and Sanitize the Area
Once the color is gone, the wall might still feel slightly tacky. This is the oily residue left behind by the paraffin. To ensure your home remains pristine and the wall doesn’t attract new dirt, you should employ effective sanitizing methods for a germ-free home to wipe down the surface one last time. A simple mixture of water and a dash of white vinegar can neutralize any lingering stickiness. This is especially important if you are following house cleaning strategies for a sparkling home today because wax residue attracts dust like a magnet. If you leave that invisible film, you’ll find a gray smudge appearing in that exact spot within a week. It only takes thirty seconds of extra effort to ensure the repair is invisible.We’ve talked about removing the visible wax, but there is a psychological trap many of us fall into: the idea that if it looks clean, it is sanitized—or vice versa. Most people think they are being thorough by dousing a surface in disinfectant, but according to the Institute of Inspection Cleaning and Restoration Certification (IICRC), you cannot effectively sanitize a surface that is still covered in ‘soil’ or residue. This is why your move-out clean checklist must always prioritize cleaning first and sanitizing second. If you spray disinfectant directly onto that waxy crayon film we just discussed, the germs are essentially wearing a raincoat; the chemicals never reach the surface they’re meant to treat.
Stop Drowning Your Fabrics in Water
One of the biggest ‘oops’ factors I see in the world of upholstery cleaning is the belief that more water equals a deeper clean. In reality, moisture is often the enemy. When you over-saturate a cushion to get out a mark, you’re pushing the dirt deeper into the foam. Even worse, you’re creating a breeding ground for mold. I used to think a steam cleaner was the ultimate solution for every spill until I realized why you should never use a steam cleaner on these specific upholstery fabrics like silk or certain synthetics that can actually melt or shrink under high heat.
Why do your floors feel sticky even after you finished mopping?
This is the ultimate frustration for anyone trying to maintain a daily house cleaning routine. If your feet are literally sticking to the hardwood or laminate, you’ve likely fallen into the ‘over-soaping’ trap. Most DIY cleaners use far too much product. Why your floors feel sticky even after you finished mopping usually comes down to the fact that the water evaporates, but the soap stays behind, acting like a magnet for every piece of dust and pet hair in the room. To fix this, you often need to mop once more with nothing but plain, hot water to ‘rinse’ the floor.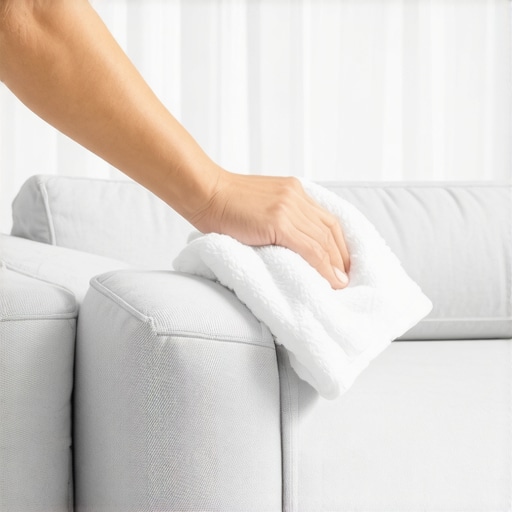
The Myth of the Magic Vinegar Cure-all
We’ve been told for years that vinegar is the holy grail of natural cleaning. While it’s great for breaking down hard water deposits, it’s a terrible choice for everything. Using it on stone can etch the surface permanently. Furthermore, for a truly sanitized home, vinegar simply isn’t a registered disinfectant that kills the heavy-hitting pathogens. If you’re preparing for safe house transitions, you need lab-verified sanitizers. And a quick warning for the velvet lovers: the one thing you should never do when cleaning a velvet couch is use a circular scrubbing motion. It breaks the pile and leaves a permanent ‘crushed’ look that no amount of steam can fix. Have you ever accidentally ruined a surface by being too ‘thorough’? Let me know in the comments—I’ve definitely been there!
Stop Using Cheap Rags and Buy High-GSM Microfiber
If you want to move beyond basic chores, you need to understand that not all microfiber is created equal. Professional-grade cloths are measured by GSM (grams per square meter), which refers to the density of the fibers. I personally use 400 GSM cloths for heavy lifting because they have a higher loop density, which traps grit instead of dragging it across your paint. This is one of those effective house cleaning secrets from cleaning experts that completely changed my approach to dusting and wax removal. When you use a low-quality cloth, you’re often just pushing the mess around. High-GSM fibers act like tiny hooks that pull the soil away from the surface, ensuring that your house cleaning strategies for a sparkling home today actually yield lasting results.
How can I maintain a spotless home without spending hours every weekend?
The secret to long-term success is the ‘one-room, one-pass’ rule integrated into your daily house cleaning routine to maintain perfection. Instead of waiting for a disaster, spend five minutes a day on the highest-traffic zones. If you focus on the baseboards on Monday and the light switches on Tuesday, you’ll never face a mountain of grime. This proactive approach is exactly how you ensure safe house transitions if you ever decide to sell or move. By the time you get to your final move-out clean checklist, you won’t be scrubbing away years of buildup; you’ll just be doing a light polish.
The HEPA Vacuum is Your Secret Weapon
The Environmental Protection Agency (EPA) notes that true HEPA filters must be able to trap 99.97% of particles that are 0.3 microns or larger. If your vacuum doesn’t have a sealed HEPA system, you are likely just redistributing fine allergens and dust throughout your living room. I have talked to so many frustrated homeowners who wonder why your vacuum is blowing dust back into the air, and it almost always comes down to poor filtration. When you are performing a move-out clean, the quality of your vacuum determines whether the sunlight in empty rooms reveals a hazy layer of floating particles or a true, professional-grade shine. 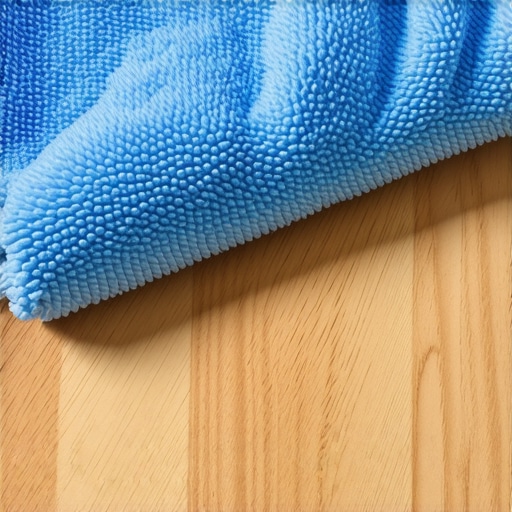
Prepare for the Future of Smart Cleaning
In the next five years, I expect home maintenance to go fully autonomous and data-driven. We are already seeing the emergence of multi-spectral sensors in high-end appliances that can detect invisible bacterial colonies or soap residue. This will revolutionize sanitizing secrets for a safer house in 2025 by showing us exactly where we missed a spot. Until those gadgets are affordable for everyone, we must rely on proper techniques and the right materials. My biggest advice for right now? Try this today: pick one high-touch surface, like your favorite armchair, and use the blot-only method from the ultimate upholstery care guide for lasting freshness to see how much more dirt you can lift without damaging the delicate fibers.
Lessons from the Front Lines of Toddler Art Galleries
I’ve spent years perfecting these techniques, and if there is one thing I’ve learned, it’s that the best effective house cleaning secrets from cleaning experts involve patience rather than force. Early on, I thought a melamine sponge was the answer to everything, but I quickly realized it’s essentially fine sandpaper; use it too much on a wall with a high sheen and you will be left with a dull patch that requires repainting. Another ‘lightbulb moment’ for me was realizing that the quickest way to get crayon marks off the baseboards is often just a bit of controlled heat and a gentle blot, never a hard scrub. Finally, always check your work with a flashlight held parallel to the wall—this reveals oily residue you might have missed in normal lighting.
A Small Investment for Massive Cleaning Gains
You do not need a closet full of harsh chemicals to maintain a pristine environment. My personal toolkit always starts with high-density 400 GSM microfiber cloths because they actually lift and trap grime instead of smearing it across the surface. For those focusing on sanitizing secrets for a safer house in 2025, a vacuum with a sealed HEPA system is non-negotiable to keep the indoor air as clean as the surfaces. I also highly recommend keeping a bottle of pH-neutral dish soap on hand; it is the safest and most effective way to break down wax and grease without damaging delicate paint resins or sensitive upholstery fibers. These tools ensure your daily house cleaning routine stays efficient and effective.
Reclaiming the Peace in Your Living Space
Cleaning should not be a source of panic, even when your three-year-old decides the hallway is a canvas for a neon sunset. By approaching every mark with the right chemistry and a bit of patience, you can protect your investment and keep your home looking brand new for years to come. Whether you are prepping for a high-stakes move-out clean or just tidying up after a busy weekend, remember that your home is meant to be a place of rest. Take a deep breath, grab your microfiber, and start with the gentlest method first. Have you ever found a ‘surprise’ drawing on your walls that seemed impossible to remove? Let me know your craziest cleaning story in the comments below!