
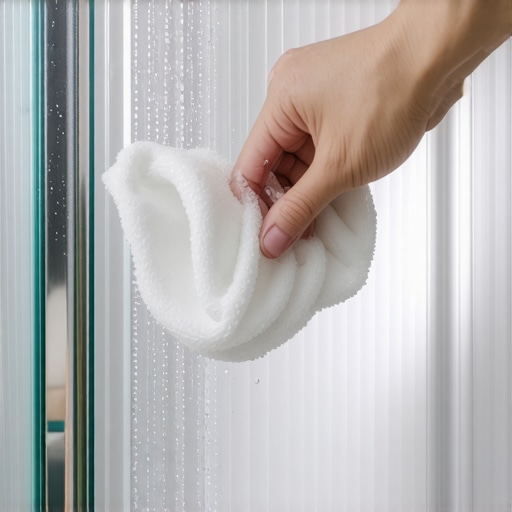
I remember standing in my master bathroom, dripping with sweat and smelling like a chemical factory, staring at a glass shower door that still looked like it was covered in wax. I was tackling a move-out clean checklist and I was losing. My arms were shaking from the exertion of a nylon brush, yet that white, cloudy film didn’t budge. It felt personal. Like the house was mocking me. I realized then that my brute-force approach was a failure. It’s a similar frustration to why your bathroom grout stays orange even after a heavy workout with a toothbrush. You’re working hard, but you’re working against science. Today, I’m going to show you how to walk away from the abrasive sponges and use chemistry to melt that film off while you sip coffee.
Your Shower Door Should Not Look Like a Frosted Window
It’s a common sight in many homes—that stubborn, chalky residue that turns a beautiful walk-in shower into an eyesore. Most of us assume the answer is more muscle or more bleach. I’ll be the first to admit a massive mistake I made early on: I once mixed three different ‘power’ cleaners in a bucket, thinking I’d created a super-solvent. Instead, I created a cloud of fumes that sent me coughing into the hallway and didn’t touch the scum. According to the American Cleaning Institute, soap scum is actually a complex compound called ‘calcium stearate,’ which forms when the fatty acids in your soap react with the minerals in hard water. It’s essentially a waterproof mineral-limestone hybrid. You can’t just wash it away; you have to break the chemical bond. This is why standard house cleaning strategies often fail—they treat it like dirt when it’s actually a chemical solid.
Does this method actually stand up to years of hard water buildup?
You might be skeptical. I’ve tried the ‘magic’ erasers and the expensive sprays that promise results in seconds, only to be left disappointed. But once I started using the dish soap trick combined with a specific acidic binder, the transformation was night and day. We are looking for a ‘dwell time’ solution, not a ‘scrub time’ solution. Have you ever spent an entire Saturday morning fighting a shower door only to lose? Let me know in the comments if you’ve ever felt like your shower was winning the war against your sanity. We’re going to dive into the exact mixture that solves this without the physical toll.
Stop Scrubbing and Let Chemistry Do the Heavy Lifting
To break that calcium stearate bond mentioned earlier, we need to manipulate the pH level on the surface of the glass. Most off-the-shelf cleaners are either too neutral or rely on abrasives that merely scratch the surface without removing the chemical bond. By using a concentrated acid to dissolve the mineral ‘bricks’ and a powerful surfactant to lift the greasy ‘mortar,’ you can achieve a level of clarity that usually requires professional tools. This is one of the most effective house cleaning secrets from cleaning experts that changes your entire perspective on bathroom maintenance. Instead of fighting the glass, you are essentially liquefying the barrier between you and a clear view. It is the same logic behind the vinegar and dish soap trick for spotless window screens, but we are going to dial up the intensity for the bathroom environment.
Mix This Simple Solvent for Professional Results
The formula is remarkably simple, but the execution requires precision. You will need equal parts white distilled vinegar and a heavy-duty blue dish soap. The secret that most people miss is the heat. I take the vinegar and microwave it until it is just below boiling. This high temperature increases the molecular motion of the acid, allowing it to penetrate the limestone-like shell of the soap scum much faster. Once the vinegar is hot, carefully stir in the dish soap. Do not shake it—you want a thick, syrupy liquid, not a bottle full of bubbles. This viscous mixture is designed to cling to vertical surfaces. If it’s too thin, it runs down into the drain before it can do its job. If it’s too thick, it won’t spray evenly. When you get the consistency right, it should look like a heavy blue glaze that refuses to move once it hits the glass. 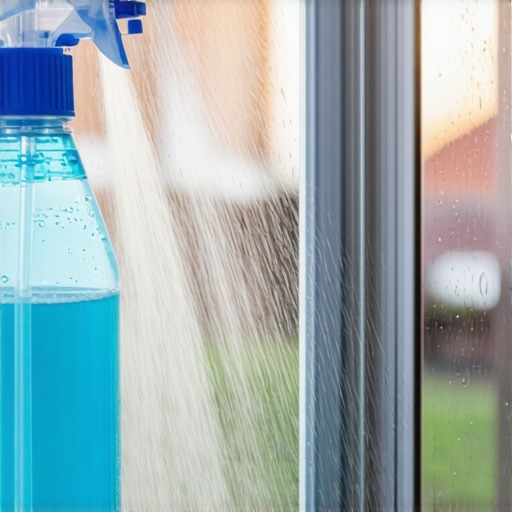
Why Dwell Time Beats Elbow Grease Every Single Day
I remember my first professional-grade attempt at this. I was prepping a rental for a final walkthrough, knowing the landlord was notoriously picky and looking for any reason to keep my funds. I was following move-out cleaning strategies to secure your deposit and the shower was my biggest hurdle. I sprayed this heated mixture onto the glass and, instead of scrubbing immediately like I usually did, I walked away. I went and packed a few more boxes for thirty minutes. When I returned, the white film hadn’t just changed color; it had become a translucent, gelatinous goo. This ‘dwell time’ is the phase where the acid is actually doing the hard work for you. Using this method is essential for anyone following the secret to getting your full security deposit back every time because it ensures a perfect finish without leaving behind the micro-scratches that landlords check for. After the dwell time, use a non-abrasive sponge just to move the loosened grime around, then rinse with warm water. For the absolute best results, employ the two cloth method for streak-free windows in half the time to dry the glass. You’ll find that the water sheets off perfectly, leaving nothing but a mirror-like shine behind.
Why a Visual Shine Often Masks Hidden Germs
While that shower door might look like a diamond now, there is a massive nuance that separates a visual clean from a biological one. Most people believe that if a surface is shiny, the job is done, but in my experience, the ‘visual test’ is the biggest trap in the industry. This is especially true when you are working through a move-out clean checklist; you might pass the landlord’s eyes, but you haven’t necessarily made the home safe for the next tenant.
Vinegar Is Not the All-Purpose Disinfecting Hero You Think
Everyone says vinegar is a universal disinfectant, but that is a dangerous myth. While vinegar is great for descaling mineral buildup, it is not an EPA-registered disinfectant and frequently fails to kill certain hardy pathogens like staph or salmonella. Using it as your only line of defense is one of the most common mistakes I see during sanitizing hacks for safe house transitions.
Does your disinfectant actually have enough time to work?
The biggest ‘oops’ factor I encounter is what I call ‘spray and wipe syndrome.’ People spray a disinfectant and immediately wipe it off, which effectively does nothing but move the bacteria around. According to the Journal of Applied Microbiology, most household disinfectants require a specific contact time—often up to ten minutes—to reach their advertised kill rate. If you aren’t letting the product sit, you are just performing a very expensive version of dusting. This is a key part of effective sanitizing methods for a germ-free home that most beginners ignore. 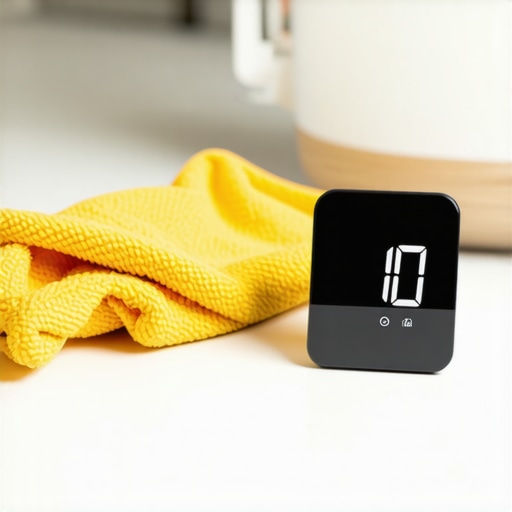 Furthermore, you have to be careful with the equipment you use. I’ve seen people use the same vacuum for years without realizing why your vacuum is actually spreading more dust around. If your HEPA filter is compromised, you’re just aerosolizing allergens while you try to ‘clean.’ Have you ever fallen into this trap of thinking a surface was safe just because it looked shiny? Let me know in the comments. We need to move beyond the surface-level shine and focus on the sanitizing secrets for a safer house in 2025 that actually protect your family’s health.Once you have achieved that high-level clarity on your glass and surfaces, the real battle begins: retention. I’ve seen so many people perform a heroic deep clean, only to have the house revert to chaos within ten days because they lacked a system. I personally stopped relying on standard household vacuums and switched to a HEPA-sealed bypass motor system because I realized that my old machine was the primary reason my dusting never felt finished. If you are struggling with recurring allergens, you should check why your vacuum is blowing dust back into the air. It’s not just about the suction; it’s about the filtration. For my shower doors, I now keep a professional-grade T-bar squeegee hanging right in the stall. It takes exactly twelve seconds to swipe the water off after a shower, preventing that mineral bond from ever forming in the first place. This tiny habit is the cornerstone of a daily house cleaning routine to maintain perfection without needing a weekend-long scrub session every month.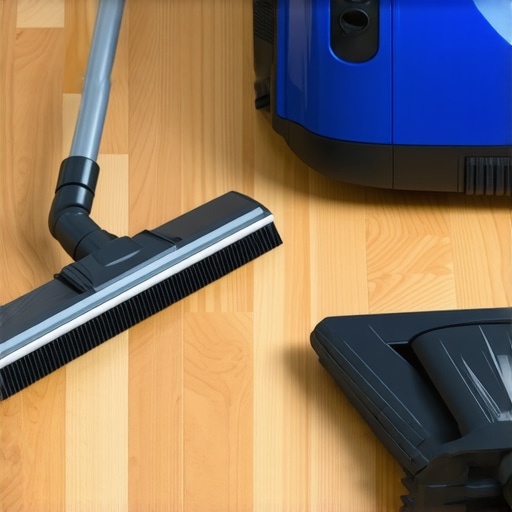
Keep Your Fabric Looking Brand New for Years
Upholstery is where most DIY efforts fail because of the ‘wicking’ effect. I remember a client who tried to spot-clean a coffee spill on their linen ottoman, only to have a massive brown ring appear the next morning. According to the IICRC S300 Standard for Professional Upholstery Cleaning, the issue is often over-wetting and improper pH neutralization during the drying phase. If you don’t extract the moisture quickly, the soil deep in the foam travels to the surface as it dries. This is why I always recommend an ultimate upholstery care guide for lasting freshness that emphasizes dry-foam methods over saturation. Before you even think about sanitizing your sleeping or seating areas, remember that why you should always vacuum your mattress before you sanitize it applies to couches too; dry soil becomes mud the second it hits liquid. Utilizing specific upholstery cleaning tips for a fresh home revival will save you thousands in replacement costs over the lifetime of your furniture.
How do I keep my home in this professional state indefinitely?
The secret isn’t more cleaning; it’s better scheduling. You need to learn how to schedule a deep clean that actually lasts more than a week by staggering your tasks. Don’t try to do the baseboards, the windows, and the upholstery in one day. I predict that in the next five years, we will see a massive shift toward ‘smart’ surfaces—materials embedded with photocatalytic coatings that use ambient light to break down organic matter automatically. Until then, we have to rely on our tools and our timing. I want you to try this today: Grab a professional squeegee for your bathroom and use it just once after your next shower. You will be amazed at how much ‘work’ you prevent just by moving the water before it dries. If you’re feeling overwhelmed by a big transition, don’t forget to revisit your move-out clean checklist to ensure no corner is left to chance.
Hard Truths I Learned While Scrubbing for My Deposit
After years of trial and error, I’ve realized that the most common mistake is over-cleaning with force rather than finesse. First, I learned that scrubbing is often the enemy of the finish; once you micro-scratch a surface like glass or chrome, soap scum has a new place to anchor. Second, I finally accepted that dry soil removal is 80% of the battle. If you aren’t using a high-quality vacuum before you mop or wipe, you are just making mud. This is a critical step in most move-out cleaning hacks to ensure your deposit refund. Lastly, I realized that the ‘clean’ smell of bleach is often just a mask for lingering biological issues. True cleanliness doesn’t have a scent—it’s just the absence of grime.
The Gear That Actually Earns Its Space in My Closet
You don’t need a pantry full of specialized chemicals. I trust these three tools above all else: A professional-grade T-bar squeegee is non-negotiable for anyone who wants to stop scrubbing their shower doors forever. I also swear by HEPA-sealed vacuums because they prevent the dust cycle from repeating every time you turn the machine on. For fabric care, I always keep a copy of the ultimate upholstery care guide for lasting freshness handy to ensure I never use the wrong pH on a delicate weave. Finally, I rely on high-GSM microfiber cloths rather than paper towels; they lift bacteria instead of just pushing it across the surface, which is essential for effective sanitizing methods for a germ-free home.
Your Home Deserves a Reset You Can Actually Maintain
Cleaning shouldn’t feel like a punishment or a weekend-long marathon that leaves you exhausted. By switching your mindset from ‘scrubbing’ to ‘preventing,’ you reclaim your time and your sanity. Implementing a small daily house cleaning routine to maintain perfection allows you to enjoy the clarity of your home without the stress of a mounting move-out clean checklist looming over your head. You’ve got the chemistry, the tools, and the strategy—now it’s just about the first step. Have you ever tried the heated vinegar trick on a stubborn surface, or do you have a different ‘secret weapon’ for soap scum? Let me know in the comments below!