
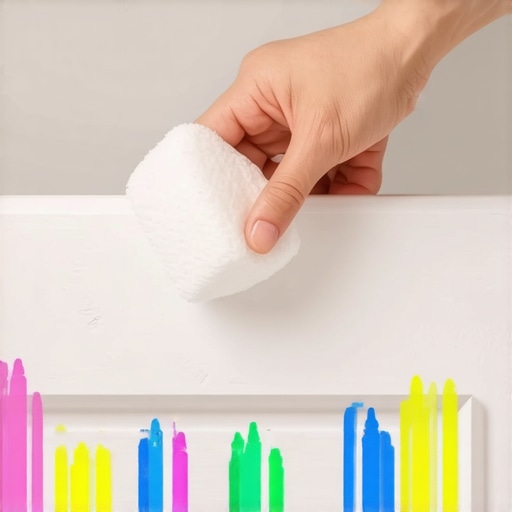
There I was, finally sitting down with a lukewarm cup of coffee, when I looked down and saw it. A vibrant, multi-colored mural stretching across my hallway baseboards. My three-year-old had traded her coloring book for the architectural trim of our living room. It wasn’t just a scribble; it was a deep-waxy commitment to art that I knew was going to be a nightmare to remove. If you’ve ever felt that sinking feeling in your stomach seeing Crayola ‘Cerulean Blue’ ground into your semi-gloss, you know exactly what I’m talking about. I’ve spent years perfecting my daily house cleaning routine to maintain perfection, but kids have a way of throwing a wrench in even the best-laid plans. Today, I’m going to show you exactly how to erase those masterpieces in minutes without needing to break out the paint can.
Why Muscle Isn’t the Answer for Waxy Messes
Early on in my parenting journey, I made a massive mistake that I still regret. I grabbed a green scouring pad and some harsh degreaser, thinking I could just muscle the wax away. Within three seconds, I wasn’t just looking at crayon; I was looking at bare wood. I had completely stripped the finish right off the trim. It was a disaster. According to the American Cleaning Institute, crayon is essentially paraffin wax and pigment, which means you need to address the wax’s melting point or use a mild solvent rather than sheer force. If you treat it like a simple scuff—like what you’d find in a move-out hack for getting scuff marks off white walls—you’ll likely end up damaging the surface. You have to be smarter than the wax. I’ve learned that the key is breaking down the binder of the crayon without softening the paint underneath. [image_placeholder_1]
Will this actually leave a permanent oily stain?
Many people worry that using oils or cleaners will leave a greasy residue that attracts dirt later. I get it; nobody wants a ‘clean’ baseboard that turns into a magnet for dog hair. But if you follow the right steps and use the toothbrush trick for removing pet dander from baseboard crevices as a final detail step, your trim will look better than the day you moved in. Have you ever found a ‘masterpiece’ on your walls that made you want to cry? Drop your funniest parenting cleanup story below! Transitioning from a panic-stricken parent to a cleaning pro isn’t hard once you know the effective house cleaning secrets from cleaning experts. Let’s dive into the actual tools you need to grab from your pantry right now.
Melt the Mess Away with a Hairdryer
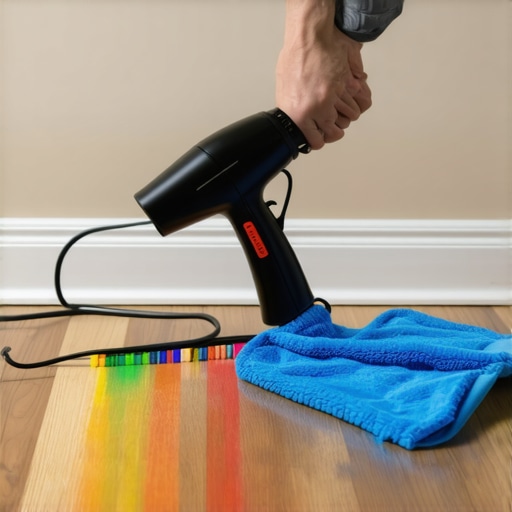
Think of crayon wax as a protective seal that has bonded with your paint. To break that bond without taking the paint with it, you need to soften the wax. Set your hairdryer to a medium heat setting and hold it about six inches away from the scribble. You’ll see the color go from a matte finish to a slight gloss—that’s the wax hitting its melting point. This is the same principle I use when learning sanitizing secrets for a safer house in 2025; you have to understand the material you’re dealing with before you attack it. Once the wax is soft, use a clean microfiber cloth to gently wipe it away. Don’t rub hard; just lift it. If you scrub too vigorously, you’ll just push the pigment deeper into the grain of the wood.
Keep the Temperature Just Right
The danger here is overheating. If you get the baseboard too hot, you risk bubbling the paint or melting the adhesive behind the trim. I learned this lesson the hard way during a particularly stressful weekend. I was trying to rush through a move-out cleaning hacks ensure your deposit refund session and used a heat gun instead of a hairdryer. Within seconds, I smelled burning paint. It was a $200 repair for a five-cent crayon mark. Since then, I’ve stuck to the hairdryer method because it’s much more controllable. It’s like the difference between a slow-cooked meal and a microwave—patience preserves the quality.
Choose a Soap That Cuts Through Wax
Once you’ve removed the bulk of the wax with heat, you’ll likely still see a ghostly stain left behind by the pigment. This is where the dish soap trick for removing greasy buildup on kitchen cabinets comes into play. Dish soap is formulated to break down fats and oils, which is exactly what paraffin wax is made of. Apply a single drop of high-quality dish soap to a damp cloth and work it into the stain in circular motions. This helps emulsify the remaining wax particles so they can be lifted away. It is a much safer alternative to harsh chemicals, much like how to get grease off kitchen cabinets without removing the finish. By using a gentle surfactant, you keep the sheen of your semi-gloss paint intact while the crayon disappears.
Work from the Top Down to Avoid Streaks
One of the most important why professional cleaners always start at the top of the room strategies applies even to baseboards. If you have crayon marks at the top of the trim, clean those first. Any drips or soapy residue will naturally run down, and you can catch them as you work your way to the floor. When I was refining my house cleaning strategies for a sparkling home today, I used to start at the bottom and then wonder why I had soapy streaks across my finished work. Now, I always work with gravity, not against it. This method ensures that you aren’t re-cleaning the same spot twice and keeps the mess contained to the area you are actively working on.
Most people assume that more chemical equals more clean. In my years of refining house cleaning strategies for a sparkling home today, I’ve found that the opposite is often true. We have this obsession with ‘killing germs’ that actually backfires when we skip the basic physics of the surface. According to the CDC, cleaning—physically removing dirt and impurities—is a mandatory precursor to disinfecting. If you spray a disinfectant directly onto a dusty baseboard or a greasy kitchen cabinet, the germs can actually thrive beneath the biofilm. You’re essentially just making dirty germs smell like synthetic lavender. This is a nuance I always emphasize when teaching effective sanitizing methods for a germ-free home. Then there’s the ‘steam obsession.’ Everyone thinks a steam cleaner is the ultimate weapon against grime. While it’s great for tile, I’ve seen it melt the adhesive backing on certain rugs and permanently shrink delicate upholstery. Before you go full-steam ahead, you must understand why you should never use a steam cleaner on these specific upholstery fabrics. Using heat on an ‘S-coded’ fabric is the quickest way to turn a $2,000 sofa into a crunchy, water-stained mess. 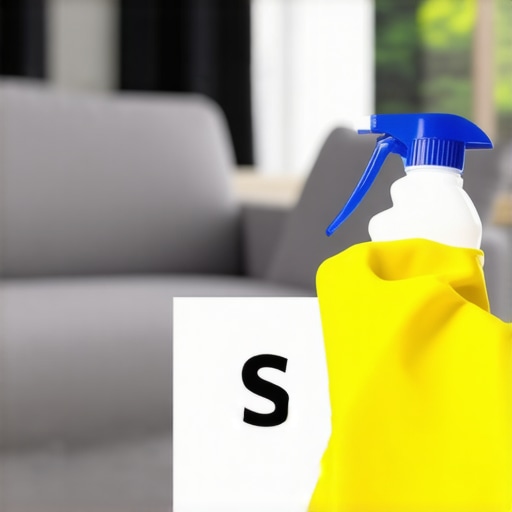
Does that ‘S-Code’ label on your couch really matter?
Absolutely. ‘S’ stands for solvent-based cleaners only. If you use water—even just a damp cloth—on these fibers, you are risking a permanent ring that looks like a giant coffee stain. This is the ultimate ‘Oops’ factor that separates the amateurs from the pros. When I’m sharing upholstery cleaning tips for a fresh home revival, I always tell people: if you see an S, put the water spray bottle down immediately. This level of detail is exactly what’s needed for a successful home transition. If you’re prepping for a move, don’t just focus on the visible wall scuffs. Check out my move-out clean checklist to simplify your transition to see the spots you’re probably ignoring. For example, understanding why the space behind the oven costs most renters their deposit is about more than just old crumbs; it’s about the grease accumulation that becomes a fire hazard. Have you ever accidentally ruined a piece of furniture by trying to clean it? Have you ever fallen into this trap? Let me know in the comments! By mastering these effective house cleaning secrets from cleaning experts, you’ll stop cleaning harder and start cleaning with genuine confidence. Knowing the difference between sanitizing and simply wiping down can save your surfaces and your sanity. If you’re unsure about a specific material, always refer back to my sanitizing secrets for a safer house in 2025 before applying any heat or moisture.
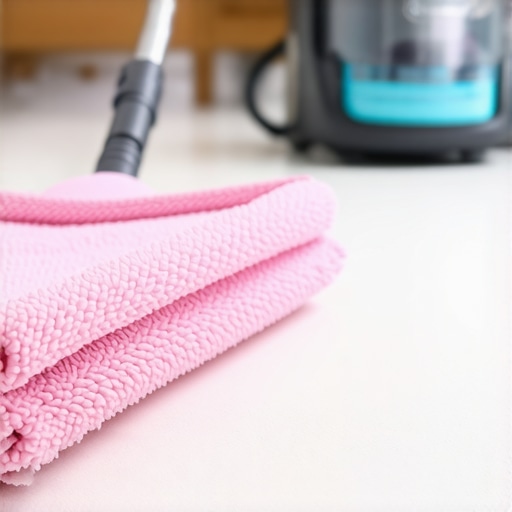
I’ve realized that the difference between a house that ‘looks clean’ and one that is clean comes down to the quality of your toolkit. Most people are using the same rags for six months, just moving the same dust from the bookshelf to the coffee table. When I started implementing a daily house cleaning routine to maintain perfection, I swapped out my cotton rags for high-GSM (grams per square meter) microfiber. If your cloth feels like a cheap t-shirt, it’s not doing its job. I personally use 300 GSM split-fiber polyester blends because they actually grab the microscopic particles instead of just pushing them. It’s one of those effective house cleaning secrets from cleaning experts that changes your workflow overnight.
How do I maintain these surfaces over the long haul?
Maintenance isn’t about a massive Saturday deep-clean; it’s about the micro-habits. For example, once I’ve treated a spot, I apply a thin layer of furniture-grade wax or a ceramic spray to the baseboards. This creates a sacrificial layer. The next time my daughter decides to paint the trim, the crayon sits on the wax, not the paint. I also make sure to revisit my upholstery cleaning tips for a fresh home revival every quarter to check for fabric fatigue. It’s much easier to maintain a finish than it is to restore one.
Look for the HEPA Seal if You Value Your Air Quality
One tool I refuse to compromise on is a sealed HEPA vacuum. Many ‘HEPA’ vacuums on the market leak dirty air through the housing before it even reaches the filter. According to the ASTM F1977-04 standard, which measures the initial fractional filtration efficiency of a vacuum cleaner system, a truly effective machine should capture 99.97% of particles down to 0.3 microns. If your machine smells ‘dusty’ while you use it, it’s failing. This is why your vacuum filter might be making your allergies worse. Investing in a bagged, sealed system might cost more upfront, but it prevents the fine dust from settling back onto the very baseboards you just cleaned.
Don’t Settle for Home-Grade Tools During a Move
When I’m helping friends with a move-out clean checklist to simplify your transition, I always bring my own utility caddy. You can’t rely on whatever is under the sink. High-performance cleaning is a science. For instance, if you’re dealing with those tricky window tracks, don’t just spray water. Use a dry vacuum attachment first. If you wet the dust, you create mud, and then you’re scrubbing for an hour. Use the window track cleaning hack you actually need for a move-out to save your sanity. The same applies to those baseboards. Once they are dry, a quick buff with a dryer sheet can actually help repel future dust because of the anti-static properties. Looking toward the future, I predict we are going to see a massive shift away from harsh biocides toward bio-enzymatic cleaners that live on your surfaces. Imagine a kitchen counter that continues to eat away at organic spills for 24 hours after you’ve wiped it. We’re moving toward a ‘probiotic’ approach to the home. If you want to get ahead of the curve, start looking into sanitizing secrets for a safer house in 2025. My challenge to you: find one high-touch surface in your home today—like a light switch or a door handle—and use a dedicated microfiber cloth with just a hint of moisture to see how much ‘invisible’ grime you’ve been missing.
The Realizations That Changed My Approach to Home Care
Reflecting on years of keeping a busy household together, I’ve realized that cleaning isn’t just about the elbow grease; it’s about the emotional bandwidth you save when you have a system. The biggest shift for me was moving from ‘reactive’ cleaning—where I only tackled a mess when it became unbearable—to a proactive daily house cleaning routine to maintain perfection. Here are a few lightbulb moments from my journey:
- The ‘Dry First’ Rule: I used to spray everything with liquid immediately. Now I know that dusting or vacuuming first prevents the ‘mud effect’ that makes deep cleans twice as hard.
- Materials Matter More Than Chemicals: Understanding how to treat s-coded upholstery fabric without ruining it taught me that the wrong cleaner on the right fabric is a recipe for a very expensive mistake.
- Maintenance is a Gift to Your Future Self: Spending five minutes today on those baseboards means I won’t spend five hours on them next month when we are trying to follow a move-out clean checklist to simplify your transition.
My Non-Negotiable Arsenal for Every Home Revival
I don’t believe in having a cabinet overflowing with specialized sprays that only do one thing. Instead, I rely on a curated set of high-performance tools that never let me down. First, a high-GSM microfiber cloth is my most trusted companion; it lifts oils that cotton just smears around. Second, I always keep a HEPA-sealed vacuum ready because I’ve seen firsthand why your vacuum filter might be making your allergies worse by recirculating fine dust. Finally, I trust pH-neutral dish soap for 90% of my surface cleaning. It’s effective, safe for the family, and aligns perfectly with the effective house cleaning secrets from cleaning experts I’ve gathered over the years. These tools provide the foundation for a home that doesn’t just look clean but actually feels healthy.
Take the First Step Toward a Stress-Free Home
There is a profound sense of peace that comes from knowing exactly how to handle the little disasters life throws at you, whether it’s a crayon mural on the baseboard or a spill on the sofa. By mastering these house cleaning techniques and looking ahead to the sanitizing secrets for a safer house in 2025, you aren’t just maintaining a building; you’re creating a sanctuary for your family. Don’t be afraid to start small—one baseboard or one light switch at a time. Have you ever found a ‘masterpiece’ on your walls that made you want to cry? Let me know your funniest parenting cleanup story in the comments below!