

I was standing in the middle of my empty kitchen, three hours away from handing over the keys, when I opened the oven door and felt my heart sink. Those racks. They weren’t just dirty; they were a charred, sticky landscape of every pizza drip and casserole spill from the last three years. I knew if I left them like that, my security deposit was as good as gone. In my younger days, I actually made the mistake of trying to sand them down with a wire brush, which—pro tip—completely ruins the finish and makes them rust faster than a junked car.
Oven Racks Can Sabotage Your Entire Move-Out
When you’re checking off your move-out clean checklist to simplify your transition, the oven is usually the monster lurking at the end of the list. Landlords love to peek inside the oven. It’s one of the easiest ways for them to justify keeping a chunk of your cash. Most people reach for those heavy-duty, caustic spray cans that smell like a chemical plant, but I’ve learned the hard way that you don’t need to sacrifice your lungs to get a shine. If you’re already stressed about ensuring your deposit refund, the last thing you want is a kitchen that smells like toxic fumes. I’ve spent years testing everything from lemons to bathtubs full of powder, and I’m telling you: natural is better, cheaper, and way less painful. We’re going to walk through the exact steps to melt that carbonized gunk away while you focus on the rest of the house.
Does the natural approach actually work on years of grease?
I get the skepticism. When you see black, baked-on crust, “vinegar” sounds like bringing a toothpick to a swordfight. But according to the American Lung Association, many conventional oven cleaners contain sodium hydroxide, which can cause severe skin burns and respiratory irritation. That’s why I switched. Once I figured out the right soak-to-scrub ratio, I realized I’d been wasting money on those “industrial strength” bottles for nothing. The secret isn’t in the muscle; it’s in the chemistry of the soak. Have you ever spent an entire afternoon scrubbing a single rack only to have it still look “brown-ish”? I want to hear your horror stories—have you ever given up and just bought new racks instead? Before we dive into the bathtub method or the grass-overnight trick, let’s look at why your house cleaning strategy needs to change when you’re under the pressure of a moving deadline. It’s about working smarter, not harder. You can even use this time to handle greasy range hood filters simultaneously since they suffer from the same sticky fate.
Stop Fighting the Grease and Start Soaking
The bathtub is your best friend when you’re tackling a kitchen that looks like a war zone. If you’re working through the moving day checklist for a spotless kitchen, this is your most efficient move because it works while you sleep. Think of baked-on grease like old, dried glue; you can’t just wipe it away with a sponge and a prayer. You have to rehydrate that carbonized gunk until the chemical bonds literally give up and slide off the metal. Trying to scrub these racks while they are dry is like trying to remove a bumper sticker with a spoon. It’s frustrating, loud, and ultimately ineffective. Instead, we want the water to do 90% of the heavy lifting.
Protect Your Tub From Metal Scratches
Before you even think about turning on the tap, grab an old towel. I remember my first move-out in a tiny studio apartment where I was so exhausted I just tossed the racks directly into the porcelain tub. By the morning, I didn’t just have clean racks; I had deep, dark grey scratches etched into the bottom of the bathtub. I ended up spending the next two hours panicked, looking up how to remove rust stains from porcelain sinks and tubs to save my deposit. Lay that towel flat on the bottom of the tub to act as a cushion. This prevents the sharp edges of the racks from ruining the finish. Place your racks on top of the towel and fill the tub with the hottest water your heater can manage until the racks are fully submerged. 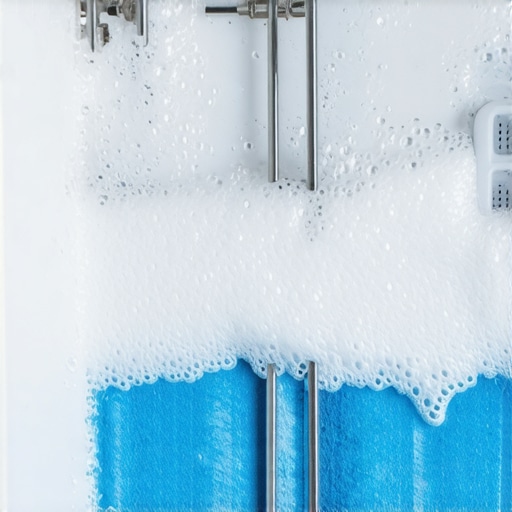
Use Dishwasher Pods for Maximum Power
Forget regular liquid soap. You need the concentrated enzymes found in dishwasher pods or powder. Throw two pods into the hot water and let them dissolve. These pods are designed to eat through protein and fat, which is exactly what that black crust is made of. This is one of those sanitizing hacks for safe house transitions that people often overlook. Let the racks soak for at least six hours, though overnight is better. When you come back, the water will likely be a murky, unappealing brown, but that’s a good sign. It means the grease is no longer attached to your oven.
Tackle the Final Residue Without Losing Your Sanity
Once the soak is done, most of the grime should wipe away with a simple rag. For the stubborn bits that refuse to budge, use a paste made of baking soda and a tiny bit of water. This gives you a gentle abrasive that won’t ruin the shine of the metal. While the racks are drying, you can apply similar effective sanitizing methods for a germ-free home to the rest of the kitchen. If you still have residue on the oven itself, you should look into the best way to clean a grimy oven door window to ensure the entire appliance looks brand new. The key is to never let the metal dry out before you’ve finished the final wipe-down, or the grease will just re-harden and you’ll be back at square one.While the oven is often the most visible hurdle, I see people make the same ‘muscle over chemistry’ mistake with their floors and furniture every single day. There is a common belief that if you just scrub harder or use more soap, things will eventually get cleaner. In reality, excessive product creates a sticky residue that acts as a magnet for new dust and hair. This is particularly dangerous for fabric; if you’ve been following an ultimate upholstery care guide for lasting freshness, you know that the real enemy is the soap left behind, which can actually cause permanent fiber damage over time.
Does your favorite DIY vinegar spray actually kill germs?
Here is the hard truth that might upset the ‘vinegar cleans everything’ crowd: vinegar is an excellent descaler, but it is not an EPA-registered disinfectant. According to the Environmental Protection Agency (EPA), for a product to truly sanitize, it must be proven to kill 99.9% of bacteria within a specific dwell time. While natural options are fantastic for a daily house cleaning routine to maintain perfection, they often fall short when you are trying to implement effective sanitizing methods for a germ-free home during a move-out. If the previous tenant had a flu or a pet with dander issues, you need real sanitizing secrets for a safer house in 2025, not just a pleasant scent.
Stop Spraying Your Surfaces Directly
The most common ‘oops’ I see even from experienced cleaners is the habit of spraying a liquid cleaner directly onto a countertop or cabinet. This is a massive mistake that leads to uneven distribution and can actually saturate delicate finishes, causing wood to warp or electronic sensors to fail. This is why you should never spray cleaning products directly on surfaces; instead, always spray your microfiber cloth first. This professional nuance is a staple of house cleaning strategies for a sparkling home today because it preserves the life of the appliance while ensuring a streak-free finish. Have you ever accidentally ruined a finish by over-spraying a ‘strong’ cleaner? Let me know in the comments. 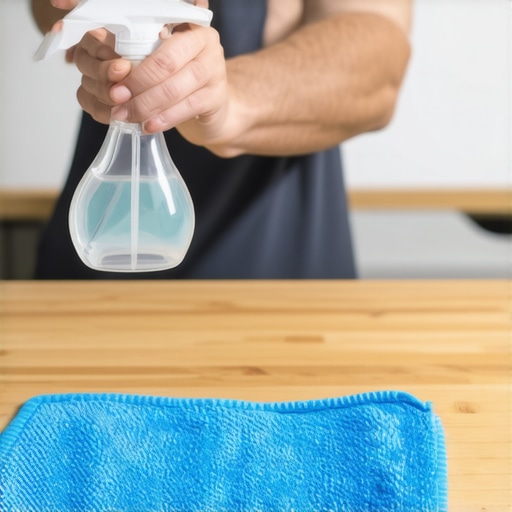 When you are deep in move-out cleaning strategies to secure your deposit, remember the ‘dwell time’ rule. Most people spray and wipe instantly. However, professional disinfectants often require 5 to 10 minutes of wet contact time to actually kill pathogens. If you’re rushing through your move-out clean checklist to simplify your transition, you might be cleaning the visible dirt but leaving the invisible microbes behind. By slowing down and letting the chemistry do the work, you ensure a truly safe environment for the next family.
Once you move in and the dust settles, the goal shifts from emergency recovery to sustainable habits. I’ve realized that the quality of my tools dictates the quality of my life. For example, I stopped using those cheap grocery store sponges because they are basically petri dishes for bacteria. Instead, I transitioned to high-gsm (grams per square meter) microfiber cloths. Why? Because the split fibers act like tiny hooks that grab dirt rather than just pushing it around. If you notice your rags are failing, you should check why your microfiber cloths are leaving lint everywhere before you blame the cleaning solution.
The Gear That Separates Amateurs From Pros
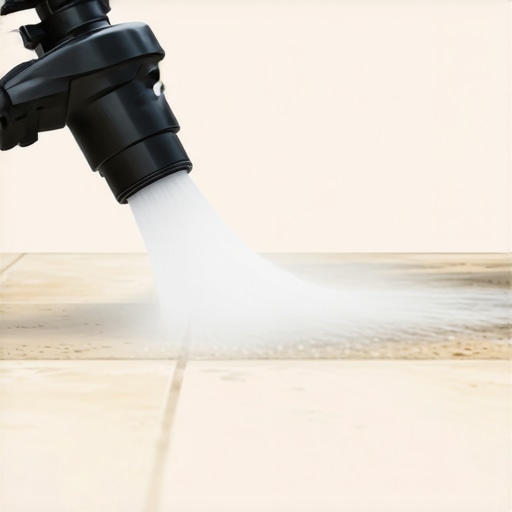
I’m often asked what the single best investment is for a clean home. For me, it’s a high-quality steam cleaner with a pressurized boiler. Unlike a mop that just spreads dirty water, steam physically detaches grime and kills 99% of bacteria without a single drop of bleach. I’ve written specifically about how to sanitize your bathroom floor using steam alone, and honestly, once you see the gunk fly out of your grout lines, you’ll never go back. For your soft surfaces, follow the IICRC S300 Standard, which emphasizes that soil suspension and extraction are the only ways to truly preserve fabric integrity. This is why a simple surface wipe-down won’t work if you’re following an ultimate upholstery care guide for lasting freshness. It requires pulling the pollutants out, not just dabbing at them.
How do I maintain my home’s freshness over time?
The secret is what I call ‘The 10-Minute Reset.’ Every evening, I do a quick sweep of high-touch areas. It’s part of a daily house cleaning routine to maintain perfection that prevents the need for those grueling 12-hour deep cleans. I also keep a close eye on my vacuum. If you find yourself going over the same spot three times, it’s a sign that your machine is choking. I learned the hard way to investigate why your vacuum isn’t picking up dirt like it used to before I considered buying a new one—usually, it’s just a clogged filter or a tangled brush roll.
The Future of Cleaning is Smarter Not Harder
Looking ahead, I predict we are going to see a massive shift toward ‘self-cleaning’ surfaces—materials infused with titanium dioxide that use light to break down organic matter. Until that becomes affordable, we have to rely on professional-grade effective house cleaning secrets from cleaning experts. If you have pets, the stakes are higher; you need to know how to get your security deposit back when you have pets because their hair and dander are far more persistent than human mess. I challenge you to try one thing today: swap your spray-and-wipe method for a ‘dwell time’ approach. Spray your cloth, wipe the surface, and let it sit for the recommended time before buffing it dry. If you need specific advice on a tough stain or a professional consultation, feel free to contact us directly.
The Most Expensive Lesson I Learned While Cleaning for a Landlord
After years of handling move-outs, I realized that the biggest threat to your security deposit isn’t the mess you see—it’s the residue you leave behind. I used to think that more soap meant more clean, but the opposite is true. Excess product creates a film that actually attracts dust the moment you walk out the door. Now, I lean on effective sanitizing methods for a germ-free home that prioritize science over sweat. Understanding the difference between cleaning for ‘sight’ and cleaning for ‘sanitization’ changed everything for me.
- Stop the Spray: I finally understood why you should never spray cleaning products directly on surfaces; it’s the fastest way to ruin a finish and waste money.
- Dwell Time is King: If you aren’t letting your cleaner sit for at least five minutes, you’re just moving dirt around, not killing germs.
- The Mirror Test: If you can’t see your reflection in the stainless steel, you aren’t done yet.
Gear That Changed My Cleaning Game Forever
I’ve trimmed my cleaning caddy down to the absolute essentials because quality beats quantity every time. My first recommendation is always a pressurized steam cleaner; it’s my secret weapon to sanitize your bathroom floor using steam alone without a single chemical smell. Next, I never go anywhere without high-gsm microfiber cloths, but you must know why your microfiber cloths are leaving lint everywhere so you can care for them properly. Finally, always have a strategy for the kitchen. Following a move-out clean checklist to simplify your transition ensures that even the smallest details, like the sink or the baseboards, get the attention they deserve. For those really tough spots, I always rely on the secret to making your stainless steel sink shine like new to leave a lasting impression.
#IMAGE_PLACEHOLDER_E#
Step Into Your New Home With Confidence
The goal of a deep clean isn’t just to get a check back; it’s to close one chapter with pride so you can start the next one without a lingering ‘to-do’ list. When you approach your move-out with a mentor-like patience and the right tools, the process becomes rewarding rather than exhausting. If you find yourself stuck on a specific stain or just want a professional to handle the heavy lifting, feel free to contact us. We’re here to help you cross that finish line. Which part of the oven do you find the most frustrating to get back to a factory shine? Let me know in the comments below!