
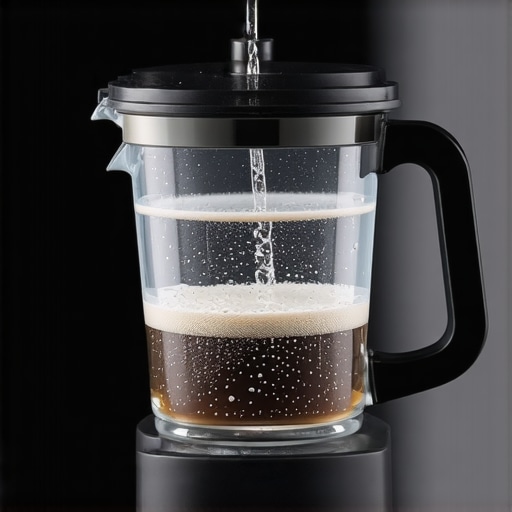
I remember a Tuesday morning last month vividly. I was running late for a client meeting, grabbed my favorite travel mug, and took a massive gulp of what I expected to be life-giving caffeine. Instead, it tasted like… well, a wet basement. I pulled the lid off my machine and peered into the water tank. There it was: a thin, slippery film of slime clinging to the corners of the plastic. I felt like a total failure. I spend so much time researching effective house cleaning secrets from cleaning experts for my rugs and floors, yet I had been drinking moldy water for weeks. It was a visceral wake-up call. If your morning cup has been tasting a bit ‘off’ or bitter lately, you aren’t alone, and it’s probably not the beans. Standing water in a dark, warm environment is a literal playground for yeast and bacteria. According to a study by NSF International, the coffee reservoir is actually one of the top five germiest places in the average home, often harboring more coliform bacteria than a toilet seat. Today, I am going to walk you through the absolute best way to sanitize that tank so your coffee finally tastes the way it should. We are going to fix the mistakes I made and set up a system that keeps your machine pristine without using harsh chemicals that leave a nasty aftertaste.
Stop Ignoring the Slippery Film in Your Tank
I used to make the classic mistake of thinking a quick rinse was enough. I would dump out the old water, swish a little tap water around, and refill it. That is a recipe for disaster. That chalky white residue is mineral buildup, and the pinkish slime is a bacteria called Serratia marcescens that thrives on moisture. They don’t just wash away with a splash of water; they anchor themselves to the plastic. Just like you wouldn’t keep using the same kitchen towels that smell musty, you shouldn’t let your coffee water sit in a contaminated tank. It’s about more than just flavor; it’s about making sure your kitchen is a truly healthy space.
Is this deep cleaning actually worth the effort?
I know you’re busy. When you’re trying to manage a daily house cleaning routine to maintain perfection, adding another task feels like a burden. But here is the reality: a clean reservoir prevents your machine’s internal pumps from clogging and failing prematurely. It’s a three-minute habit that saves you a hundred-dollar replacement fee. Have you ever looked into your tank with a flashlight and been genuinely surprised by what was staring back at you? Tell me I’m not the only one who has had that ‘gross-out’ moment. Now that we’ve addressed why that slime is there, let’s get into the actual tools and steps that will make your reservoir look brand new.
How to strip that bio-film away for good
First, unplug your machine. It sounds basic, but I once spilled a full tank of vinegar water over a live base because I was rushing—sparking a miniature lightning storm in my kitchen that I’d rather not repeat. Safety first, coffee second. Take the reservoir off the machine and remove any filters or removable gaskets. Much like cleaning the gaskets in your fridge to prevent mold, these rubber seals are where the worst bacteria hide. If your tank has a removable lid, take that off too. We want every square inch exposed to our cleaning solution to ensure no colonies survive in the shadows.
Choose your sanitizing agent wisely
I prefer white vinegar or citric acid over harsh chemicals like bleach. If you’ve ever had to sanitize your reusable water bottle properly, you know that soapy residue is the enemy of subtle coffee notes. Mix a 50/50 solution of white vinegar and warm water. If the scale is particularly thick—that white, crusty stuff—go for a higher concentration. Fill the tank and let it sit for at least thirty minutes. This isn’t just about wetting the surface; it’s about breaking the chemical bond the minerals have formed with the plastic. Think of it as a deep soak for your machine’s ‘lungs.’ While the tank soaks, you can use the same mixture to wipe down the exterior, similar to the process for how to clean your humidifier to prevent dangerous mold growth. It’s all about consistency across your appliances to maintain a truly healthy environment. 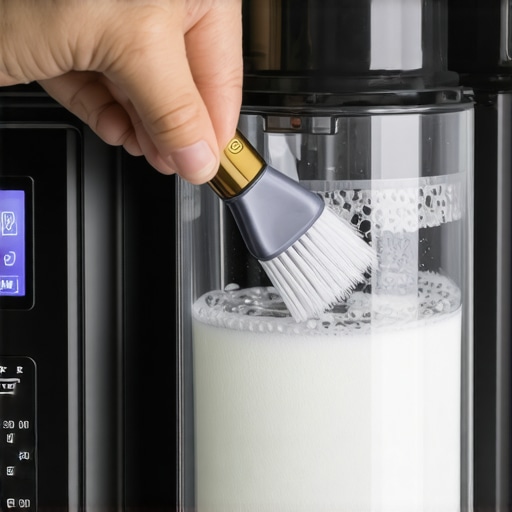
Scrub without scratching the plastic
After the soak, use a soft-bristled brush. I keep a dedicated bottle brush just for the coffee machine. Avoid those green scouring pads at all costs; they create microscopic scratches in the plastic that actually give bacteria a place to hide next time. It’s a similar logic to effective sanitizing methods for a germ-free home: if you damage the surface, you make it harder to clean later. Use circular motions and pay special attention to the corners. I remember thinking I was done once, only to hold the tank up to the light and see a faint green ring right at the water line. I had to start all over again because I missed the ‘tide mark’ where the bacteria had colonized most aggressively.
Focus on the valve at the bottom
This is the part everyone misses. There is a small spring-loaded valve at the bottom of most tanks. Last summer, I couldn’t figure out why my coffee still tasted ‘off’ after a deep clean. I poked a Q-tip into that valve and it came out black. I was horrified. Use a cotton swab dipped in pure vinegar to gently clean around that seal. It’s a tiny detail, but it’s the difference between a surface clean and a true sanitization. It is very much like the precision needed for how to sanitize reusable straws without a special brush; the smallest channels are often the filthiest. If you can depress the valve slightly with the swab, do so to let the vinegar penetrate the spring mechanism.
The final flush is the most important part
Once you’ve scrubbed and rinsed, you aren’t done. You need to run at least three full cycles of plain, filtered water through the machine. Think of it like the vinegar and baking soda trick for clogged drains; you need the pressure and volume of water to clear out the loosened debris from the internal lines. If you skip this, your first cup of coffee will taste like a salad dressing, and nobody wants that shock at 7 AM. After the final flush, leave the tank out to air dry completely before reattaching it. Moisture is the fuel for regrowth, so a dry tank is a safe tank.If you’re as obsessed with that coffee reservoir as I am, you probably apply that same ‘scorched earth’ policy to your whole home. But here is the reality: most people approach a move-out cleaning with a mindset that actually works against them. We’ve been conditioned to think that if a room smells like a swimming pool, it must be sterile. This is the biggest myth in the industry. Over-using bleach or high-pH detergents actually creates a microscopic, sticky residue. This residue acts as a chemical magnet for future grime, which is exactly why your upholstery looks dingy just weeks after you’ve ‘deep cleaned’ it. You haven’t removed the dirt; you’ve just provided a buffet of soap for new dust to stick to.
Why your favorite cleaning spray is ruining your furniture
One mistake I see constantly—and I’ve been guilty of it during my early morning cleaning rants—is spraying cleaning products directly onto a surface. It feels efficient, right? It’s actually a recipe for disaster. According to experts at the CDC, effective sanitization requires a two-step process: you must physically remove organic matter with a detergent first, and then apply a disinfectant. If you spray a dirty table directly, you are essentially creating ‘disinfectant mud.’ Furthermore, you risk liquid seeping into seams, which is why you should never spray cleaning products directly onto wood or electronics. The professional move is to always mist your microfiber cloth first, then wipe. This controls the moisture level and ensures you aren’t leaving behind a pool of chemicals that can strip finishes or harbor new bacteria. 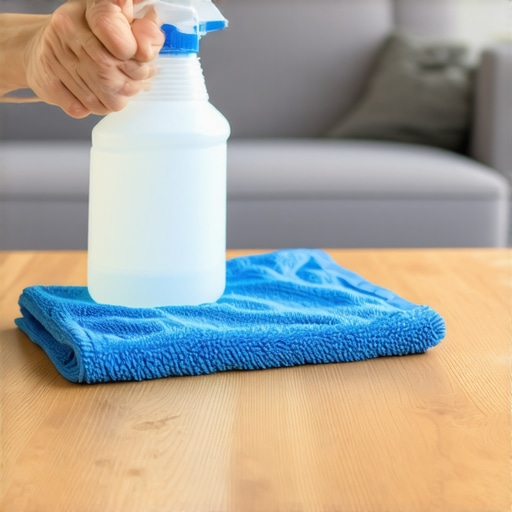
Does a longer ‘dwell time’ beat a stronger chemical?
The pros know a secret that the average homeowner ignores: contact time is the real hero of hygiene. If you’re looking for modern sanitizing secrets, you’ll find that most EPA-registered disinfectants require 5 to 10 minutes of ‘dwell time’—that is, staying visibly wet on the surface—to actually kill resilient pathogens. Wiping a surface dry immediately after spraying is essentially just expensive dusting. This nuance is critical when you attempt to clean a suede couch or other delicate fabrics; because you can’t let them stay wet for long, you have to choose your products based on efficacy at lower concentrations.
The trap of over-saturating your carpets and rugs
When people move out of a rental, they often drench the carpets to ‘ensure’ they get their deposit back. This is the ‘Oops’ factor that leads to mold growth under the padding. Excessive water causes ‘wicking,’ where deep-seated stains are pulled to the surface as the carpet dries, making the floor look worse than before you started. It’s better to use multiple low-moisture passes than one heavy soak. Have you ever scrubbed a stain only to see it reappear like a ghost the next morning? That’s wicking in action. It’s a frustrating cycle, but it’s avoidable if you respect the science of evaporation. Have you ever fallen into this trap of over-wetting a surface or over-using soap? Let me know in the comments, and let’s figure out how to break the cycle of ‘sticky-clean’ floors together.To break that cycle, I had to completely rethink my arsenal. I used to think my heavy-duty upright vacuum was my best friend, until I realized my mistake. If you’ve been wondering why your vacuum isn’t picking up dirt like it used to, it might be more than just a full bag; it’s likely a compromised seal or a worn-out brush roll. I personally moved to a sealed HEPA system because standard filters often just blow the fine dust right back into the room you just cleaned. It’s the same reason why your vacuum brush roll is ruining your hardwood floors—it’s far too aggressive for most delicate surfaces. For my carpets, I now rely on a moisture meter. According to the IICRC S100 Standard for Professional Cleaning of Textile Floor Coverings, drying time is the single most critical factor in preventing microbial growth after a wet clean. If your carpet isn’t dry within 24 hours, you’re essentially growing a garden in your living room. 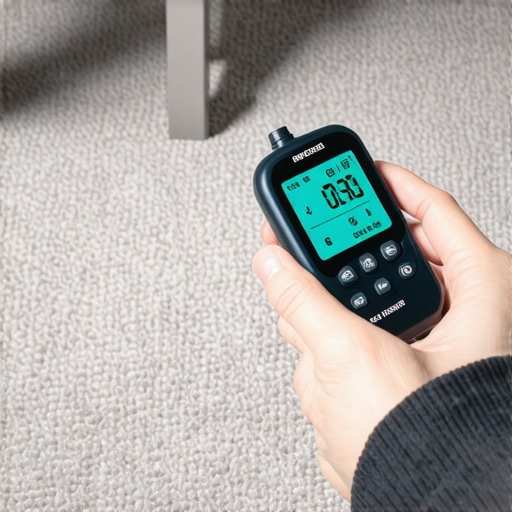
The high-end gear that actually lives up to the hype
The secret isn’t working harder; it’s working smarter with a daily house cleaning routine to maintain perfection. I’ve started using a handheld steam cleaner for my upholstery cleaning tips for a fresh home revival. Steam kills 99.9% of bacteria without leaving that sticky soap residue I warned you about. For those preparing to leave a property, following a move-out cleaning strategy to secure your deposit involves specialized focus on the areas people usually skip, like cleaning greasy range hood filters. I’m also a big advocate for color-coded microfiber cloths; otherwise, your mop bucket is spreading more dirt than it removes by cross-contaminating your kitchen with bathroom pathogens.
How do I maintain this level of sanitization month after month?
Looking ahead, I predict we will see more homeowners using AI-integrated air quality monitors that alert you the moment particulate matter or VOCs spike, taking the guesswork out of modern sanitizing secrets. But for now, here is my advanced tip for you: next time you deep clean, use a moisture meter to check your rug an hour later. If the reading is high, set up an oscillating fan immediately. This small adjustment ensures your upholstery care guide for lasting freshness actually yields long-term results. Don’t just wait for it to air dry—control the environment. It makes the move-out clean checklist to simplify your transition much less stressful when you know the floors are truly done and won’t smell of mildew three days later. Don’t forget to maintain your gear too; a dirty tool cannot create a clean home, as I learned the hard way after a clogged steamer ruined a favorite rug. Check the effective house cleaning secrets from cleaning experts for equipment maintenance tips to keep your machines running at peak efficiency.
The Invisible Mistakes That Kept My Home From Ever Feeling Truly Clean
After years of scrubbing, I realized that my biggest enemy wasn’t the dirt itself, but my own haste. One major realization was that a ‘clean’ scent is often just a mask for lingering bacteria. If you do not follow effective sanitizing methods for a germ-free home, you are just layering perfume over pathogens. I also learned that plastic surfaces, like my coffee tank, are far more porous than they look; using abrasive pads creates microscopic ‘condos’ for mold to settle in. Finally, I stopped equating ‘wet’ with ‘clean.’ Now, I prioritize drying times just as much as scrubbing times to ensure I am not accidentally creating a new ecosystem under my feet. I learned this the hard way when I discovered that learning how to get rid of soap scum without harsh scrubbing is as much about chemistry as it is about effort.
The Toolkit That Finally Replaced My Junk Drawer Chemicals
I have narrowed my cleaning arsenal down to a few high-impact items that make every daily house cleaning routine to maintain perfection feel effortless. First, I never start a deep clean without my handheld steam cleaner; it is the only way I have found to get into tight spots while following sanitizing secrets for a safer house in 2025. Second, I swear by a dedicated moisture meter to prevent mold in my rugs after a wet wash. Third, I always keep a bag of citric acid on hand; it is a miracle worker for mineral scale and is much less pungent than vinegar. Finally, high-gsm microfiber cloths are essential, as they lift debris rather than just pushing it around. #IMAGE_PLACEHOLDER_E#
Reclaim Your Space One Room at a Time
Taking control of your environment starts with these small, intentional acts of maintenance. Whether you are prepping for a move-out cleaning strategy to secure your deposit or just trying to enjoy a better cup of coffee, the effort you put into proper sanitizing pays dividends in your health and peace of mind. You do not need a professional crew to achieve professional results—you just need the right approach and a bit of patience. Your home should be your sanctuary, not a source of stress. Start small, stay consistent, and watch how much better your life feels when your surroundings are truly pristine. Have you ever discovered a hidden ‘gross spot’ in your house that you had been completely ignoring? Let me know your funniest or most horrifying cleaning discovery in the comments below!