
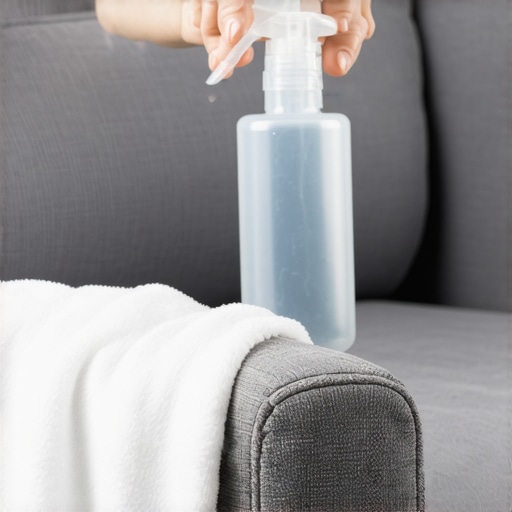
There I was, sitting on the floor with a bowl of warm soapy water and a sinking feeling in my gut. My beloved microfiber recliner—the one that had seen me through every Sunday night football game and late-night feeding session—looked like a topographical map of every spill we’d had since 2018. I thought I was doing the right thing by scrubbing away, but as it dried, I realized I’d made a massive mistake: I’d created a giant, stiff water ring that looked worse than the original stain. If you’ve ever felt that ‘oh no, I just ruined my furniture’ panic, I’m right there with you. We’re going to fix it today. I’ve spent way too many hours researching the science of synthetic fibers to let you repeat my blunders.
Throw Away the Suds and Listen to the Fabric Tag
The biggest hurdle I had to jump was realizing that microfiber isn’t like your cotton t-shirts. It’s actually a high-tech synthetic. According to the International Association of Certified Home Inspectors, these fibers are often thinner than a human hair and made from a polyester-nylon blend, which means they actually repel water while trapping oils. My first mistake? Treating it like a bath towel. I drenched the fabric, which pushed the dirt deeper into the padding instead of lifting it out. You need a strategy that respects the chemistry of the material. Before you even think about grabbing a sponge, you should check out these upholstery cleaning tips for a fresh home revival to understand what your specific fabric code means.
Does cleaning it yourself actually work or should you just buy a new chair?
I get the skepticism. You see those ‘Pinterest hacks’ and think your chair is just too far gone. I thought so too. But once I understood the ‘W’ vs ‘S’ codes on my furniture tag, everything changed. If you use water on an ‘S’ (solvent-only) fabric, you’ll get those nasty rings every single time. It’s a common part of a daily house cleaning routine to maintain perfection, yet so many of us get it wrong. My mission today is to show you the ‘dry’ method that saves the texture of the fabric. Have you ever tried to clean a spill only to make it twice as large? Tell me I’m not the only one who has panicked with a wet rag in hand!
The Secret to Reviving the Suede-Like Softness
The magic isn’t in the scrubbing; it’s in the ‘fluffing’ after the fact. Most people stop once the stain is gone, leaving the chair feeling like sandpaper. Following an ultimate upholstery care guide for lasting freshness means knowing that you have to break up those fibers once they dry. I remember being so frustrated that my chair felt ‘crunchy’ after my first attempt. It took a soft-bristled brush and a lot of patience to bring back that velvet feel. If you are in the middle of a move-out clean checklist to simplify your transition, you definitely don’t want to leave the next tenant with a stiff, stained chair. We want it looking—and feeling—brand new. You also need to be careful with heat; for instance, why you should never use a steam cleaner on these specific upholstery fabrics is a lesson I learned the hard way when I nearly melted the synthetic fibers. Let’s look at the exact tools you actually need to get the job done right.
Suck Up the Dry Grime Before It Turns to Sludge
Start by giving your recliner a deep, methodical vacuuming. If you apply any liquid to a dusty chair, you are essentially creating a thin layer of mud that will settle deep into the weave. I learned this the hard way when I tried to spot-clean a small coffee drip without vacuuming first; the dust around the stain turned into a dark, permanent ring that took three more cleanings to lift. This is one of the most effective house cleaning secrets from cleaning experts: dry soil must be removed before moisture hits it. Also, make sure your machine is actually doing its job because why your vacuum filter might be making your allergies worse is a real concern if you’re just blowing dust back onto the fabric. When I was prepping my old apartment for inspection, I realized that microfiber attracts pet hair like a magnet. Even after vacuuming, I had to use a rubber squeegee to pull up the hair that was woven into the fabric. This kind of attention to detail is what makes move-out cleaning hacks ensure your deposit refund so effective.
Mist It with Rubbing Alcohol Instead of Water
For those ‘S’ coded fabrics, 70% isopropyl alcohol is your best friend. It breaks down surface oils and evaporates so quickly that it doesn’t leave those dreaded water rings. Fill a spray bottle and mist the area lightly. You aren’t trying to soak the foam underneath—think of it like a light morning dew rather than a torrential downpour. This technique is similar to effective sanitizing methods for a germ-free home where less is often more. When I first tried this, I was terrified the alcohol would bleach the fabric, but as long as you use a clear, unscented version, it works like a charm. 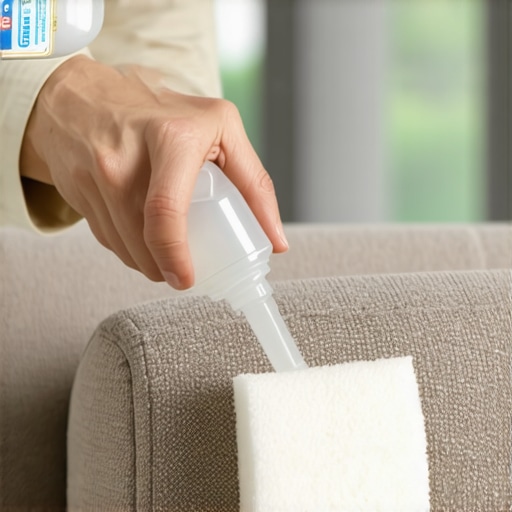
Use a White Sponge to Avoid Color Bleeding
Once you’ve misted the area, grab a white sponge or a soft-bristled brush. The color is important—I once used a cheap green scrubby sponge and the dye transferred onto my beige chair, creating a whole new disaster. Scrub in a circular motion to lift the stain. If you’re dealing with something oily like a pizza spill, the chalk trick for removing grease spots from your sofa can be a lifesaver before you even start the alcohol scrub. This level of detail is exactly what you need for move-out cleaning strategies to secure your deposit.
Why You Must Brush the Fabric Once It Dries
This is the part everyone misses. When the alcohol evaporates, the microfiber will feel stiff and ‘crunchy.’ It’s not ruined; the fibers just settled into a flat, hard position. Grab a clean, dry, soft-bristled brush (like a new dish brush or a suede brush) and gently rub the area in circles. This agitates the fibers and pops them back up, restoring that velvet-like softness. You might also notice the padding feels a bit deflated after all that scrubbing, so learning how to revive your flat couch cushions with this simple technique can help the chair look full again. Regarding ‘W’ fabrics: If your tag says ‘W’, you can use a drop of dish soap in water, but the application is the same: use the suds, not the water. This is a classic part of house cleaning strategies for a sparkling home today. If you’re cleaning a different material, remember the one thing you should never do when cleaning a velvet couch to avoid permanent damage. Finally, if you’re dealing with a piece you bought from a thrift store, knowing how to get the smoke smell out of second hand furniture is a great next step after the physical stains are gone.
Stop Using Vinegar on Your Synthetic Upholstery
Everyone tells you that white vinegar is the magic solution for every household woe, but here is a contrarian truth: it can be a disaster for high-tech microfiber. While vinegar is a staple of many effective house cleaning secrets from cleaning experts, its high acidity can actually break down the specialized moisture-wicking treatments applied to synthetic recliners. Just as why vinegar is not always the best choice for granite countertops involves chemistry, the same logic applies to your chair. I’ve seen beautiful charcoal recliners turn a strange shade of orange because the acetic acid reacted with the synthetic dyes. If you want a deep clean, stick to the alcohol method or specialized pH-neutral cleaners to ensure your move-out cleaning strategies to secure your deposit don’t backfire at the last minute.
Can you sanitize microfiber without destroying the protective coating?
This is the question that separates the pros from the hobbyists. Many people confuse ‘clean’ with ‘sanitized.’ To truly disinfect, you need a product to sit on the surface for a specific ‘dwell time.’ However, microfiber is designed to be hydrophobic. A study by the Association for Professionals in Infection Control and Epidemiology (APIC) highlights that if a disinfectant dries too quickly—which alcohol does—it may not kill all pathogens. To balance this, I recommend using effective sanitizing methods for a germ-free home that involve light, repeated misting rather than one heavy soaking. This ensures the fibers stay damp long enough to work without saturating the internal foam, which is a key part of sanitizing secrets for a safer house in 2025.
The Friction Trap That Melts Your Chair
Here is the ‘oops’ factor nobody warns you about: the danger of ‘mechanical heat.’ Microfiber is essentially a form of plastic. If you scrub a stubborn stain with too much vigor, the friction between your brush and the synthetic fibers generates enough heat to slightly melt the tips of the polyester. This is why some chairs get that ‘shiny’ or ‘crusty’ patch that no amount of brushing can fix—you’ve literally fused the fibers together. When you are following upholstery cleaning tips for a fresh home revival, remember that a gentle, patient hand is always better than brute force. 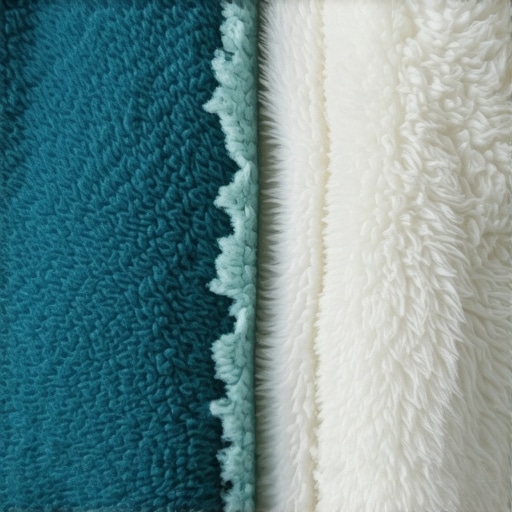
Why Clean Surfaces Still Fail a Move-Out Inspection
If you are in the middle of a move-out clean checklist to simplify your transition, don’t just focus on the visible spots. Landlords and inspectors often look for the ‘feel’ of the home. A microfiber chair that looks clean but feels like sandpaper is a red flag for poor maintenance. By utilizing sanitizing hacks for safe house transitions, you ensure the home is healthy, but the final ‘bloom’ or fluffing of the fabric is what sells the care you took. This attention to detail is what makes move-out cleaning hacks ensure your deposit refund successful. Have you ever fallen into the trap of over-scrubbing a stain only to make the texture worse? Let me know in the comments below, and let’s troubleshoot your toughest fabric fails together!
Grab These Pro Tools for a Finish That Lasts
I personally swear by a silicone-bristled brush over a traditional nylon one. Why? Because nylon can sometimes be too abrasive for the micro-loops of synthetic fabric, but silicone provides just enough ‘grab’ to lift embedded pet hair without generating that fiber-fusing friction heat I warned you about earlier. If you’ve been following my daily house cleaning routine to maintain perfection, you already know that the right tool is half the battle. I also use a dedicated upholstery tool with a felt strip on my vacuum. It’s a game-changer because the same logic behind why your vacuum brush roll is ruining your hardwood floors applies here; you never want an aggressive, rotating brush roll beating against your synthetic fibers. Technical documentation from the Association of Specialists in Cleaning and Restoration (ASCR) emphasizes that microfiber’s capillary action is its greatest strength and its biggest weakness—it will hold onto a cleaning agent until it is physically agitated out, which is why your brush choice is so critical. 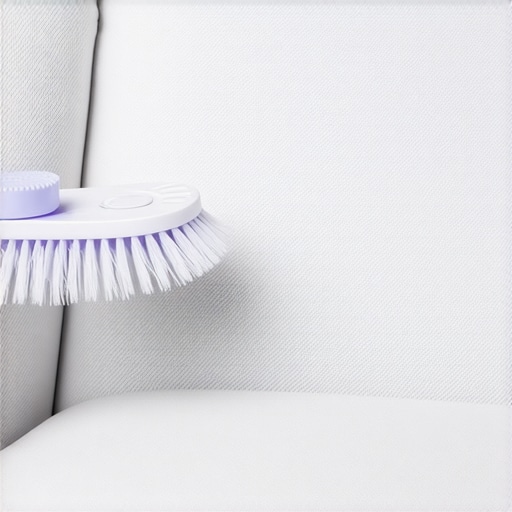
How do I maintain my microfiber furniture over the long haul?
The secret to a chair that looks brand new five years from now is ‘active prevention.’ Most people wait until a stain is visible to act, but I recommend a quick, dry-brushing every single month. This prevents the natural oils from your skin from bonding with the fibers. Think of it like ultimate upholstery care guide for lasting freshness in practice. I also suggest rotating your cushions if they aren’t built-in, and if they are, use the logic found in how to revive your flat couch cushions with this simple technique to keep the padding from compressing. If you are preparing for a move, remember that move-out cleaning strategies to secure your deposit always include a deep vacuum of the crevices where dust bunnies turn into permanent grime.
Future Proofing Your Living Room
I predict the next five years will bring us ‘active’ synthetic fabrics infused with silver ions or specialized photocatalytic coatings that self-sanitize when exposed to natural light. This will make sanitizing secrets for a safer house in 2025 much less labor-intensive. For now, however, we have to rely on manual effort. Sometimes a DIY project feels daunting, and it’s okay to admit when you need help—just like why your Kansas City hardwood refinishing quote might be too good to be true, some things require a professional touch if the damage is deep. But for 90% of recliners, a little rubbing alcohol and a soft brush will do the trick. I challenge you to try the ‘brush-after-dry’ technique on just one armrest tonight. You will be shocked at how much softer it feels compared to the rest of the chair!
Mistakes That Taught Me More Than Any Manual Ever Could
I used to think ‘elbow grease’ was the answer to every stain, but I was dead wrong. With microfiber, the harder you work, the more you risk ‘mechanical heat’ which fuses the synthetic fibers into a permanent, scratchy crust. My biggest lightbulb moment was realizing that the ‘S’ on my furniture tag wasn’t a suggestion—it was a strict chemical boundary. If I had continued to use water on that specific fabric, I would have essentially been inviting minerals to settle and trap oils into the weave forever. This shift in mindset is one of those effective house cleaning secrets from cleaning experts that truly changes how you maintain a high-use living space. Also, I learned that a ‘dry run’ is non-negotiable; vacuuming two or three times to remove every speck of dust is always better than scrubbing a single wet spot into a muddy ring.
What Is in My Personal Cleaning Stash
For anyone ready to get serious about furniture maintenance, I recommend assembling a dedicated ‘upholstery kit’ so you aren’t scrambling when a spill happens. My kit always includes clear 70% Isopropyl Alcohol (the absolute gold standard for solvent-cleanable fabrics), a soft silicone brush to lift pet hair without creating friction, and a handheld vacuum with a dedicated felt attachment. I personally trust the technical guidelines from the Association of Specialists in Cleaning and Restoration (ASCR) because they treat fabric care as a science of surfactants and surface tension. Following an ultimate upholstery care guide for lasting freshness ensures you have the right pH-neutral agents on hand before a crisis occurs, saving you from the temptation of using harsh household soaps that leave sticky residues.
Your Favorite Furniture Deserves a Second Life
Cleaning your own furniture can feel like a high-stakes gamble, but once you understand the simple chemistry of synthetic materials, it becomes a rewarding routine. Don’t let a few old spills or a ‘crunchy’ texture stop you from enjoying your home to the fullest. Whether you are trying to save a beloved family heirloom or executing move-out cleaning hacks to ensure your deposit refund, the effort you put into reviving those fibers today will pay off for years to come. You now have the professional tools and the ‘insider’ knowledge to avoid the water-ring trap—so go ahead and give that recliner the refresh it deserves! Did you run into any trouble finding your furniture tag or identifying the cleaning code? Let me know in the comments below, and I will help you troubleshoot your specific fabric fails!