
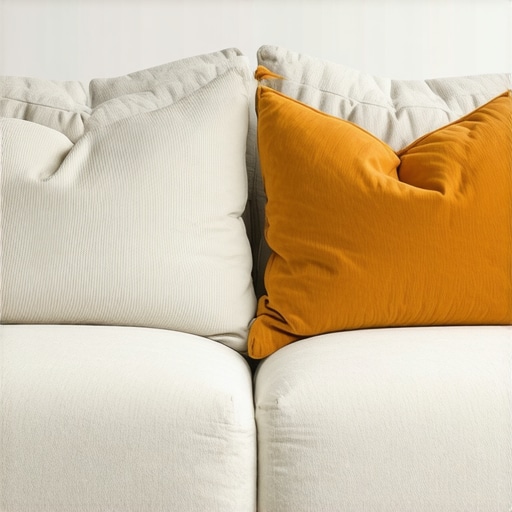
There I was, hosting a movie night, and I realized my guests were practically sitting on the floor because my sofa had lost its soul. My favorite spot on the couch had become a literal crater. I’ve always been diligent with my house cleaning strategies, but no amount of vacuuming could fix the “saggy bottom” look that was ruining my living room’s vibe. It felt like I was failing at being a functional adult. I even made the rookie mistake of trying to shove bed pillows into the covers to “bulk them up,” which only made the couch look like it had a bad case of the mumps. Have you ever felt that sinking feeling—literally—when you sit down on your own furniture?
Stop Buying New Furniture Before You Try This
It’s easy to think a sagging couch is a death sentence for your decor. I almost dragged mine to the curb. But then, I discovered a method that doesn’t involve spending thousands on a replacement. We are going to talk about a simple structural fix that goes beyond basic upholstery cleaning tips. By the time we’re done, your cushions will have that “showroom floor” firmness again. It’s about more than just aesthetics; it’s about comfort and extending the life of your investment.
Is my couch too far gone to save?
You might be skeptical. I was too. I thought the foam was just dead. However, the International Sleep Products Association notes that foam fatigue is a natural process of cell compression, but it can be countered by adding specific support layers like high-density polyester batting. It isn’t just about fluff; it’s about tension. While you might know the chalk trick for removing grease spots, restoring the “bounce” requires a different approach. Trust me, I’ve tried the quick fixes and they don’t last. This technique does. We are going to dive into exactly how to unzip those covers and bring back the loft without calling a professional. This process works on almost any fabric, though you should always be careful if you’ve previously used a steam cleaner on these specific upholstery fabrics as the material might have shrunk slightly.
Strip it Down to the Bare Foam
Unzip those cushions with the steady hand of a surgeon. If the zipper feels stubborn, don’t yank it; a tiny bit of dry soap or a graphite pencil rubbed on the teeth acts as a perfect lubricant. Once you’ve pulled the foam out, look for yellowing or crumbling. If the material is turning to dust under your touch, you need a full replacement, but if it’s just compressed and flat, we can definitely save it. This assessment is a vital part of the ultimate upholstery care guide for lasting freshness—knowing when to repair versus when to toss.
Wrap Your Cushions Like a High-End Gift
Think of the foam as the bone and the polyester batting as the muscle. You want to wrap the foam in one or two layers of high-density batting, almost like you’re putting a puffer jacket on the cushion to fill out the “loose skin” of the fabric cover. Use a light mist of spray adhesive to keep it from sliding around once it’s back inside the cover. This “puffing” technique is one of those effective house cleaning secrets from cleaning experts that turns a sagging mess into a crisp, showroom-ready seat. I remember the first time I did this; I was so excited I forgot the adhesive, and three days later, my cushions looked like they had developed strange, lumpy tumors because the batting had bunched up in the corners. #IMAGE_PLACE_HOLDER_B#
Handle Delicate Fabrics with Extra Caution
While the foam is out, inspect the interior of your covers for hidden wear or fraying. If you are dealing with premium materials, keep in mind the one thing you should never do when cleaning a velvet couch: never scrub against the grain, or you’ll leave permanent bald spots that no amount of fluffing can fix. If the internal foam itself smells a bit stale, you can use techniques similar to how to sanitize a plush toy that can’t go in the washing machine, such as a light misting of a 70% isopropyl alcohol solution followed by a thorough air-dry in a well-ventilated spot.
Check the Frame for Hidden Structural Failures
Sometimes the “sink” isn’t the cushion at all; it’s the foundation beneath it. Flip the couch over and pull back the dust cover—that thin black fabric on the bottom. If you see a “zig-zag” spring that has popped out of its plastic clip, you’ve found the real culprit. Use heavy-duty pliers to hook it back in. This structural audit is especially important if you are following a move-out clean checklist to simplify your transition, as a sagging frame can often be interpreted as damage by a strict landlord. This maintenance should ideally be integrated into your daily house cleaning routine to maintain perfection by doing a quick “bounce test” whenever you rotate the cushions.
The Stuffing Trick for Fixed Back Cushions
For those back cushions that don’t have zippers, look for a small, hand-sewn seam at the bottom. Carefully opening a three-inch gap allows you to shove in high-quality Poly-Fil. Don’t just throw it in haphazardly; clump it together and push it into the corners first to create a uniform structure. Once it’s firm, use a ladder stitch to close the gap. This invisible stitch is the secret to a professional finish that makes the repair look like it was never there in the first place, restoring the loft without requiring you to tear the whole sofa apart.Most DIY enthusiasts fall into the trap of thinking that if a piece of furniture looks good and feels firm, it’s “clean.” But after years of reviving old sofas, I’ve learned there’s a massive gap between visual cleanliness and actual sanitization. Everyone tells you to reach for the vinegar, but here’s a contrarian take: vinegar is often a waste of time for serious sanitization. While it’s great for breaking down mineral deposits, it isn’t a registered disinfectant. In fact, relying on it during sanitizing hacks for safe house transitions can leave behind pathogens that you think you’ve killed.
Don’t Mistake Surface Shine for Real Hygiene
The biggest “oops” factor I see is people sanitizing before they’ve actually cleaned. You cannot kill what you haven’t uncovered. According to the Centers for Disease Control and Prevention (CDC), cleaning with a detergent or soap and water to physically remove germs, dirt, and impurities from surfaces is mandatory before disinfection. If you spray a sanitizer onto a dusty or soiled cushion, the organic matter can actually deactivate the chemicals before they reach the germs. This is a critical nuance in any house cleaning strategies meant for a healthy home. 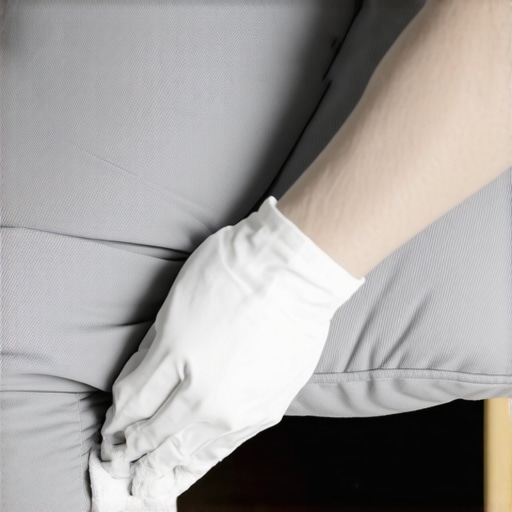
Why does that musty odor linger after you’ve finished the job?
It’s frustrating when you’ve done the work, but the room still doesn’t smell “right.” Often, the culprit is your equipment. Many people don’t realize why your vacuum is actually spreading more dust around—if your HEPA filter is clogged, you’re just aerosolizing old skin cells and pet dander back into the fibers you just cleaned. It’s a vicious cycle that ruins your daily house cleaning routine to maintain perfection. To truly fix a “smelly” couch, you might need to go beyond the surface and look at upholstery cleaning tips for a fresh home revival that involve deep-core deodorization.
Avoid the Move-Out Deposit Trap
When you are prepping for a transition, don’t just focus on the visible areas. Most renters lose their money because of what they didn’t do. I always recommend reviewing move-out cleaning strategies to secure your deposit. A common mistake is ignoring the “behind-the-scenes” spots, like the underside of the sofa or the internal frame we discussed earlier. Landlords look for pet hair trapped in the velcro of the dust cover or dust bunnies clinging to the springs. Using effective house cleaning secrets from cleaning experts like using a lint roller on the internal lining can save you hundreds in cleaning fees. Have you ever fallen into this trap and lost a deposit over something you thought you’d cleaned? Let me know in the comments.
Stop Guessing if Your Vacuum Actually Works
I spent years thinking my upright vacuum was a powerhouse, only to realize I was essentially just rearranging the dirt. If you’re serious about furniture longevity, you need a vacuum with a certified HEPA filter and a powered upholstery tool. I personally use a sealed-system vacuum because it prevents microscopic particles from leaking out of the exhaust and settling right back onto the cushions I just fluffed. Many homeowners are frustrated by lingering sneeze-triggers, but understanding why your vacuum filter might be making your allergies worse is a total game changer for anyone who spends more than ten minutes on their sofa. When you combine high-suction tools with the batting-wrap method we discussed, you aren’t just fixing the look; you’re removing the abrasive grit that acts like tiny saws, cutting through fabric fibers every time you sit down.
The Maintenance Schedule That Keeps Your Foam Firm
Gravity is the enemy of your upholstery. To fight back, I’ve integrated a ‘flip and rotate’ rule into my daily house cleaning routine to maintain perfection. Every Sunday, I rotate the cushions 180 degrees and swap the left-side seats with the right-side ones. This ensures even compression of the new batting we added. For the back cushions, give them a good ‘karate chop’ in the center to redistribute the Poly-Fil. This simple act prevents the material from migrating toward the bottom and creating those unsightly bulges. This is a core component of the ultimate upholstery care guide for lasting freshness that most people ignore until it’s too late. 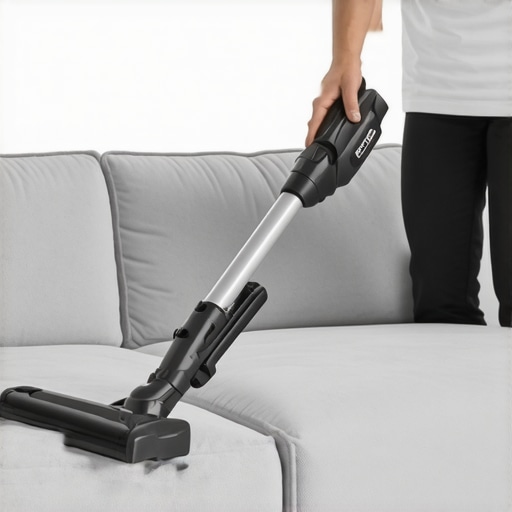
How can I keep my sofa looking brand new for years?
The secret isn’t a magic spray; it’s consistency and moisture control. According to the IICRC S300 Standard for Professional Upholstery Cleaning, dry soil removal should actually constitute about 70% to 80% of the total cleaning effort. If you skip the deep vacuuming and go straight to wet cleaning, you create ‘wicking’—where deep-set dirt rises to the surface as the fabric dries, leaving brown rings. I always keep a dedicated horsehair brush in my cleaning kit to gently agitate the fabric before vacuuming, which is one of those effective house cleaning secrets from cleaning experts that actually makes a visible difference.
UV-C and the Future of Home Sanitization
Looking ahead, I predict we are going to move away from liquid chemicals entirely for routine fabric care. In the next few years, handheld UV-C sanitizing wands will likely become as common in the utility closet as the broom. These devices use short-wavelength ultraviolet light to disrupt the DNA of bacteria, viruses, and dust mites without ever dampening your foam or risking chemical residues. This shift is the next frontier for sanitizing secrets for a safer house in 2025. It eliminates the risk of mold growth that often plagues DIYers who over-wet their delicate pieces in an attempt to get them ‘clean.’
Get Your Deposit Back Without Breaking Your Back
If you’re at the end of your lease, don’t panic. Using move-out cleaning hacks ensure your deposit refund by focusing on the ‘touch points’ of your furniture. If the landlord sees a pristine, firm sofa that doesn’t smell like a wet dog, they are much less likely to scrutinize the rest of the unit. For deep-set smells, you might need to look into how we extract deep-set smoke odors from vintage armchairs using ozone or specialized enzymes. Don’t wait until the day before your walkthrough to start this process. Try the ‘karate chop’ fluffing method on your back cushions tonight—you’ll be surprised at how much life it breathes back into your living room immediately.
Why My First Repair Job Ended in a Lumpy Disaster
The most painful lesson I learned is that volume does not equal support. Shoving loose fluff into a cushion without a structural core creates a mess that shifts the moment someone sits down. You must create a ‘sleeve’ of batting to maintain that crisp edge. I’ve also found that timing matters; never rush the drying process after following effective sanitizing methods for a germ-free home, or you’ll trap moisture deep inside the foam where mold loves to hide. It’s also vital to remember that not every fabric reacts well to friction. If you get too aggressive with a scrub brush, you can ‘pill’ the fabric beyond repair, a nuance often missed in a standard ultimate upholstery care guide for lasting freshness.
The Gear I Actually Use to Save Tired Furniture
I always keep a few staples in my restoration kit. First is high-loft polyester batting—it’s the secret sauce for that ‘new’ look. Second, a high-quality spray adhesive ensures the wrap stays put for years. Third, I never underestimate the power of a clean filter; checking why your vacuum filter might be making your allergies worse is the first thing I do before any deep clean. These tools, combined with the right move-out cleaning hacks ensure your deposit refund and keep your living space looking sharp without the cost of a showroom replacement.
#IMAGE_PLACEHOLDER_E#
Reclaim Your Favorite Seat Tonight
You don’t need a massive budget or a professional degree to turn a ‘dumpster-ready’ couch into a comfortable centerpiece. It starts with small, consistent actions like rotating your cushions and choosing the right house cleaning strategies for a sparkling home today. When you treat your furniture as an investment rather than a disposable item, it pays you back in years of comfort and style. Have you ever tried the batting-wrap trick on your own couch, or do you have a secret for keeping your foam firm? Let me know in the comments below!