
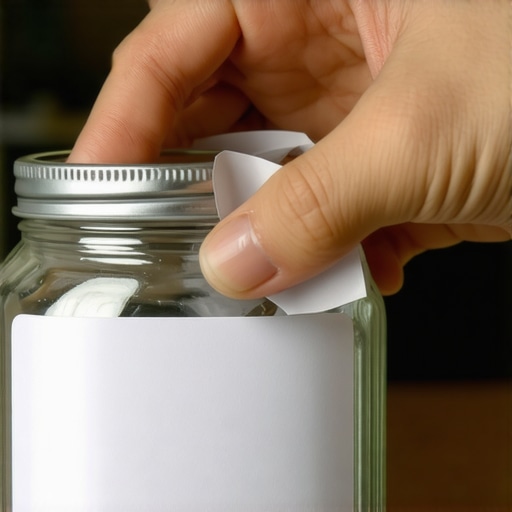
I was standing over the kitchen sink, desperately trying to scrape a stubborn balsamic glaze label off a beautiful glass bottle with the back of a butter knife. It was a sticky, gooey mess. The paper came off in tiny, annoying strips, but the adhesive stayed put, mocking me with its greyish residue. That was the moment I realized my house cleaning strategies for a sparkling home today were lacking one crucial secret. I eventually gave up and threw the bottle in the recycling, feeling like a failure. But after years of trial and error (and many ruined sponges), I’ve finally mastered the art of the ‘fast peel.’ Today, I’m sharing the exact method to get those jars crystal clear in minutes so you can stop picking at glue and start enjoying your upcycled containers. [image_placeholder_1]
The Secret Science of Glue and Why Brute Force Fails
The biggest mistake I made early on—and maybe you have too—was thinking that boiling water alone would do the trick. I once soaked a jar for three hours only to find the glue had turned into a gummy, gelatinous nightmare. It turns out, many modern adhesives are oil-based, which means water just slides right off them. You need a solvent, not just a soak. If you’ve ever struggled with removing greasy buildup on kitchen cabinets, you know that grease requires a specific opponent. According to the Glass Packaging Institute, glass is 100% recyclable and can be reused infinitely, but we often toss perfectly good containers because the labels make them look ‘dirty’ or ‘used.’
Is salvaging old jars actually worth the effort?
You might be thinking, ‘Why not just buy a set of matching jars and call it a day?’ I get it. Your time is valuable. But there is a distinct satisfaction in turning a discarded salsa jar into a chic spice container using effective house cleaning secrets from cleaning experts. Plus, it’s better for your wallet and the planet. Have you ever spent way too much time scrubbing a single jar, only to give up and throw it away in frustration?
Stop Using Your Fingernails and Start Using Pantry Chemistry
Before we dive into the steps, we need to talk about the ‘Neighborhood Secret’—using what’s already in your pantry. Much like how lemon juice is better than bleach for cutting through certain types of grime, simple oils can be your best friend here. I used to reach for harsh chemicals that smelled like a gas station, but I’ve found that a bit of patience and the right household fats work faster and are much safer for your kitchen. We are going to use a combination of residual heat and oil-based breakdown to make that adhesive surrender without a fight. This method works for everything from wine bottles to those stubborn pickle jars that seem to use industrial-grade epoxy. Let’s get into the nitty-gritty of the process.
The Direct Heat Method for Instant Release
The fastest way to get a label to budge is to attack the bond before it even gets wet. Think of it like a move-out cleaning hack; you want the most impact for the least amount of physical labor. Take a hairdryer and blast the label on high heat for about 45 seconds. I remember trying this on an old, ornate mustard jar that had glue so thick I thought it was part of the glass. After less than a minute of concentrated heat, the corner curled up perfectly. It’s like melting a candle; once the adhesive softens, the molecular grip fails. When you pull, do it at a sharp 45-degree angle. If you pull straight up, you are far more likely to tear the paper fiber from the adhesive, leaving you with a half-shredded mess that is twice as hard to remove. 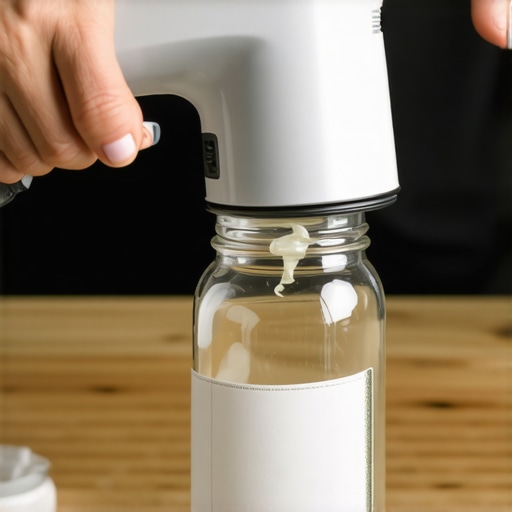
Heat the Label Surface Evenly
Don’t just point the heat at one corner. Move the hairdryer in small circles over the entire surface area of the label. This ensures that the heat penetrates through the paper or plastic and hits the glue underneath consistently. If you’ve ever dealt with how to get rid of the sticky film on top of kitchen cabinets, you know that patchy heat leads to patchy results. Consistent warmth is the difference between a one-piece peel and a twenty-minute scraping session.
Nuke the Remaining Residue Once and For All
Even with the best heat technique, you will often face that grey, tacky film left on the glass. This is where most people give up and reach for the steel wool, which ultimately scratches the surface. Instead, you need a fat to dissolve a fat. Mix equal parts baking soda and any household cooking oil—olive, vegetable, or even coconut oil—into a thick, gritty paste. Slather it over the residue and let it sit for ten minutes. The oil breaks down the chemical bonds of the adhesive, while the baking soda provides a gentle grit that lifts the particles. This method mirrors upholstery cleaning tips for a fresh home revival because it relies on chemistry rather than brute force to lift a contaminant away from a delicate surface.
The Pantry Paste That Never Fails
Apply the paste with a dry rag and rub in circular motions. I once used this on a set of twenty wine bottles for a wedding centerpiece, and it turned a four-hour job into twenty minutes of easy wiping. If the glue is particularly industrial, add a drop of dish soap to your paste. This helps the oil penetrate even faster, similar to removing greasy buildup on kitchen cabinets where layers of grime have hardened over years.
Sanitizing Your Jars for Their New Life
Once the glass is smooth to the touch, you aren’t quite finished. Any remaining oil residue will prevent new labels or paint from sticking, and if you are using the jar for food, it must be clinical. You should treat this like one of the effective sanitizing methods for a germ-free home. I once rushed this step with a jar I intended for homemade spice blends, only to realize the faint smell of the original pickles remained because I hadn’t properly degreased the glass.
The Final Degreasing Soak
Drop the jar into a basin of very hot water mixed with a heavy-duty degreasing soap. This is the same level of detail required for a move-out clean checklist; every surface must be pristine to be considered truly clean. Use a sponge to scrub away the oil-and-soda mixture. For a professional finish, a quick final wipe with white vinegar will strip any remaining microscopic film. This also prevents mineral spots from forming, much like the reason why your dishwasher still leaves spots on your glasses. Dry the glass immediately with a lint-free cloth to ensure a crystal-clear shine that looks brand new.
Prepare for Long Term Storage
If you plan to use these jars for preserves or long-term pantry storage, follow up with sanitizing secrets for a safer house in 2025 by boiling the jars for at least ten minutes. This ensures that any bacteria from the previous contents or the removal process are completely neutralized, giving your upcycled glass a fresh, safe start.
Once you’ve mastered the mechanical removal of labels, you enter the realm of true professional maintenance. I’ve seen so many DIYers stop once the glass looks clear, but that’s actually where the biggest mistake happens. We often confuse ‘clean’ with ‘sanitized.’ In my early days, I assumed that a quick rinse with dish soap meant the jar was ready for my sourdough starter. I was wrong. A surface can be visually pristine while still harboring a microscopic biofilm that ruins your hard work. This isn’t just about jars; it applies to every corner of your living space, from your kitchen counters to your living room furniture. Many people believe that drenching a surface in bleach is the ultimate solution, but here is a contrarian take: bleach is often the worst tool for the job. It can be too aggressive for porous materials and often fails to penetrate the very grime it’s supposed to kill.
The Biofilm Trap Most Homeowners Fall For
Everyone says that more chemicals equal more clean, but in my experience, mechanical friction and proper dwell time work better than high-concentration acids or bases. If you don’t allow a cleaner to sit for its ‘dwell time’ (usually 3 to 10 minutes), you aren’t actually killing anything; you’re just moving the bacteria around. This is a common pitfall in house cleaning strategies for a sparkling home today. According to the Centers for Disease Control and Prevention (CDC), cleaning (removing dirt) and disinfecting (killing germs) are two distinct processes that must happen in a specific order. If you try to disinfect a surface that hasn’t been cleaned of its physical oils and dirt first, the germs will simply hide under the residue. 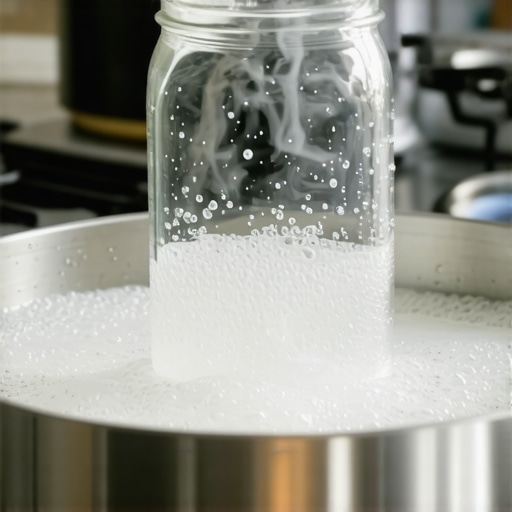
Can you actually sanitize without using harsh chemicals?
The short answer is yes, but it requires more precision. For those of us looking for sanitizing secrets for a safer house in 2025, heat is your most reliable ally. This is why I advocate for boiling those upcycled jars rather than just spraying them with a countertop cleaner. It’s the same reason why lemon juice is better than bleach for specific kitchen tasks; the natural acidity works with the physical structure of the grime rather than just bleaching the color out of it. Have you ever fallen into the trap of thinking a room was clean just because it smelled like pine or lemon? Let me know in the comments, because that ‘clean smell’ is often just a fragrance masking an incomplete job.
Stop Ruining Your Upholstery with Steam
The ‘Oops’ factor hits hardest when we move from glass to fabric. A massive mistake I see is people grabbing a steam cleaner for every stain on their couch. Heat ‘sets’ many types of protein-based stains, making them permanent. Before you reach for the heavy machinery, check out the upholstery cleaning tips for a fresh home revival to identify your fabric’s specific needs. Using the wrong method can lead to shrinking or water rings that are harder to remove than the original dirt. If you’re preparing for a transition, using move-out cleaning hacks to ensure your deposit refund often involves knowing when to use a dry-solvent versus a water-based cleaner.
Your Security Deposit Depends on the Details
Finally, if you are cleaning to get a deposit back, don’t just look at eye level. Landlords and inspectors look for the ‘invisible’ grease on top of doors and the dust on the very top of the fridge. This level of detail is what separates a standard tidy-up from effective house cleaning secrets from cleaning experts. When you approach your next project—whether it’s a single jar or an entire apartment—remember that the nuances of chemistry and heat will always beat brute force and a bottle of bleach.
While chemistry handles the heavy lifting, the physical tools you choose determine whether you’re working hard or working smart. I spent years using old t-shirts and kitchen sponges before I realized why my results never looked quite like the professional shots in magazines. If you want to elevate your results to the level of effective house cleaning secrets from cleaning experts, you need to upgrade your kit. Specifically, I swear by the plastic razor blade. Unlike a metal utility knife that can leave permanent scores on your glass or countertops, a plastic scraper provides just enough leverage to lift a label without the risk of damage. It’s a staple in any serious move-out cleaning strategies to secure your deposit because it handles everything from sticker residue on windows to dried paint droplets on baseboards.
Why Professional Microfiber Beats Your Old Rags
The quality of your cloth is the silent partner in your success. Most people reach for a cotton rag, but cotton just pushes dirt around. According to the ISSA (International Sanitary Supply Association), high-grade microfiber is designed to hold up to seven times its weight in water and trap pathogens within its microscopic hooks. I look for cloths with at least 300 GSM (grams per square meter). This density is what allows you to achieve a streak-free finish on glass and polished surfaces without needing excessive sprays. Integrating this into your daily house cleaning routine to maintain perfection means you spend less time scrubbing and more time simply wiping away the day’s dust. 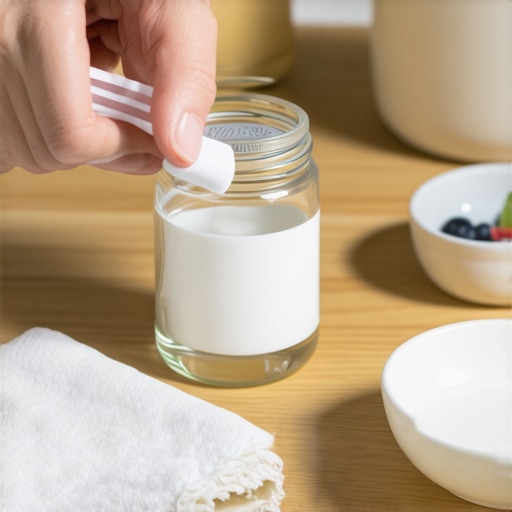
How can I keep my pantry looking this good for months?
Maintenance is a mindset, not a marathon. Once you have your beautifully clear jars and sanitized shelves, the trick is the ‘One-In, One-Out’ rule. Every time you finish a product, use the heat of the dishwasher to soften the label immediately. Don’t let them pile up in the sink. This proactive approach is a cornerstone of effective sanitizing methods for a germ-free home. When you handle the residue while the glass is still warm, the adhesive is at its most vulnerable state. This prevents the need for a ‘deep clean’ weekend later on, much like how following an ultimate upholstery care guide for lasting freshness involves quick vacuuming rather than annual steam cleaning.
What the Future Holds for Home Sanitization Technology
I’m keeping a close eye on where home maintenance is heading. We are already seeing a shift away from harsh, VOC-heavy chemicals toward stabilized aqueous ozone and portable UV-C sanitizers. I predict that within the next five years, smart cabinets with built-in sanitizing cycles will become the norm for those of us obsessed with upcycling and food safety. This will make sanitizing secrets for a safer house in 2025 even more accessible to the average homeowner. Until then, we rely on the perfect marriage of pantry chemistry and pro-grade tools. My challenge to you today: take one stubborn jar you’ve been ignoring and try the ‘Hairdryer to Plastic Scraper’ combo. You’ll be shocked at how much faster it is than your old soaking method.
Lessons the Kitchen Sink Taught Me About Grit
Looking back at that first balsamic bottle, I realize I wasn’t just fighting glue; I was fighting my own impatience. The most profound shift in my approach came when I stopped treating cleaning as a battle of strength and started treating it as a conversation with chemistry. One lightbulb moment was realizing that ‘dwell time’ is non-negotiable—if you don’t let your oil-and-soda paste sit, you’re just wasting elbow grease. I’ve also learned that these small wins in the kitchen often lead to a more sustainable daily house cleaning routine to maintain perfection because the satisfaction of a clear jar is addictive. Finally, remember that every material has a ‘breaking point’ where heat or oil will make it yield; your job is just to find it without damaging the surface below. [image_placeholder_final]
My Go-To Kit for Crystal Clear Success
You don’t need a professional warehouse to get professional results, but you do need to be picky about your textiles. I always keep a stack of high-grade, 300 GSM microfiber cloths specifically for glass. Using the two cloth method for streak free windows in half the time is a game changer for jars too—one cloth to clean, one to polish. My second essential is a simple plastic razor blade. It provides the leverage needed for move-out cleaning strategies to secure your deposit without the risk of permanent scratches. Lastly, never underestimate plain white vinegar; it’s the only thing that truly strips the film that causes the reason your dishwasher still leaves spots on your glasses.
Turn Your Trash Into Your Next Masterpiece
Upcycling isn’t just about saving a few cents; it’s about the quiet pride of seeing a functional, beautiful object where others only saw garbage. By mastering these house cleaning strategies for a sparkling home today, you’re reclaiming your environment from the clutter of commercial branding. Take that one stubborn jar sitting in the back of your pantry and give it the ‘fast peel’ treatment today. Once you see that crystal-clear glass, you’ll never look at a salsa jar the same way again. Ensure you follow up with effective sanitizing methods for a germ-free home to make your new containers as safe as they are stylish. Have you ever found a jar with a label so tough it seemed fused to the glass? Let me know below!