
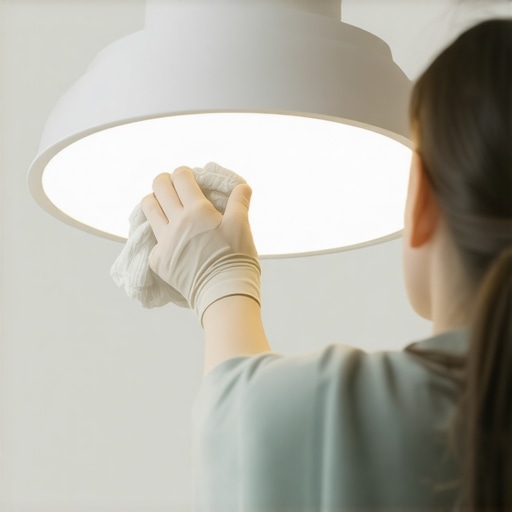
I remember the exact moment I realized that my gleaming light fixtures were actually making my entire room look dull. It was late evening, the perfect mood lighting, and I flicked on the switch—only to be greeted by streaky, cloudy glass instead of clear, sparkling brilliance. Frustration settled in. I had scrubbed, sprayed, and even tried rubbing alcohol, yet those stubborn streaks wouldn’t budge. That light fixture, once a shining star of my living room, was now a source of embarrassment.
Why Your Light Fixtures Look Dull and How to Fix It
Lighting is the secret ingredient to a welcoming home ambiance. But if your fixtures end up with streaks or residue, it defeats the purpose. Over the years, I experimented with countless solutions, each promising streak-free shine—only to be disappointed. It wasn’t until I made a simple but crucial mistake early on that I understood where I’d been going wrong. I was using too much cleaner, neglecting proper wiping techniques, and skipping the importance of a good drying process. Trust me, overlooking these details can turn your streak-free dream into a cloudy nightmare.
Is a Special Cleaner Really Necessary for Streak-Free Shine?
Many folks think that fancy cleaning products are the answer. I bought into the hype, wasting money on sprays with complicated labels. The truth is, a few common ingredients from your kitchen can do the trick—vinegar and water, mixed in the right ratios, are your allies for streak-free glass. But the real game changer is how you apply and dry the solution. It’s all about technique! For more expert tips on effective household cleaning methods, visit this resource.
Before we dive into my step-by-step method, I want to ask: Have you ever been frustrated because your light fixtures look more streaked than shiny after cleaning? If so, these tips will help you achieve that crystal-clear, streak-free glow you’re after.
Gather Your Tools and Prepare Your Space
Start by collecting a microfiber cloth, a spray bottle with a vinegar-water solution (mix equal parts), and a step stool if needed. Remove any bulbs or accessories from the fixture. Encourage safety by turning off the power at the circuit breaker to avoid electrical hazards, especially with ceiling fixtures. Place a drop cloth or old towel underneath to catch drips and protect your flooring. I once skipped this step and got tiny drops of cleaner on my new carpet — a quick cleanup later made me wish I had been more cautious.
Remove and Soak Components
Carefully detach glass covers or globes. Place them in a basin filled with warm water and a few drops of dish soap or vinegar solution. Let them soak for 5-10 minutes to loosen dust, grime, or mineral deposits. I remember rescuing an old chandelier by soaking its glass parts overnight, which made cleaning much easier and saved me time scrubbing. Use a soft brush if needed to dislodge stubborn debris, but avoid abrasive scrubbers that can scratch delicate surfaces.
Clean the Metal Frame and Bulb Holders
Dip your microfiber cloth in the vinegar solution and wipe down the fixture’s metal parts. Pay attention to corners and crevices where dust hides. Use a toothbrush for tight spots. For especially greasy fixtures, applying a small amount of baking soda paste can help lift grime. Just rub gently to prevent scratching surfaces. Remember, a well-worn cloth that’s too abrasive can cause micro-scratches, dulling the finish over time. Once cleaned, dry all parts thoroughly to prevent water spots or corrosion. I once forgot this step, and stubborn water spots appeared the next day, diminishing the fixture’s shine.
Dry and Reassemble Carefully
Ensure all components are completely dry before reattaching. Use a clean, dry microfiber cloth and a hairdryer on a low-heat setting for stubborn moisture. Reassemble the fixture, screw in bulbs, and restore power. Before turning the lights on, inspect to ensure nothing is loose. I learned this after reinstalling a ceiling fan and having a wobble from a loose screw — a quick check saved me from a noisy night. For high fixtures, consider using a ladder with a stabilizer for safety and better reach.
Final Touches for a Mirror-Like Finish
Polish the glass covers and metal parts with a dry microfiber cloth, aiming for zero streaks. For extra sparkle, buff with a small amount of rubbing alcohol on your cloth. Verify that all components are clean and dust-free. Applying this routine once every few months keeps fixtures looking pristine and extends their lifespan. A shiny fixture not only improves room ambiance but also boosts your home’s overall appeal.
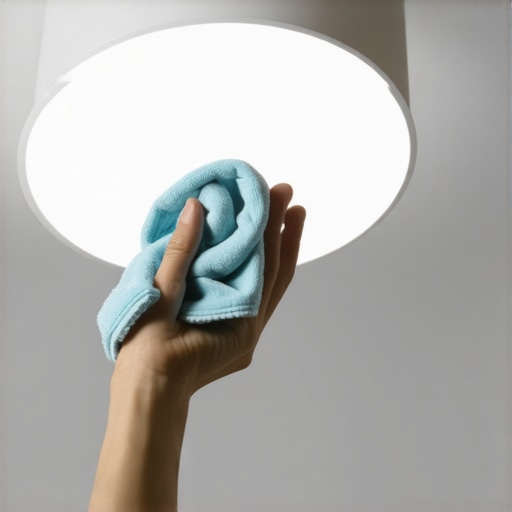 Many believe they know the basics of upholstery care and house sanitization, but in truth, most common practices are riddling themselves with subtle errors that can compromise results. For instance, a widespread myth is that bleaching or overly harsh chemicals are necessary to eradicate germs on fabrics and surfaces. In reality, expert insights suggest that overuse of chemicals not only damages materials over time but also leaves residues that can trap more dirt and bacteria—a paradox often overlooked. According to a study published in the Journal of Environmental Health, improper cleaning agents can create breeding grounds for bacteria if not rinsed thoroughly, emphasizing the importance of choosing appropriate, safe cleaning solutions.
Are You Falling for the Quick Fix Trap When Cleaning?
One common mistake is neglecting the importance of cleaning sequence and technique. For example, many skip pre-vacuum or pre-treatment steps, which are crucial for removing loose debris before applying liquids. This oversight can lead to dirt being smudged deeper into fabrics, making stains worse and requiring more aggressive cleaning later. Additionally, using too much moisture or incomplete drying can promote mold growth and unpleasant odors, especially in upholstery, which traps moisture. Implementing proper procedures, such as using microfiber cloths and ensuring thorough drying, can significantly extend the lifespan of your furnishings and maintain a healthier environment. For advanced cleaning strategies, visit this resource.
Another often-ignored aspect is the misunderstanding surrounding sanitization. Many assume that disinfectants alone can make a surface truly germ-free, but without proper cleaning to remove dirt and organic matter first, disinfectants are rendered ineffective. This nuance is critical—germs can hide beneath grime, making sanitization ineffective if the initial cleaning isn’t thorough. For deep insights into proven sanitization practices, check out this article.
When it comes to move-out cleaning, there’s a tendency to rush or focus solely on visible dirt, ignoring hidden areas like behind appliances, under sinks, or inside vents. These spots harbor dust, mold, and bacteria, which can cause a landlord’s final inspection to turn into a setback. Remember, a comprehensive approach, coupled with advanced techniques like steam cleaning and mold prevention, ensures you leave the property spotless and secure your deposit. For bespoke move-out tips, visit this guide.
Maintaining a spotless home requires more than just elbow grease; it demands the right tools tailored for each task. Personally, I swear by my microfiber detailing cloths—they’re invaluable for streak-free glass and delicate surfaces, reducing the need for chemical cleaners and preventing micro-scratches. For upholstery, I lean on a handheld steam cleaner like the Bissell SpotClean, which effortlessly removes deep-seated grime and kills germs without harsh chemicals, aligning with the latest sanitization recommendations found in this trusted guide. When tackling long-term results, investing in a quality HEPA vacuum, such as the Dyson V11, ensures efficient dust and allergen removal, prolonging the life of your furnishings and improving indoor air quality. For those looking to scale their cleaning routines, modular tools like extendable dusters and multipurpose steamers offer versatility and efficiency, making extensive cleaning more manageable. Predictably, as smart home technology advances, integrating app-controlled devices—like robotic vacuums and digital air purifiers—is shaping the future of effortless home maintenance. How do I maintain my cleaning tools over time? Regularly cleaning microfiber cloths with hot water and a mild detergent prevents bacteria buildup, while replacing vacuum filters every 3-6 months maintains suction power. A thorough yearly service of your steam cleaners and vacuums helps ensure optimal performance and longevity. These practices not only save money in the long run but also guarantee consistent, professional-grade results with less effort. To streamline your maintenance routine, consider scheduling quarterly tool check-ups and deep cleanings—trust me, a little proactive care goes a long way.
The Hardest Lesson I Learned About Upholstery, Sanitizing, House Cleaning, and Move-Out Clean
One of my biggest realizations was that consistent routines trump sporadic efforts. I once believed that cleaning only when things looked bad was sufficient, but I discovered that regular maintenance prevents buildup and extends the life of furnishings. This lesson taught me to set aside dedicated days for deep cleaning, which made upkeep feel less overwhelming and more rewarding.
3 Myths About Upholstery, Sanitizing, House Cleaning, and Move-Out Clean That Held Me Back
Firstly, I believed that harsh chemicals were necessary for effective sanitizing—turns out, natural solutions like vinegar and baking soda work wonders without damaging fabrics. Secondly, I thought steam cleaning was a one-size-fits-all solution; however, some delicate materials thrive better with gentle methods. Lastly, I assumed that a spotless home meant no dust or bacteria—regular cleaning removes visible messes, but true health depends on thorough, targeted sanitizing routines.
What Experts Won’t Tell You About Upholstery, Sanitizing, House Cleaning, and Move-Out Clean
Many professionals emphasize that pre-treatment is crucial—spot cleaning without deep prep just pushes dirt deeper. Also, the importance of proper drying cannot be overstated: residual moisture fosters mold and odors. Lastly, investing in quality tools like microfiber cloths and HEPA vacuums isn’t just a luxury but a necessity for achieving professional results, saving you time and effort in the long run. For advanced insights, visit this article.
My Go-To List for a Home That Shines
Over years of experience, I found that microfiber cloths are indispensable—they serve multiple purposes from wiping glass to dusting electronics without scratches. A handheld steam cleaner, like the Bissell SpotClean, effortlessly lifts grime and kills germs deep within fabrics. For regular maintenance, a HEPA vacuum, such as the Dyson V11, captures allergens and prolongs furniture life. For those eager to elevate their routines, modular tools and app-controlled devices can make cleaning smarter and more efficient. To keep your tools in top shape, remember to clean microfiber cloths with hot water regularly and replace vacuum filters every few months. This proactive approach guarantees consistently fresh, healthy living spaces.