
I was standing there, carrot peeler in hand, feeling pretty good about my life choices until the slip happened. You know the one—the trash bag loses its grip on the rim and slumps into the dark void like a tired teenager. When I reached in to hook it back, my hand hit the floor of the bin. It wasn’t hard plastic. It was a gelatinous, cold puddle that sent a shiver straight up my spine. I honestly thought about just throwing the whole can away and starting over in a new city. It was that bad. My ‘clean’ kitchen was a lie. I’d been so focused on upholstery cleaning tips for my living room that I’d completely ignored the literal dumpster fire in my kitchen. It’s that hidden layer of filth that even the best move-out clean checklist sometimes fails to highlight, but once you know it’s there, you can’t un-see it.
The Secret Ecosystem Living in Your Bin
We spend so much time worrying about grimy light switches or making sure we have a daily house cleaning routine that actually works, but we rarely look beneath the plastic liner. That sludge is usually a cocktail of leaked meat juices, condensation, and organic matter that creates a perfect breeding ground for bacteria. In fact, according to NSF International, kitchen trash cans are often one of the top ten germiest places in a home, harboring thousands of bacteria per square inch. This includes nasty characters like Salmonella and E. coli that thrive in moist, dark environments. If you’ve ever wondered why your kitchen smells musty even after you’ve scrubbed the counters, you’re likely looking at the culprit. I realized then that my house cleaning strategies were missing a vital, albeit disgusting, step. We are literally housing a microbial rave right under our noses every single day.
Is a quick spray of disinfectant really enough?
I’ll be the first to admit I tried the ‘lazy’ way first. I figured a few squirts of a citrus spray would handle it and I could go back to my coffee. Spoiler: it didn’t. All I did was create a citrus-scented swamp. The mistake I made early on—and I still cringe thinking about it—was thinking that moisture was my friend during the cleaning process. I dumped a gallon of hot soapy water in there, let it sit, and then just tipped it out without drying it properly. Within three days, I had a mold colony that looked like it was preparing to apply for a mortgage. Real effective sanitizing methods require a bit more intentionality than just ‘spray and pray.’ If you want a home that truly feels fresh, you have to tackle the areas that make you want to gag. Today, I’m going to share the sanitizing secrets I’ve learned to strip that grime away and, more importantly, how to keep it from coming back so you never have to touch that mystery sludge again. Have you ever dared to look at the very bottom of your bin, or are you living in blissful ignorance? Let’s dive into the messy reality of what’s lurking in your kitchen and how to kill it for good.
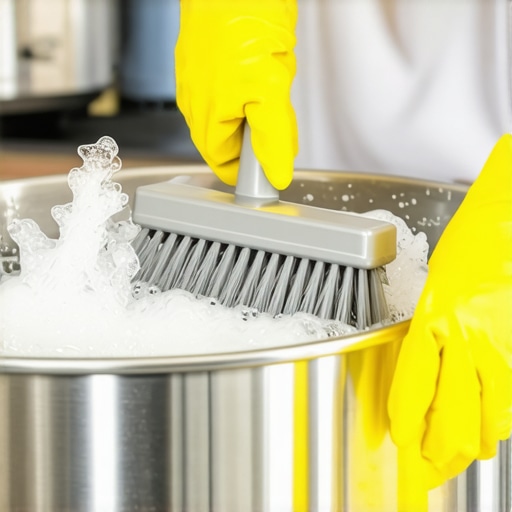
I used to think a quick wipe-down was enough, but that’s like trying to fix a flat tire by polishing the hubcap. To truly reset your bin, you have to treat it with the same intensity you’d use for a move-out clean checklist to simplify your transition. Start by hauling the whole thing outside or into a bathtub. If you’re inside, remember why you should never spray cleaning products directly on surfaces—you want to apply your cleaner to the brush or a cloth first to avoid breathing in a cloud of chemicals. I remember the time I tried to scrub the hinges with a tiny toothbrush; the brush snapped, and a glob of mystery bin juice landed right on my cheek. It was a low point. Now, I use a long-handled nylon brush that keeps me at a safe, dignified distance.
Blast the Biofilm with Heat and Friction
That slippery feeling on the plastic isn’t just water; it’s a biofilm, a protective layer bacteria build around themselves. To break it, you need heat. I use a mixture of hot water and oxygen bleach or a heavy-duty disinfectant. This is one of those effective sanitizing methods for a germ-free home that actually works because it attacks the structure of the grime. Let the solution sit for at least ten minutes. This isn’t just about making it look pretty; it’s about sanitizing secrets for a safer house in 2025 that prevent cross-contamination when you’re prepping dinner nearby. If your bin has a foot pedal, flip it over and clean the underside too. You’d be shocked at the hair and dust that migrates there, much like the hidden layers of dust you find when following upholstery cleaning tips for a fresh home revival.
Dry Every Nook and Cranny to Prevent Mold
Moisture is the enemy. If you put a new bag into a damp bin, you’re just pre-heating the oven for a new batch of mold. I use an old microfiber cloth to dry the interior completely. If you’ve ever wondered why your daily house cleaning routine to maintain perfection feels like a losing battle, it’s usually because of these small, skipped steps. While you’re at it, check the surrounding area. Consult the move-in guide to cleaning the area under the kitchen sink to see if any leaks from the bin have migrated to your cabinetry and caused wood rot or secondary odors.
The Newspaper Shield and Other Pro Hacks
Once it’s dry, I line the very bottom of the bin with two layers of old newspaper or a couple of junk mail flyers. This acts like a sponge for those accidental drips. It’s a simple addition to your house cleaning strategies for a sparkling home today that saves you a massive headache later. Think of it as a sacrificial layer; it catches the mess so the plastic doesn’t have to. I also started using a dash of baking soda at the bottom to neutralize odors before they even start. It makes the bin smell like absolutely nothing, which is the gold standard for a clean kitchen. If you have a stainless steel bin, finish by wiping the exterior with a drop of olive oil on a cloth to repel fingerprints, similar to the specialized care recommended in an ultimate upholstery care guide for lasting freshness.
I see it all the time in ‘green’ cleaning circles: the idea that a splash of vinegar is a cure-all. But let’s be real—if you’re dealing with the aftermath of raw chicken packaging or leaked milk, vinegar is like bringing a toothpick to a sword fight. In my experience, relying solely on weak acids is one of the biggest house cleaning strategies blunders people make when they think they are being thorough. While vinegar is great for descaling, it is not an EPA-registered disinfectant. According to a study in the Journal of Applied Microbiology, common household pathogens can survive for days on plastic surfaces if not treated with specific agents that can break through cellular walls. You aren’t just looking for ‘clean’; you’re looking for ‘sanitized.’ This is why I advocate for effective sanitizing methods for a germ-free home that prioritize chemical action over just a pleasant smell.
Natural Cleaners Might Be Your Biggest Mistake
One major ‘oops’ factor I see is ‘cleaning tool migration.’ You use a sponge to scrub the grime from the bin, rinse it out, and then use it on the counter three hours later. That’s how you turn a isolated trash problem into a whole-house health issue. This is a crucial part of any move-out clean checklist to simplify your transition—using dedicated tools for high-risk zones. It’s the same logic I apply in my ultimate upholstery care guide for lasting freshness: you never use the same brush for the pet-stained rug that you use for your silk pillows. If you want to avoid a bacterial cross-over, you need to treat your trash bin as a biohazard zone until it is fully dried and disinfected. 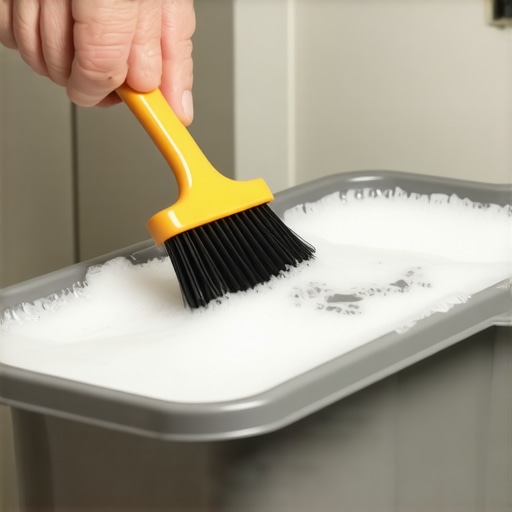
How do I know if I’ve actually killed the germs?
If you can still smell even a hint of ‘old food’ after cleaning, the bacteria are still active. Odor is a byproduct of bacterial metabolism; no odor usually means no life. To get to this stage, you must avoid the trap of ‘cleaning for the eyes.’ Real sanitizing secrets for a safer house in 2025 focus on contact time. Most disinfectants require the surface to stay visibly wet for 4 to 10 minutes to actually work. If you spray and immediately wipe, you’ve accomplished nothing but moving the dirt around. I learned this the hard way after a bout of stomach flu ripped through my house despite my ‘cleaning.’ I wasn’t letting the product sit. Have you ever fallen into this trap and cross-contaminated your kitchen because you were in a rush? Let me know in the comments. We’ve all been there, but the goal is to get smarter about our daily house cleaning routine to maintain perfection without sacrificing our actual health.
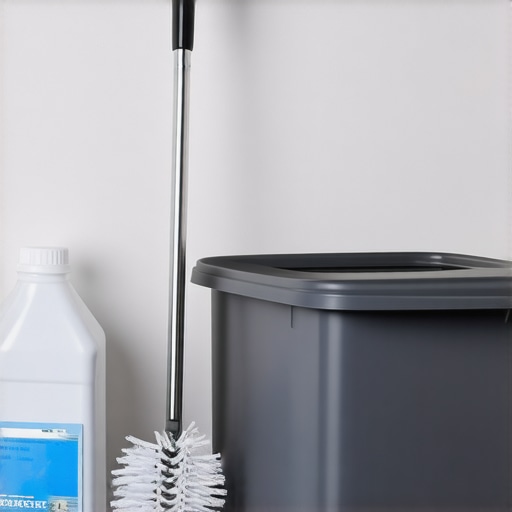
I realized early on that if I wanted to stop the ‘bin-stink’ for good, I had to stop using my kitchen sponge for the heavy lifting. Sponges are basically bacterial apartment complexes. Instead, I transitioned to using a dedicated long-handled nylon utility brush. I personally swear by the Rubbermaid Commercial FG241200; the synthetic bristles are stiff enough to dislodge dried-on gunk without holding onto the moisture that leads to mildew. It is a small investment that makes your daily house cleaning routine to maintain perfection significantly less gross. If you are handling a deep reset, like when following a move-out clean checklist to simplify your transition, this tool is non-negotiable for reaching the very bottom of those 13-gallon cans.
How can you keep the bin fresh for months?
Maintenance isn’t about working harder; it’s about creating an environment where bacteria can’t survive. Every Sunday, after the trash is hauled away, I do a sixty-second ‘maintenance spray.’ I use a solution of 70% isopropyl alcohol—the same stuff you’d use to sanitize your reusable water bottle properly—to mist the interior. Alcohol evaporates quickly, leaving no moisture behind for mold to take root. This is one of those effective sanitizing methods for a germ-free home that fits into a busy schedule. I also pay close attention to the seals. Just as you have to kill the hidden grime on your dishwasher gasket, the rim of your trash can collects drips that create a sticky, invisible seal of filth. Wipe it once a week with a microfiber cloth, and you’ll never deal with a ‘stuck’ lid again.
The Future of Waste Management is Germ-Proof
I predict that in the next few years, we are going to see a massive shift toward built-in UV-C sterilization for household bins. We already see this technology in high-end medical facilities, and as the tech becomes cheaper, integrated sanitization will become a standard part of house cleaning strategies for a sparkling home today. According to NSF/ANSI Standard 2, which dictates the cleanability of food equipment, surfaces must be smooth and accessible to prevent ‘soil’ buildup. Future bins will likely use antimicrobial-infused plastics to meet these rigorous standards. For now, we have to rely on our own sanitizing secrets for a safer house in 2025, like using oxygen bleach soaks for a deep monthly reset. I highly recommend trying the ‘Oxygen Bleach Soak’ tonight: fill your empty bin with four inches of hot water, add half a cup of oxygen bleach, and let it sit for twenty minutes. You will be horrified—and then satisfied—by what floats to the top. It is the same deep-cleaning principle found in an ultimate upholstery care guide for lasting freshness, and it works wonders on stubborn plastic odors.
The Hard Lessons That Changed How I Handle Sludge
Looking back at my years of battle with kitchen odors, I realized that I was overcomplicating things while missing the obvious. First, I learned that ‘scented’ bags are a trap. They don’t hide the smell; they just add a layer of fake lavender to a base of rotting trash. Second, never assume a bag won’t leak. I now perform a ‘drip check’ every time I pull the bag, which is a key part of my effective house cleaning secrets from cleaning experts. Finally, the bin lid is a sneaky collector of aerosolized grease. If you don’t wipe the underside of the lid every time you sanitize your cutting boards using salt and lemon, you’re leaving a huge reservoir of bacteria right at eye level.
The Gear That Keeps the Grime Away
I don’t believe in having a thousand gadgets, but a few specific tools make this job 90% easier. I keep a dedicated spray bottle of 70% isopropyl alcohol specifically for the bin—it’s the fastest way to implement sanitizing hacks for safe house transitions. I also suggest buying a pack of red microfiber cloths. Why red? Because that’s my ‘biohazard’ color. I never use them on the counters, only on the bin. This is a strategy I picked up from a move-out cleaning strategies to secure your deposit guide, and it prevents accidental cross-contamination. #IMAGE_PLACEHOLDER_E# Lastly, keep a tub of oxygen bleach handy for those deep monthly soaks; it’s more effective and safer for your lungs than straight chlorine bleach.
Take the First Step Toward a Fresh Kitchen
You don’t need to spend an entire afternoon scrubbing to see a difference. Start small. Tomorrow morning, before you put the new bag in, just give the bottom of the bin a quick wipe. That small act breaks the cycle of neglect. When you master these sanitizing secrets for a safer house in 2025, your whole kitchen environment shifts from ‘tolerable’ to truly clean. You deserve a kitchen that smells like home, not like last Tuesday’s dinner leftovers. Have you ever discovered a mystery puddle at the bottom of your bin that made you want to move houses? Let me know in the comments below!