
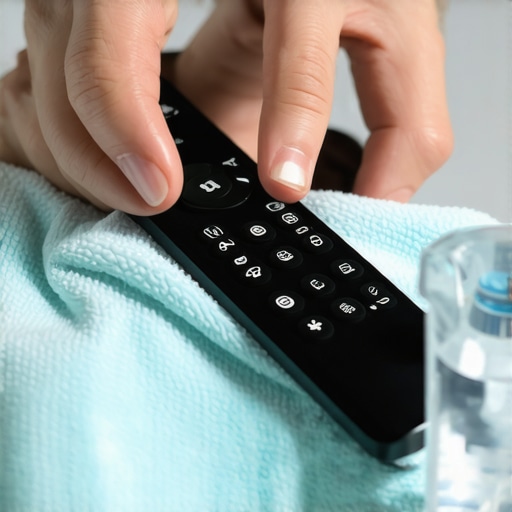
I was sitting on my couch last Friday, ready to binge-watch a new series, when my thumb hit the ‘Volume Up’ button and it stayed down. Not because of a mechanical failure, but because it felt like I’d dipped the plastic in honey. I looked closer and saw the horror: a layer of mystery grime built up over months of snacks and pet cuddles. In my haste, I grabbed a wet cleaning wipe and scrubbed so hard that liquid seeped into the IR sensor. The remote died instantly. It took me two days of rice-bag ‘surgery’ to get it working again. We all worry about the hidden grime on your light switches you never notice, but our remotes are actually the most touched—and most neglected—items in the living room. Today, I’m going to show you how to sanitize these delicate tools without causing a short circuit.
Stop Touching That Sticky Germ Magnet on Your Coffee Table
Research from the University of Arizona has famously shown that television remotes are often the dirtiest items in a home, frequently harboring significantly more bacteria than a toilet handle. It makes sense when you think about it. We pass them between family members, use them while eating, and rarely think to include them in our effective house cleaning secrets. My big mistake early on was treating the remote like a kitchen counter. I thought more liquid meant more clean. I was wrong. These devices are full of sensitive contact points and infrared sensors that hate moisture.
Won’t All This Sanitizing Fry My Expensive Electronics?
It’s a valid fear, especially when you realize that is steam cleaning enough to kill bacteria on high-touch surfaces doesn’t apply here—steam will destroy your remote in seconds. The trick isn’t the amount of liquid you use, but the application method. You need to treat this like you’re cleaning a high-end lens or the best way to sanitize your phone without ruining the screen. Have you ever had a remote button stop working after a ‘cleaning’ session, or are you just too nervous to try it? Let me know, because I’ve been there. We are going to fix that sticky situation right now without needing a replacement.
Strip the Power Before You Touch a Button
The first rule of cleaning any electronic device is to cut the power source completely. This isn’t just about safety; it’s about protecting the internal motherboard. Pop the back cover and take those batteries out immediately. I once tried to ‘quick clean’ a Roku remote while the batteries were in, and a tiny drip of moisture caused the ‘Home’ button to register a constant press. I spent the next hour watching my TV screen cycle through menus like a possessed slot machine. Removing batteries is the electronic equivalent of how you might prep your kitchen for a professional deep clean—you have to clear the foundation before you can handle the details.
Use a Damp Cloth Instead of a Wet One
Forget the spray bottle. You should never spray any liquid directly onto the remote. Instead, take a microfiber cloth—the kind you use for the best way to lift dust from delicate fabric lampshades—and dampen it with 70% isopropyl alcohol. It should feel slightly cool to the touch, not dripping. This is remarkably similar to the best way to sanitize your phone without ruining the screen. Wipe down the entire exterior, applying firm pressure to the flat plastic areas where thumbprints and oils accumulate. This alcohol-based approach ensures the liquid evaporates almost instantly, leaving no residue to seep into the casing.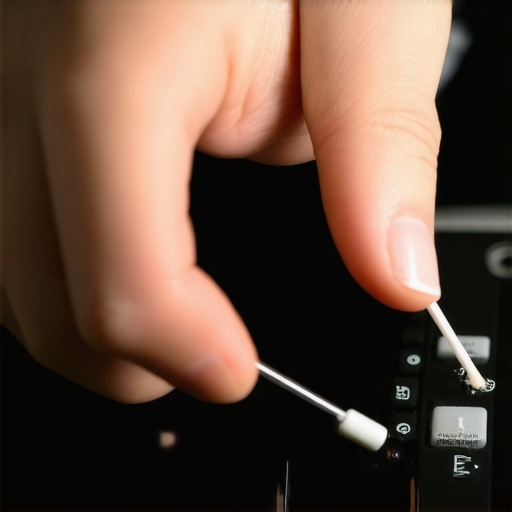
Cotton Swabs Solve the Sticky Button Crisis
The real battle is fought in the narrow valleys between the buttons. This is where skin cells, snack crumbs, and moisture combine to create a cement-like grime. For this, you need a high-precision tool. Dip a cotton swab in your alcohol solution and squeeze it out so it’s nearly dry. Run the tip around the perimeter of every single button. It’s tedious, but it’s the only way to break up the ‘honey-like’ stickiness I mentioned earlier. I remember cleaning my dad’s old universal remote and pulling out enough lint from the ‘Volume’ rocker to knit a tiny sweater; it was a wake-up call that ‘wiping it down’ isn’t the same as truly sanitizing.
Dig Out the Deep Grime with a Toothpick
If the cotton swab is too bulky, go for a wooden toothpick. This is a classic move, much like the toothbrush trick for removing pet dander from baseboard crevices. Use the point of the toothpick to gently scrape the debris out of the seams where the two halves of the remote’s plastic shell meet. You’ll be surprised at the gray, waxy substance that emerges. This level of detail is what separates a surface wipe from effective sanitizing methods for a germ-free home. Be careful not to press too hard against the internal rubber membrane, as you don’t want to puncture the seal that protects the circuitry.
Let It Dry Before You Reassemble
Patience is the most underrated tool in your cleaning kit. Even though alcohol evaporates quickly, moisture can still hide in the crevices of the buttons. Leave the battery compartment open and let the remote air dry for at least ten minutes. If you are doing a daily house cleaning routine to maintain perfection, you can use this time to quickly check your couch cushions. Much like checking upholstery cleaning tips for a fresh home revival, ensuring the remote is bone-dry before reinserting batteries prevents those micro-shorts that eventually kill the device. Once it’s dry, pop the batteries back in and test every button to ensure the tactile ‘click’ has returned.Common wisdom suggests that the strongest chemical always wins, but when it comes to sanitizing, that is a dangerous oversimplification. I used to think 99% isopropyl alcohol was the gold standard for my tech, but science tells a different story. According to research cited by the CDC, solutions with 70% alcohol are actually more effective at killing microbes than 90% or 99% solutions. The water content in the 70% mix slows down evaporation, allowing the alcohol to remain in contact with the surface long enough to penetrate the cell walls of bacteria. This is one of those sanitizing secrets for a safer house in 2025 that many people overlook while trying to be ‘extra’ clean. If the alcohol evaporates in three seconds, it hasn’t actually done its job.
The Surprising Science Behind Why 70% Alcohol Beats 99%
It seems counterintuitive, right? We are taught that ‘purity’ equals ‘power.’ However, pure alcohol coagulates the protein of the cell wall instantly, creating a shell that prevents the chemical from getting inside the germ to kill it. By using a slightly lower concentration, you ensure the liquid stays wet long enough to do the real work. This same principle applies to effective sanitizing methods for a germ-free home across all high-touch surfaces, not just your electronics. I’ve seen people use medical-grade wipes on everything from their remotes to their ultimate upholstery care guide for lasting freshness, only to find the grime is still there because the solution dried too fast. 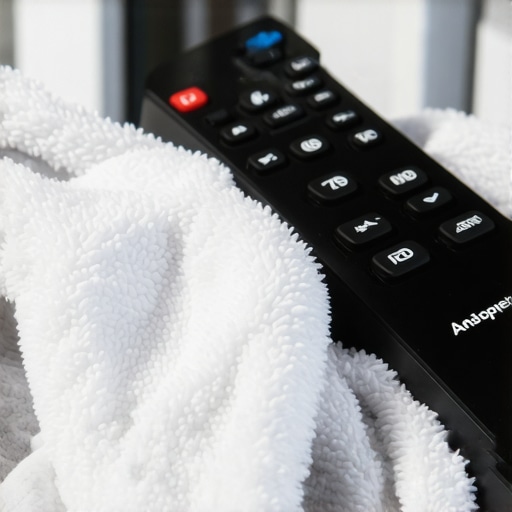
Don’t Fall for the ‘Natural’ Vinegar Trap on Electronics
Another mistake I see constantly is the over-reliance on vinegar. While I love a vinegar solution for the window track hack that uses a sponge and a utility knife, it is an acid. Acids can eat through the protective oleophobic coatings on modern touchscreens and the specialized finishes on high-end remotes. If you are moving out and following a move-out clean checklist to simplify your transition, resist the urge to use the same spray bottle for the windows and the electronic accessories. You might end up with a clean remote that has cloudy, brittle buttons that eventually crack.
Does This High-Precision Strategy Work for My Fabric Furniture Too?
It is tempting to take these sanitizing hacks and apply them to your sofa, but stop right there. While alcohol is great for plastic and glass, it can be a nightmare for certain fibers. You should why you should never use a steam cleaner on these specific upholstery fabrics and apply that same caution to alcohol. Alcohol can dissolve the dyes in delicate fabrics or strip the natural oils from leather. For those larger items, you are better off following upholstery cleaning tips for a fresh home revival that focus on pH-neutral cleaners. Have you ever accidentally ruined a finish by being ‘too thorough’ with a cleaning agent? Let me know in the comments, because we have all been there. Understanding the chemistry behind the clean is what transforms a simple chore into a professional-grade result. Check out our effective house cleaning secrets from cleaning experts to keep your home pristine without the ‘oops’ factor.Once you realize that 70% alcohol is your best friend, you need the right delivery system. I stopped using standard paper towels years ago for anything electronic; they shed lint and can be surprisingly abrasive on soft plastic buttons. Instead, I keep a dedicated set of antistatic brushes—the kind used by PC builders to clean motherboards. These brushes are firm enough to flick out crumbs but soft enough to avoid scratching the IR sensor. If you are serious about maintaining your gear, look at the technical specifications provided by manufacturers like Samsung, who emphasize using a microfiber cloth and avoiding any moisture near the ports. This level of care ensures you aren’t just doing a surface wipe, but practicing effective sanitizing methods for a germ-free home.
Ditch the Paper Towels for Dedicated Cleaning Tools
I personally swear by a specialized cleaning putty for those hard-to-reach crevices. It’s a silicon-based gel that you press into the buttons and pull back, lifting out every microscopic flake of skin and snack dust. It feels a bit like playing with slime, but the results are undeniable. This tool is a lifesaver when you are trying to execute move-out cleaning hacks to ensure your deposit refund, as landlords often check the ‘small things’ like the condition of provided electronics. When the remote feels like it just came out of the box, it signals to the inspector that the rest of the house was treated with the same precision. 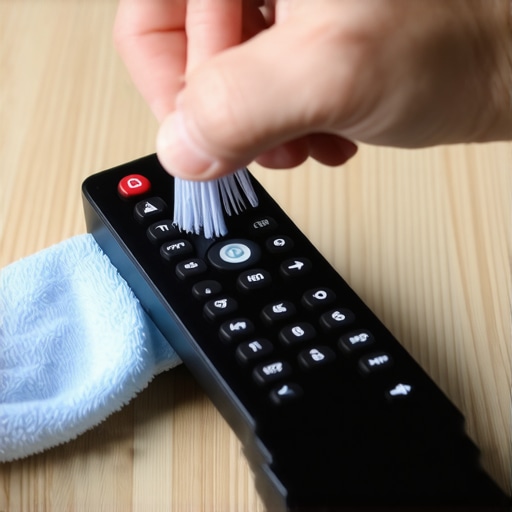
How can I keep my electronics sanitized without doing a full deep clean every weekend?
The secret to long-term results is the ‘dry-wipe’ habit. Every night after I finish my show, I give the remote a quick pass with a dry, clean microfiber cloth. This prevents the oils from your hands from sitting on the plastic long enough to bond with dust. It only takes five seconds, but it drastically reduces the frequency of needing a ‘wet’ clean with alcohol. Think of it like a daily house cleaning routine to maintain perfection. If you can stop the buildup before it hardens, you’ll never have to worry about a button sticking mid-game again. This same preventative mindset is what I advocate for in my ultimate upholstery care guide for lasting freshness—consistency always beats a desperate, heavy-duty scrub.
Look Toward the Future of High-Touch Surfaces
I predict that within the next five years, we will see a massive shift toward antimicrobial plastics in consumer electronics. Manufacturers are already experimenting with silver-ion technology embedded directly into the remote’s casing to kill bacteria on contact. Until that becomes the standard, we have to rely on these manual sanitizing secrets for a safer house in 2025. We’ve all dealt with a sticky remote, but you don’t have to accept it as a fact of life. Whether you’re trying to figure out how to remove ballpoint pen ink from a polyester couch or just trying to get the volume button to stop sticking, the principle remains the same: use the right chemistry and the gentlest tool possible. Go grab a single toothpick and run it through the seams of your favorite remote right now; the amount of waxy gunk you’ll pull out will change your cleaning habits forever.
My Most Expensive Electronic Cleaning Mistakes
Over the years, I have learned the hard way that when it comes to technology, enthusiasm is no substitute for patience. If I could go back and talk to my younger self, I would emphasize that cleaning electronics is a game of millimeters, not gallons. Here are the core lessons I keep in mind every time I pick up a remote:
- Liquid is a traveler. Even a tiny droplet will find its way into the most sensitive circuitry if given the chance. This is why I never spray directly onto the device anymore.
- Labels lie. Many cleaning wipes marketed as ‘all-purpose’ contain ammonia or bleach, which can cloud the plastic lenses of your infrared sensors. Stick to 70% alcohol.
- The ‘Wait and See’ Rule. Just because it looks dry doesn’t mean it is. Giving it an extra five minutes of air-time has saved me more money in replacement remotes than I care to admit.
The Precision Kit for High-Touch Surfaces
I don’t believe in buying every single cleaning gadget on the market, but for electronics, a few specific items are non-negotiable. To achieve professional results, I recommend the following:
- 70% Isopropyl Alcohol: As we discussed, this is the gold standard for sanitizing secrets for a safer house in 2025.
- ESD-Safe Brushes: These are much better than toothbrushes for flicking dust out of ports without creating static.
- High-GSM Microfiber: You want a cloth that traps dust rather than just moving it around, similar to what you’d use in an ultimate upholstery care guide for lasting freshness.
Small Wins Lead to a Healthier Home
It might seem trivial to spend ten minutes on a piece of plastic, but these small actions are the foundation of a truly clean environment. When you master the delicate art of sanitizing your most-used items, you build the habits needed for more complex tasks, like move-out cleaning hacks to ensure your deposit refund. Your home is your sanctuary, and keeping it free of hidden grime is a form of self-care. Use these effective sanitizing methods for a germ-free home as a starting point. Once you see how much better a clean remote feels, you might just find yourself tackling the rest of the living room with new energy. Which button on your remote is currently giving you the most trouble? Let me know in the comments below!