
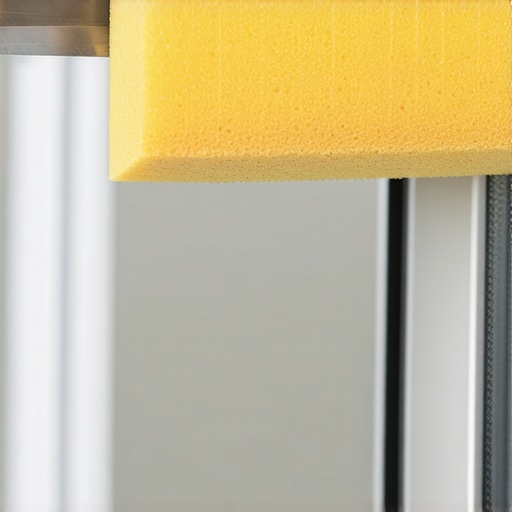
I’ll never forget the afternoon I stood in my old apartment, keys in hand, staring at the absolute disaster that was my window tracks. They weren’t just dusty; they were a graveyard of dead bugs and black gunk that seemed fused to the metal. I had three hours before my landlord arrived for the walkthrough. I grabbed an old toothbrush and some soap, scrubbing until my knuckles were raw, only to realize I’d barely cleared a two-inch section. It was a nightmare. We’ve all been there—trying to get a house ready for a new owner or just doing a deep spring clean—and hitting that wall of frustration where a standard cloth just won’t fit into those narrow grooves. Today, I’m showing you the exact method that saved my security deposit and my sanity: the sponge and utility knife hack.
Stop Fighting With Your Window Tracks and Start Outsmarting Them
If you’re like me, you’ve probably spent way too much time on your hands and knees with a vacuum attachment that’s too wide and a rag that just pushes the mud around. It’s a common struggle during a move-out cleaning marathon. I used to think the only way to get them truly clean was to dismantle the entire window unit—a mistake that once led to me breaking a locking mechanism and losing fifty bucks from my deposit. Experience is a brutal teacher, isn’t it? But the reality is that the gap in your window track is perfectly sized for a custom-cut tool. By using a simple kitchen sponge and a utility knife, you can create a ‘key’ that fits into those ridges perfectly. [IMAGE_PLACEHOLDER] It’s part of the effective house cleaning secrets that pros use to shave hours off a job. When you stop fighting the physics of the window and start working with them, the results are almost magical. I remember the first time I actually got a track to look silver again; I almost didn’t want to move out!
Does this hack actually risk damaging your windows?
This is the first thing my neighbor asked when I showed her my ‘sculpted’ sponges. The fear is that the utility knife might slip or the sponge might trap grit that scratches the finish. Here’s the truth: if you use common sense, it’s the safest deep-clean method out there. You aren’t using the knife on the window; you’re using it to prep your cleaning tool away from the glass. According to the Environmental Protection Agency (EPA), indoor pollutants can be two to five times higher than outdoor levels, and those moldy, dusty tracks are a major contributor to poor air quality. Getting that gunk out isn’t just about looks; it’s about breathing easier and keeping your family safe. Before I dive into the step-by-step, have you ever tried one of those ‘viral’ hacks only to have it fail miserably on you? I’d love to hear your horror stories in the comments so we can laugh (and cry) together. If you’re currently in the middle of a transition, you might also want to check out the window track cleaning hack you actually need for a move-out to see how this fits into the bigger picture. We aren’t just cleaning for the sake of cleaning; we’re reclaiming our environment from the buildup of years of neglect. In the next section, we are going to get into the nitty-gritty of the ‘trace and cut’ technique that will make you wonder why you ever bothered with a toothbrush.
Turn a Basic Sponge into a Custom Track Tool
You need to think of your window track like a lock and your sponge as the key. Most people try to jam a square peg into a round hole by using a flat rag, but we are going to mold the cleaning tool to the environment. Start with a standard, dry kitchen sponge—the kind with the green scrubby side. Place it horizontally across the tracks. Don’t press down yet; you want it to sit naturally so you can see where the metal ridges intersect with the foam.
Mark Your Path Before You Cut
Take a permanent marker and run it along the sponge exactly where each metal ridge of the track touches the foam. This is your blueprint. I remember the first time I attempted this; I was so excited I forgot to measure twice and cut once. I ended up with a sponge that looked like it had been through a paper shredder and didn’t fit a single groove. It was a mess, and I had to start over with my last clean sponge. But once I got the alignment right—marking the sponge while it sat directly on the track—it felt like a custom-made tool sliding into place. This precision is one of the top move-out cleaning strategies to secure your deposit because it ensures you aren’t missing those tiny corners where inspectors love to look.
Sculpt Your Sponge for a Deep Groove Clean
Now, take your utility knife. Extend the blade just enough to make a clean slice—usually about half an inch deep. Cut along the lines you marked. You aren’t trying to cut the sponge in half; you are creating channels that allow the foam to drop down into the gaps while the rest of the sponge stays on top of the ridges. When you are done, the sponge should look like it has ‘teeth.’ 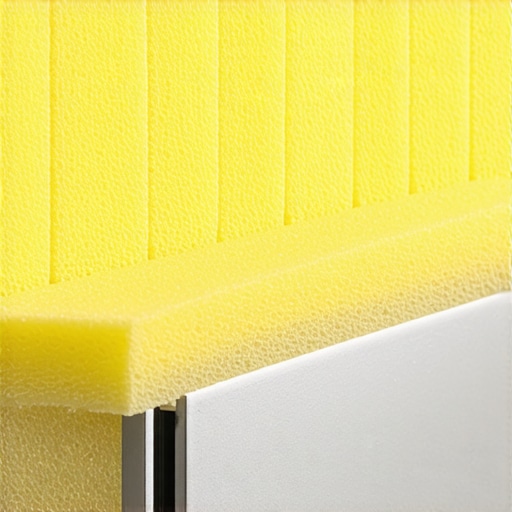 This allows the foam to wrap around the metal ridges and reach the bottom of the track simultaneously. It is a much more efficient way to how to scrub window tracks so they look brand new again without using specialized, expensive equipment or spending hours with a q-tip.
Slide and Sanitize for a Breathable Home
Dip your newly sculpted tool into a mixture of warm water and a drop of dish soap. Wring it out well. If it is too wet, you will just create a muddy puddle in the track, which is a common pitfall in a daily house cleaning routine to maintain perfection. Align the cuts with the ridges and slide it from one end to the other. The first pass will be gross—prepare yourself. You will likely see years of accumulated ‘gunk’ coming up in one smooth motion. Because sponges can harbor bacteria, remember why your cleaning sponge is the dirtiest object in your house and make sure to rinse it frequently or toss it after the job is finished. For those worried about allergens, using effective sanitizing methods for a germ-free home ensures that you are not just removing the visible dirt, but also the invisible spores that thrive in damp window sills. This isn’t just about the visual appeal; it is about the physical health of your living space and ensuring the air you breathe is as clean as your glass.
While the sponge hack works wonders for physical debris, I need to talk about a mistake I see almost every amateur cleaner make: the ‘more is better’ fallacy. We’ve been conditioned to think that if a little soap is good, a lot of soap must be better. In reality, over-saturating your window tracks or your sofa with cleaning solutions is the fastest way to ensure they get dirty again within a week. This is especially true for upholstery cleaning tips for a fresh home revival. When you leave behind a soapy residue, that residue acts like a magnet for dust and pet hair. It’s a phenomenon known as surfactant buildup, where the very chemicals meant to clean become the glue for the next layer of grime.
Why does the dirt return so quickly after you clean?
If you’ve ever noticed a dark ring appearing on a carpet or chair just days after you scrubbed it, you’ve likely fallen into the residue trap. Professional cleaners use specific ratios because they know that excess moisture and soap are the enemies of a long-lasting clean. This is one of the most important sanitizing secrets for a safer house in 2025. According to researchers at the American Lung Association, the chemicals in many common household cleaners can trigger respiratory issues if they aren’t properly ventilated or rinsed away. You aren’t just cleaning for aesthetics; you’re managing the chemistry of your home. 
Check the tag before you touch that stain
The biggest ‘oops’ factor in house cleaning involves upholstery. Many people assume all fabric can handle a water-based cleaner, but using water on a ‘solvent-only’ fabric will leave a permanent water ring that is nearly impossible to remove. Before you start, you must learn how to treat s-coded upholstery fabric without ruining it. It’s a nuanced detail that separates the pros from the frustrated homeowners. Similarly, when performing a move-out cleaning strategy to secure your deposit, most people focus on the surface shine but ignore the air. They don’t realize why your vacuum cleaner is actually making your house dustier by spewing fine particles back out of a clogged filter. To truly sanitize, you have to look beyond what the eye can see. Have you ever accidentally ruined a piece of furniture by using the wrong cleaning product? I’ve seen it happen more times than I can count, and it’s heartbreaking. Let me know your experiences in the comments so we can help each other avoid these expensive mistakes.
I’ve spent way too much money on flashy gadgets that promised to revolutionize my chores, only to find them gathering dust in the garage. However, a few items have fundamentally changed my game and saved my energy. For example, I stopped using standard upright vacuums for my deep cleans and switched to a sealed-system HEPA canister. If your vacuum doesn’t have a rubber seal around the filter, you’re likely just recirculating allergens into the air you breathe. It’s one of those effective house cleaning secrets that pro cleaners use to keep the atmosphere crisp. I also swear by 300 GSM (grams per square meter) microfiber cloths. Anything thinner is just moving grease around, and anything thicker is too bulky for those tight window track corners we talked about earlier. I used to think my old equipment was doing a great job until I noticed a fine layer of grey dust on my TV screen every time I finished. That’s when I learned why your vacuum filter is actually spreading dust around your home. Upgrading to a certified filter felt like I had finally stopped fighting a losing battle against my own house.
How do I keep my home this clean without a weekly deep-dive?
The secret isn’t more scrubbing; it’s better maintenance and the right frequency. For your upholstery, I recommend a quick dry-brushing once a week with a natural horsehair brush. This agitates the fibers and brings hidden dust to the surface before it can settle into the fabric backing. According to the Institute of Inspection, Cleaning and Restoration Certification (IICRC) in their S300 standard, dry soil removal is actually the most important step in professional cleaning—up to 79% of soil in furniture is dry and can be removed without a single drop of water. This is a core part of the ultimate upholstery care guide for lasting freshness. By removing this abrasive grit, you prevent the fabric from “balding” or losing its luster over time. 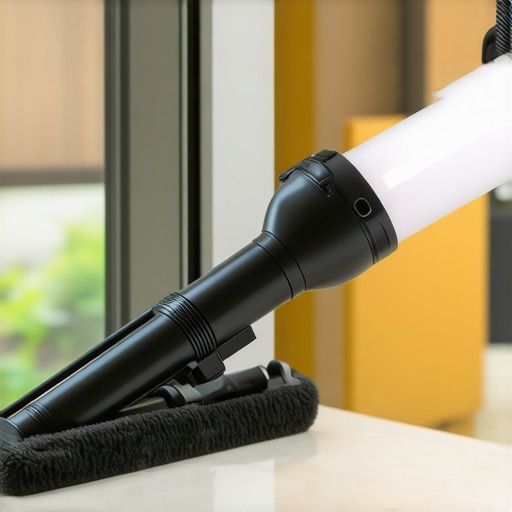 Consistency is what truly keeps a home healthy. If you’re currently moving, integrating sanitizing hacks for safe house transitions into your first week can prevent old odors from taking root in your new space. I personally use a small handheld steam cleaner for my window tracks once every three months now. It takes five minutes because the initial sponge hack did all the heavy lifting. Now, it’s just about a quick blast of heat to keep the mold at bay. This fits perfectly into a daily house cleaning routine to maintain perfection without it feeling like a second job.
The future of clean involves smarter surfaces
I predict that within the next few years, we are going to see a massive shift toward “active” home surfaces. We are already seeing the rise of silver-ion infused fabrics and photocatalytic coatings on windows that use sunlight to break down organic grime. This isn’t science fiction; it’s the next step in sanitizing secrets for a safer house in 2025. We’ll be cleaning less because our homes will be doing a portion of the work for us. Until then, we have to rely on the right tools and the right knowledge to protect our health and our financial investments. I want you to try something today: grab a stiff brush and agitate a small section of your favorite armchair before you vacuum it. You’ll be shocked at the amount of debris that comes out of a seemingly clean sofa. If you’re ready to take the next step in your home maintenance, check out these house cleaning strategies for a sparkling home today and let’s start reclaiming your space from the bottom up.
The Hard Truth I Learned About the Perfect Clean
For years, I thought a truly clean home meant spending an entire weekend scrubbing until I couldn’t feel my arms. But the hardest lesson I learned is that deep cleaning is a trap if you don’t have a system. Perfection is the enemy of progress; if you try to do the whole house at once, you will burn out before you even finish the kitchen. I have realized that tackling high-impact areas like window tracks or baseboards once a month is far more effective than a once-a-year marathon. Another lightbulb moment was realizing that professional tools do not have to be expensive; they just have to be specific. That custom sponge is not just a hack—it is a philosophy of working smarter, not harder, to protect your peace of mind and your home environment.
My Go-To Essentials for Every Transition
If I were starting from scratch today, I would not waste money on a dozen different sprays. My toolkit is surprisingly simple. First, a reliable move-out clean checklist to simplify your transition is my north star—it keeps me from getting distracted by the small stuff. Second, I rely on a high-quality HEPA vacuum because it actually removes dust rather than just moving it. Third, I always keep a set of 300 GSM microfiber cloths for surfaces that need a streak-free finish. Finally, I have learned that heat is often better than chemicals; I often ask myself is steam cleaning enough to kill bacteria on high-touch surfaces when I want a deeper sanitization without the harsh fumes of bleach. These are the tools that have never let me down during a deep clean.
Take Back Your Home Without the Burnout
You do not need to be a professional to achieve professional results. Whether you are preparing for a landlord walkthrough or just want to feel better in your own living room, start small. Grab one sponge, cut those grooves, and finish just one window today. That momentum is what leads to a truly healthy environment. Once you see those tracks shine, you will be inspired to learn how to prep your kitchen for a professional deep clean or even tackle the tasks you have been avoiding, like the only way to clean your baseboards without bending over. Your home should be your sanctuary, not a source of stress. You have got the tools and the knowledge—now it is just time to put them into practice. Which window track in your house is the absolute worst right now? Let me know in the comments and let us motivate each other to get them done!