
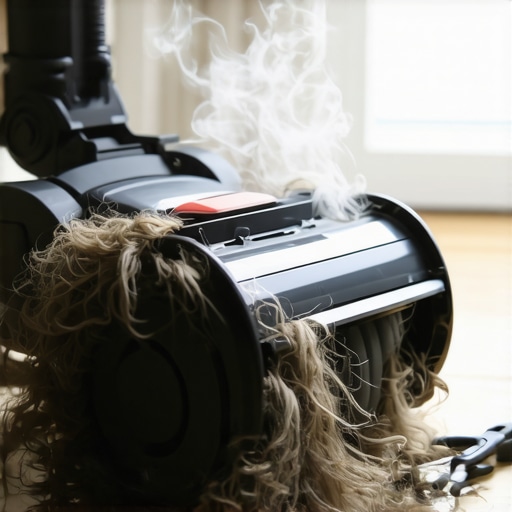
I was halfway through a frantic Sunday afternoon cleaning—the kind where you’re trying to make the living room look human again before guests arrive—when I smelled it. That sharp, acrid stench of singed hair. I froze. I actually sniffed the air like a spaniel, wondering if I’d left a curling iron on or if the toaster was finally revolting. Nope. It was coming from my trusty upright. I’d ignored the warning signs for weeks, and now my house smelled like a poorly ventilated salon. It’s a visceral, terrifying moment, isn’t it? You’re just trying to stick to your daily house cleaning routine to maintain perfection, and suddenly your appliance feels like it’s about to combust. My first thought was that the motor was dying, but the reality was much simpler—and much grosser.
Stop the Smoke Before It Starts
When you catch that whiff, your first instinct is to pull the plug, and honestly, that’s the right move. I learned the hard way that pushing through the smell only leads to a dead motor and a very expensive trip to the vacuum store. Early in my cleaning journey, I assumed my vacuum was invincible. I’d run it over anything without a second thought. But then I realized why your vacuum isnt picking up dirt like it used to: it was choking on a tangled mess of fibers and long-forgotten rug strings. That smell isn’t some mystery chemical; it’s usually the friction of a rubber belt or the motor struggling against a massive clog. According to technical bulletins from the Association of Home Appliance Manufacturers, an obstructed brush roll can cause a motor to pull double its normal current, leading to rapid overheating. If you’re currently tackling a move out clean checklist to simplify your transition, the last thing you need is a smoke-filled room and a security deposit on the line. I remember sitting on the kitchen floor with a pair of seam rippers and a screwdriver, feeling utterly defeated. It was such a small maintenance task I’d skipped, yet it halted my entire day. Cleaning shouldn’t be stressful, but when your tools start failing, it feels personal. I promise you, we can get this sorted before the guests arrive.
Can Your Machine Be Saved From the Trash?
I know what you’re thinking. Is it even worth trying to fix, or is the motor already fried? Many of my neighbors have asked if they should just toss the whole machine the moment it gets hot and stinky. The answer is usually no—if you act fast. Most modern vacuums have a thermal cut-off switch designed to prevent a total meltdown. Before you give up, you need to look at the mechanical parts. I once spent forty minutes cutting away a bird’s nest of hair from my brush roll, only to realize why your vacuum brush roll is ruining your hardwood floors in the process—the friction was so high it was literally dragging instead of spinning. Have you ever felt that surge of panic when your vacuum starts acting like a space heater? Let me know because I felt like a total failure the first time it happened to me! Today, we are going to dive into the house cleaning strategies for a sparkling home today that will save your nose and your wallet from a smoky disaster. We are going to get under the hood, identify the culprit, and get your machine back to its former glory without needing a degree in engineering. You don’t need a new vacuum; you just need ten minutes and a little bit of neighborly advice.
Dig Into the Belly of the Beast
First, unplug the machine. It sounds obvious, but you would be surprised how many people try to poke around a live motor. Once it is safe, flip the vacuum over so the brush roll is facing you. Most of the time, the singed hair smell comes from—surprise—actual hair. It wraps around the bearings until the friction creates enough heat to melt plastic or singe the fibers. I remember helping a friend with a move out clean checklist to simplify your transition. Her vacuum started smoking because a single thick upholstery thread had snagged and acted like a saw against the roller. We had to use a seam ripper and needle-nose pliers to cut it out. This kind of neglect is exactly why your vacuum isnt picking up dirt like it used to; the roller simply cannot spin fast enough to create suction.
Free the Brush Roll from Its Hair Prison
Think of your vacuum brush roll like a high-speed axle on a car. If you wrap a rope around that axle, something has to give. Use a pair of heavy-duty scissors to cut a straight line across the built-up debris on the roller. Be careful not to nick the bristles themselves. Once you pull the hair away, try to spin the roller with your hand. It should move freely. If it feels stiff, the hair has likely entered the end caps where the bearings live. Taking a moment for this maintenance is one of the most effective house cleaning secrets from cleaning experts because it extends the life of the machine by years. 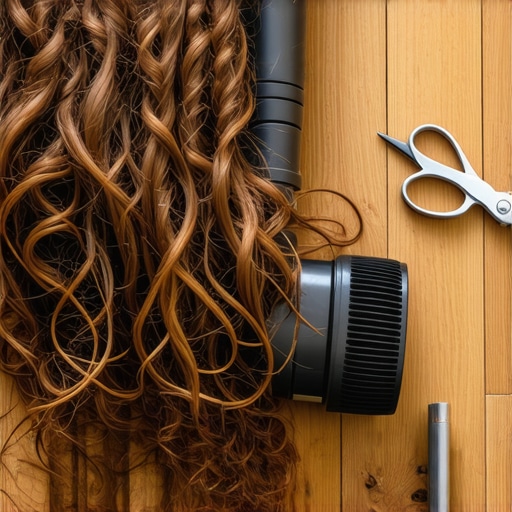 If you are working on upholstery cleaning tips for a fresh home revival, you need that brush roll at 100% capacity to lift dander and dust from deep within fabric fibers.
Track Down the Hidden Clogs in the Hose
Sometimes the smell isn’t the brush roll at all, but the motor gasping for air. A clog in the hose makes the motor work ten times harder, causing it to overheat. I once found a petrified French fry and a clump of dog hair perfectly blocking the intake of my upright. It smelled like a burnt kitchen. To fix this, drop a penny or a small marble through the hose. If it doesn’t come out the other side, you have a blockage. Use a broom handle to gently push the clog through. Keeping the airflow clear is vital, especially when you are following sanitizing secrets for a safer house in 2025, as a clogged vacuum just blows allergens back into the room through the exhaust. If you are cleaning delicate items, remember the proper way to vacuum a wool rug without damage involves checking these air paths first to ensure the suction doesn’t fluctuate and pull on the delicate wool loops.
Check the Belt for Wear and Tear
If the brush roll is clear and there are no clogs, the smell is almost certainly the drive belt. This is the rubber band that connects the motor to the brush. When the brush gets stuck, the motor keeps spinning, and that rubber belt stays still, rubbing against the motor shaft. This creates a distinct ‘burnt rubber’ smell that is often confused with singed hair. If the belt looks stretched, cracked, or has a flat spot, it needs to be replaced. Most belts cost less than ten dollars and can be swapped out in five minutes with a screwdriver. It is a small price to pay to avoid a full motor burnout during a critical move out cleaning strategies to secure your deposit session.
I used to think that the stronger the chemical smell, the cleaner the room. It is a common trap we all fall into, especially when we are stressed about a guest’s arrival or trying to check off a massive move out clean checklist to simplify your transition. But here is the contrarian truth: if you can smell the cleaning products for hours after you are done, you probably didn’t actually clean—you just layered chemicals over the dirt. Real cleanliness doesn’t have a scent. When I finally started implementing effective house cleaning secrets from cleaning experts, I realized that my previous ‘deep cleans’ were actually damaging my home’s surfaces and my own lungs.
The Dwell Time Mistake That Ruins Your Sanitizing Efforts
Most people make the mistake of ‘spray and wipe.’ We see a germy surface, blast it with disinfectant, and immediately wipe it dry. This actually does almost nothing to kill bacteria. According to the American Cleaning Institute (ACI), for a disinfectant to truly work, it needs to remain wet on the surface for a specific ‘dwell time,’ which can range from thirty seconds to ten full minutes depending on the product. If you wipe it away too soon, you are essentially just moving the germs around with a damp cloth. This is one of the most overlooked effective sanitizing methods for a germ-free home.  When you are focusing on sanitizing secrets for a safer house in 2025, patience is actually your most powerful tool. Have you ever fallen into this trap of rushing the process? Let me know in the comments because I spent years doing it wrong!
Why Does My House Still Feel Grimy After a Deep Clean?
It is incredibly frustrating to spend all day scrubbing only to feel like the surfaces are still tacky or dull. The ‘oops’ factor here is usually over-saturation. Whether you are dealing with a spill on the rug or trying to freshen up the sofa, the instinct is to soak the area. However, why you should never spray cleaning products directly on surfaces is a lesson in moisture management; liquid can seep into electronics, wood grain, or deep into upholstery foam where it turns into a breeding ground for mold. If you are following upholstery cleaning tips for a fresh home revival, remember that less is always more. For example, the one thing you should never do when cleaning a velvet couch is use heavy water-based cleaners that crush the pile and leave permanent water marks.
Stop Scrubbing Your Way to a Damaged Home
We often equate ‘clean’ with ‘elbow grease,’ but aggressive scrubbing is often the enemy of maintenance. When I was learning house cleaning strategies for a sparkling home today, I found out that scrubbing actually pushes dirt deeper into fabric fibers or scratches the protective sealant on your floors. This is particularly vital when you are trying to maximize move out cleaning strategies to secure your deposit. A scratched countertop or a frayed carpet patch from over-zealous cleaning can be just as expensive as a stain. Instead of scrubbing, try ‘blotting and dwelling.’ Let the chemistry of the cleaner do the work for you. By mastering these small, professional nuances, you shift from being a frantic cleaner to a home maintenance expert. If you are ever in doubt about a specific fabric, our ultimate upholstery care guide for lasting freshness offers the deep-dive technical advice you need to avoid a costly mistake.
I realized early on that even the most expensive equipment is only as good as the person maintaining it. If you are wondering why your house still feels dusty even after you just vacuumed, the answer is usually sitting right inside your machine’s filter housing. We often treat our tools like disposable items, but a high-performance vacuum or a set of professional-grade cloths is an investment that requires a specific upkeep rhythm. I’ve seen people replace $600 machines simply because they didn’t know how to wash a foam filter. It’s heart-breaking and entirely avoidable if you treat your cleaning kit like a professional mechanic treats their toolbox.
Your Vacuum Needs to Breathe Too
The single biggest killer of suction is a neglected HEPA filter. Most people wait until the filter is black before they even think about it. I personally keep a rotation of two filters for my main upright; while one is drying after a wash, the other is ready to go. This ensures I never run the machine with a damp filter, which is a one-way ticket to mold growth and that ‘wet dog’ smell. If you are trying to perfect your daily house cleaning routine to maintain perfection, you have to include a thirty-second check of your machine’s exhaust. If the air coming out feels restricted or unusually hot, stop immediately. Heat is the enemy of electronics, and a restricted motor will burn out long before its time.
How do I keep my cleaning tools running like new?
The secret is ‘systematized maintenance.’ Every Saturday morning, while my coffee is brewing, I do a five-minute sweep of my core tools. I check the brush roll for hair, shake out the vacuum canister, and verify that my spray bottles aren’t leaking. I also make sure to check why you must clean the filter in your washing machine, because those very machines are what clean my microfiber cloths and mop heads. If your washing machine is dirty, your cleaning cloths will never be truly effective. It is a cycle of cleanliness that starts with the machines themselves. I predict that by 2030, we won’t just have ‘smart’ vacuums; we’ll have integrated home sensors that alert your phone the second air quality drops due to a dirty filter or a failing exhaust system.
Why Cheap Microfiber is Secretly Sabotaging Your Surfaces
Not all microfiber is created equal. I used to buy those bulk packs from big-box stores until I realized why your microfiber cloths are leaving lint everywhere: they lack the density required to actually trap particles. According to a study published in the American Journal of Infection Control, ultra-fine microfiber (specifically those with a denier less than 0.3) can remove up to 99% of bacteria from a surface using only water. Those cheap cloths? They mostly just push the dirt around and scratch delicate finishes. When I’m consulting on an ultimate upholstery care guide for lasting freshness, I always insist on high-GSM (Grams per Square Meter) cloths. They absorb more liquid and hold onto dust rather than releasing it back into the air. 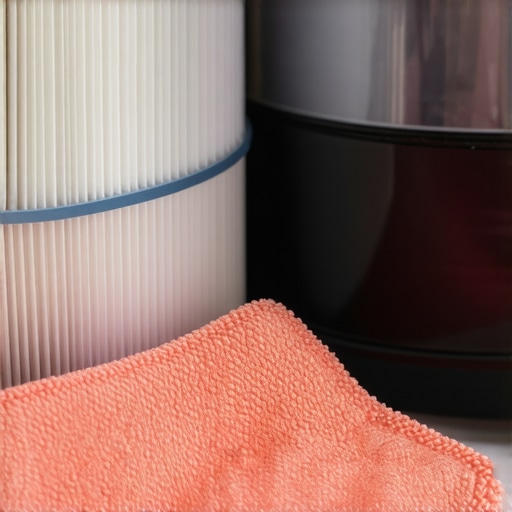 These tools are the backbone of any move out cleaning hacks ensure your deposit refund strategy because they allow you to clean faster and more deeply with less physical effort. My advanced tip for you this week: try the ‘flashlight test’ tonight. Turn off the lights, shine a flashlight across your ‘clean’ countertops at a low angle, and see what your current tools are leaving behind. If you see streaks or dust, it’s time to upgrade your cloth quality. It’s a small change that yields massive, long-term results for your home’s health.
Why I Finally Stopped Rushing My Cleaning Routine
Over the years, I have realized that the difference between a house that looks clean and one that actually is clean comes down to the tiny details most people skip. I used to think I was saving time by rushing, but I was actually creating more work for myself in the long run. Here are the lightbulb moments that changed everything for me:
- Maintenance is not optional: If you do not clean your tools, you are just moving yesterday’s dirt into tomorrow’s living room. This is why I always tell my friends that effective house cleaning secrets from cleaning experts start with a clean vacuum and fresh microfiber.
- Chemicals need time to work: Spraying and immediately wiping is just ‘polishing the germs.’ Let your disinfectants sit!
- Scrubbing is often the enemy: I learned the hard way that why you should never scrub a fresh liquid stain is because it destroys the fibers and sets the mess permanently into the fabric.
A Few Tools That Actually Make a Difference
I do not believe in having a thousand different products cluttering up my cabinets. Instead, I rely on a few high-quality items that never let me down. First, a seam ripper—yes, the sewing tool—is my secret weapon for cleaning vacuum brush rolls without damaging the bristles. Second, I only use high-GSM microfiber because why your microfiber cloths are leaving lint everywhere is usually due to low-quality fibers that cannot trap dust properly. Lastly, for any fabric emergencies, I always keep my ultimate upholstery care guide for lasting freshness bookmarked on my phone for quick reference. These are not just ‘stuff’; they are the reliable partners that make my daily house cleaning routine to maintain perfection possible without the stress.
Put These House Cleaning Strategies Into Practice
Cleaning should not feel like a punishment or a frantic race against the clock before guests arrive. When you understand how your machine works and how your surfaces react to different treatments, you stop being a victim of your housework and start being the master of it. By applying these house cleaning strategies for a sparkling home today, you are not just picking up dirt—you are protecting your investment and creating a healthier space for your family. Whether you are preparing for a big move or just trying to get through the weekend, take that extra five minutes to check your filters and let your cleaners dwell. Have you ever had a vacuum emergency right before a big event? Let me know how you handled it in the comments below!