
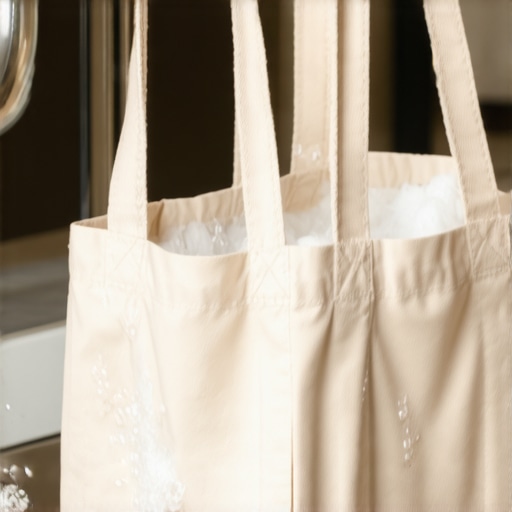
I will never forget the Tuesday I realized my eco-friendly habit was actually a biological hazard. I had this favorite heavy-duty canvas bag, the one that holds three gallons of milk without breaking a sweat. A week prior, a pack of drumsticks had leaked just a tiny bit of juice into the corner. I didn’t see it, so I just tossed the bag in the trunk. Fast forward to a warm afternoon where I loaded that same bag with fresh spinach and peaches. By the time I got home, the bottom of the bag smelled like a wet basement, and my healthy greens had been marinating in a week’s worth of bacteria. It was a wake-up call. We spend so much time on house cleaning strategies for a sparkling home today, but we often forget the very vessels that bring our food into the kitchen.
Stop Letting Your Eco-Friendly Bags Become Germ Factories
I get it. You are busy. You come home, unload the groceries, and shove those bags back into the trunk or the pantry. But here is the hard truth: if you are not sanitizing them, you are basically transporting E. coli and salmonella right onto your kitchen island. I used to think a quick shake to get the crumbs out was enough. Spoiler alert: it was not. I was making the classic mistake of focusing on visible dirt while ignoring the microscopic mess. Just like why your kitchen sink is likely the dirtiest place in your home, your bags are high-touch, high-contamination zones. Today, I am going to walk you through the exact routine I use to keep my family safe without spending hours on chores. We are going to cover everything from the right wash cycles to the effective sanitizing methods for a germ free home that actually work on different fabrics.
Are these bags really that much worse than the plastic ones?
It is a fair question. You might be thinking, I have used these for years and never gotten sick. But the data is a bit startling. A landmark study by the University of Arizona and Loma Linda University found that 97% of people they interviewed never once washed their reusable bags. Even worse? Coliform bacteria were found in half of the bags tested. It is not just about being clean; it is about basic food safety. Have you ever actually looked at the bottom of your bags and felt that slight, sticky residue? If you have, you are already behind the curve. Think about where those bags go. They sit in the bottom of a shopping cart, they touch the checkout belt, and then they sit on your floor. It is time to break the cycle. Just like you would follow a move out clean checklist to simplify your transition, your grocery routine needs a similar system to stay safe. Have you ever had a leak in your bag that made you question your entire cleaning routine? Let us get into the grit of how to fix it.
Categorize Your Bags Before the Bacteria Wins
Before you toss everything into the laundry, you need to understand that not all bags are created equal. Treating a reinforced plastic-lined bag the same way as a heavy canvas tote is a recipe for a melted mess. Start by sorting your stash into three piles: natural fibers like cotton and canvas, synthetic non-woven polypropylene (the most common kind you buy at the checkout), and insulated cooler bags. This sorting process is as vital as any daily house cleaning routine to maintain perfection. If you skip this, you risk cross-contamination or destroying the bags entirely. I usually do this on my kitchen counter right after unloading, making sure I haven’t left any stray receipts or rogue blueberries in the corners.
Crank the Heat for Your Canvas Bags
Your heavy-duty cotton and canvas bags are the workhorses of the grocery world, but they are also the most absorbent. They soak up meat juices and moisture like a sponge. The good news is they can handle the heat. I throw mine in the washing machine on the hottest cycle available with a heavy-duty detergent. Think of it like deep-cleaning your linens; the heat is what actually kills the pathogens. However, a quick warning: because these bags gather so much lint and fibers, you should check your equipment frequently. I learned the hard way that a clogged machine leads to stagnant water, so make sure you know why you must clean the filter in your washing machine to keep things running efficiently. Once they are done, air dry them completely. Putting a slightly damp bag in a dark pantry is just an invitation for a mold party.
How to Clean Synthetic Bags Without Melting Them
Now, let’s talk about those thin, plastic-feeling bags. These are made of non-woven polypropylene. Do not, under any circumstances, put these in a hot dryer. I once made the mistake of tossing a whole load of these into a high-heat cycle thinking I was being efficient. Ten minutes later, the smell of burning plastic filled my house, and I found a giant, multi-colored clump of melted resin fused to the back of my dryer drum. It took hours of scrubbing and some effective house cleaning secrets from cleaning experts to get that residue off. For these bags, hand washing in warm, soapy water is the safest bet. If you are short on time, you can use sanitizing secrets for a safer house in 2025, such as a quick spray of a 70% alcohol solution or a disinfectant wipe across all surfaces, especially the handles and the base.
Don’t Ignore Those Insulated Lining Cracks
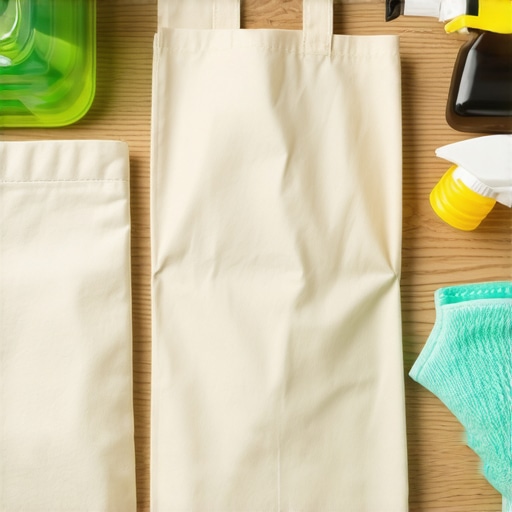
Insulated bags for your frozen goods are perhaps the trickiest. They often have seams and crevices where bacteria love to hide. Since you can’t exactly flip these inside out and throw them in the wash, you need a manual approach. I use a mixture of water and a few drops of dish soap to wipe the interior, followed by a sanitizing spray. Pay extra attention to the zipper track and the bottom inserts. These bags are very similar to food prep surfaces, and you should treat them with the same level of care you use when you how to sanitize your cutting boards using salt and lemon. Ensure the bag is propped open until it is bone-dry before you fold it back up. Using effective sanitizing methods for a germ free home ensures that your next trip to the store doesn’t start with a contaminated container.
I see it everywhere: the ‘spray and pray’ method. People grab a bottle of disinfectant, spritz their bags or counters, and immediately wipe it away. If that is your current routine, I have some bad news: you are likely just moving the bacteria around. In my experience, the biggest mistake is ignoring ‘dwell time.’ Most EPA-registered disinfectants require the surface to remain visibly wet for three to ten minutes to actually kill pathogens like Norovirus or MRSA. When you are looking for effective sanitizing methods for a germ free home, patience is your most valuable tool. If you wipe too fast, you are essentially providing a spa treatment for germs rather than a lethal blow.
The ‘Spray and Pray’ Myth That Keeps Your Home Dirty
Everyone says that more chemicals equal a cleaner home, but I disagree. In fact, over-reliance on sprays without mechanical scrubbing is a recipe for disaster. Bacteria create something called a biofilm—a microscopic, slimy shield that protects them from chemical attacks. A study published in the Journal of Food Protection by researcher Charles Gerba highlighted that the simple presence of organic soil can reduce the efficacy of common household disinfectants by over 90%. This means if there is a smear of chicken juice or a squashed grape in your bag, the spray won’t even reach the bacteria underneath. You have to scrub the surface clean with soap and water before you sanitize. This applies to everything from your grocery totes to your living room furniture; following an ultimate upholstery care guide for lasting freshness always starts with removing the physical dirt first.
Can You Really Trust Your Washing Machine’s Eco-Setting for Food Safety?
Many of my readers ask if they can just use the ‘Eco’ or ‘Cold’ setting to save energy while washing their bags. The short answer? Not if you’ve had a meat leak. Cold water is fantastic for preserving colors, but it does very little to break down animal fats where bacteria thrive. To truly sanitize natural fibers, you need heat or a laundry-specific sanitizer. I have seen too many people fall into the trap of thinking ‘wet’ equals ‘clean.’ If you are preparing for a move, you should look into move out cleaning hacks ensure your deposit refund to see how professional-grade heat and extraction make a difference that a quick cold rinse simply cannot match.
Remove the Grime Before You Reach for the Bleach
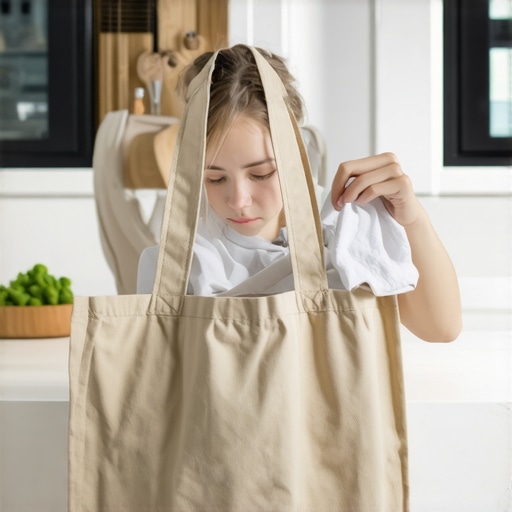
Here is the ‘Oops’ factor that catches even the most diligent cleaners: why you should never spray cleaning products directly on surfaces. When you spray directly onto a dirty bag or a dusty shelf, the force of the spray can actually aerosolize the bacteria, sending it into the air you breathe or onto nearby ‘clean’ surfaces. Instead, spray your microfiber cloth first, then wipe. This gives you better control and ensures the mechanical action of the cloth is breaking up those biofilms I mentioned earlier. I’ve refined these effective house cleaning secrets from cleaning experts over years of trial and error. It might feel like an extra step, but it is the difference between a home that looks clean and one that is actually safe. Have you ever fallen into this trap of spraying directly on the mess? Let me know in the comments. By shifting your focus from ‘applying product’ to ‘mechanical removal and dwell time,’ you will elevate your home’s safety to a professional level. For those looking for even deeper insights, checking out sanitizing secrets for a safer house in 2025 will give you the edge you need to stay ahead of new household challenges.
Label Everything Before You Forget the Formula
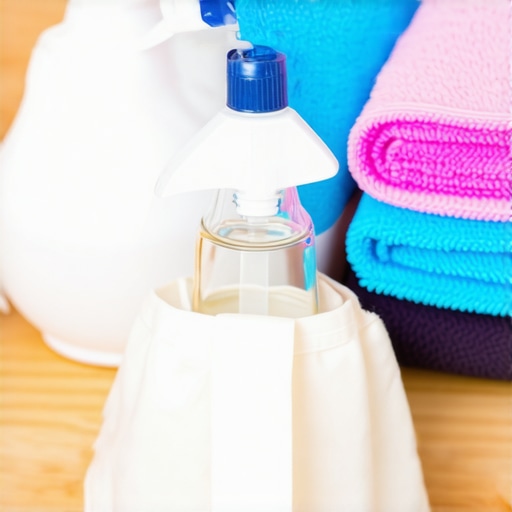
I learned the hard way that a bottle of clear liquid could be vinegar, bleach, or just plain water. After a few near-disasters where I almost ruined a pair of cotton totes with an accidental bleach spray, I moved to a strictly labeled spray bottle system. I recommend using glass bottles with heavy-duty silicone sleeves. Why glass? Because certain essential oils or high-concentration alcohol mixtures can actually degrade plastic over time, leaching chemicals into your cleaning solution. I keep a dedicated bottle of 70% isopropyl alcohol specifically for my synthetic bags. It’s the gold standard because it evaporates quickly, meaning there is no residue to worry about when you load in your fresh produce. Maintaining a daily house cleaning routine to maintain perfection starts with having your gear ready before you actually need it. If you have to hunt for a rag, you’ve already lost the battle against bacteria.
How do I keep my grocery bags sanitary for the long haul?
Consistency is your best friend here. I’ve developed a ‘one-in, one-out’ rule for my laundry. Every time I finish a big grocery haul, the bags I used go directly into a mesh laundry bag hanging on the back of my pantry door. They don’t go back in the trunk. They don’t sit on the floor. This prevents the buildup of invisible pathogens that can eventually lead to odors or staining. If you are dealing with more than just groceries, like a full home transition, you might need move out cleaning strategies to secure your deposit, but for the daily grind, it’s all about these small, repeatable steps. I also recommend a monthly deep-soak for any bag that has seen a spill. Use a bucket with a dash of oxygen-based bleach and let them sit for thirty minutes. This gets deep into the fibers in a way a quick wash cycle sometimes misses.
Stop Using Generic Rags and Get Specific
If you’ve noticed your bags aren’t quite coming clean, the culprit might be your cloth. If you’re wondering why your microfiber cloths are leaving lint everywhere, it is likely because you are using low-gsm (grams per square meter) rags that are falling apart. I only use 400 GSM or higher for my bag maintenance. These are dense enough to actually ‘grab’ the bacteria and pull it away from the fabric surface. According to technical documentation from the American Cleaning Institute (ACI), the mechanical action of wiping with a high-quality textile can remove up to 99% of surface bacteria even before a sanitizer is applied. It’s why effective house cleaning secrets from cleaning experts always focus on the quality of the tools, not just the strength of the chemicals.
Looking ahead, I predict we are going to see a major shift toward ‘smart’ grocery bags. We are already seeing the emergence of textiles infused with permanent antimicrobial silver-ion technology that works 24/7 to inhibit the growth of mold and mildew. Until that becomes the affordable standard, we have to rely on our own systems. If you’re serious about safety, you should integrate these sanitizing secrets for a safer house in 2025 into your grocery routine. I challenge you to do one thing today: take your most-used grocery bag, turn it inside out, and use a stiff brush to clear out the seams. You’ll be shocked—and maybe a little grossed out—by what’s been hiding in there. Using effective sanitizing methods for a germ free home is a marathon, not a sprint, so treat your equipment with the respect it deserves.
The 4 Hard Truths My Grocery Bags Taught Me
Before I let you go, I want to share the realizations that completely changed my perspective on food safety. I used to think my bags were just carriers; now I see them as food-contact surfaces. If you have spent any time researching why your kitchen sink is likely the dirtiest place in your home, you will understand how easy it is for bacteria to migrate from the counter to the bag and back again. Here are the lessons I learned the hard way:
- The Trunk is a Greenhouse: Leaving bags in a hot car is an invitation for bacteria to double every twenty minutes. Always bring your bags inside immediately.
- Cross-Contamination is Real: Using the same bag for raw meat and then for fresh berries is a gamble you shouldn’t take. Color-coding my bags (red for meat, green for produce) saved my peace of mind.
- The ‘Sniff Test’ is a Lie: By the time a bag smells, the bacterial colonies are already well-established. Just like how to sanitize your reusable water bottle properly, consistency is more important than visual cues.
- Drying is a Mandatory Step: If you store your bags while even slightly damp, you are growing a mold farm. They need to be bone-dry before you fold them.
The Sanitizing Gear I Swear By
You do not need a laboratory, but you do need the right tools. I’ve refined my cleaning kit over years of grocery runs and accidental spills. These are the four items I never shop without cleaning afterward:
- 70% Isopropyl Alcohol: This is my go-to for synthetic bags that cannot handle the heat of a washing machine. It kills germs on contact and evaporates without leaving a sticky film behind.
- High-GSM Microfiber Cloths: Don’t settle for the cheap, thin ones. Understanding why your microfiber cloths are leaving lint everywhere will help you realize that a 400 GSM cloth is necessary to physically lift bacteria from the fabric.
- Oxygen-Based Bleach: It’s much gentler on cotton fibers than traditional chlorine bleach but still provides that deep sanitize for white canvas bags.
- Mesh Laundry Bags: These protect the handles and seams of your bags during heavy-duty wash cycles, ensuring they last for years instead of months.
#IMAGE_PLACEHOLDER_E#
Why Your Kitchen Health Starts at the Curb
At the end of the day, using effective sanitizing methods for a germ free home is about protecting your loved ones from invisible threats. It might seem like an extra five minutes of work after a long day at the store, but it is the most important part of the errand. When you clean your bags, you aren’t just doing a chore; you are ensuring that the healthy food you bought stays healthy by the time it hits the table. Your kitchen deserves to be a sanctuary, and that starts with the vessels you use to bring your life indoors. Have you ever found a surprise leak in your favorite bag? Let me know your cleaning horror stories below.