
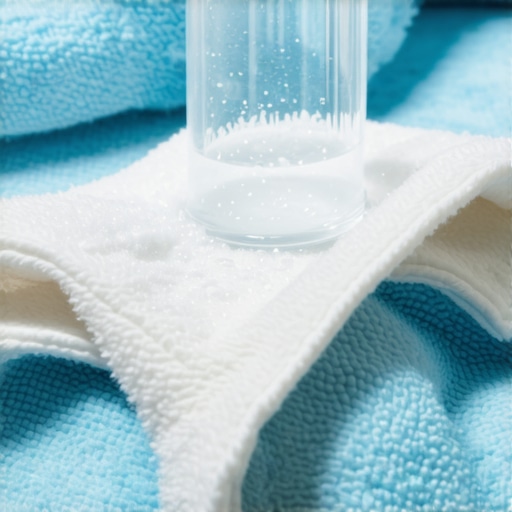
I still remember the absolute panic of my last major move-out clean. The landlord was coming in exactly two hours, clipboard in hand, ready to inspect every single square inch of the apartment. I had my trusty stack of plush microfiber cloths ready to tackle the dusty baseboards and grease-slicked kitchen counters. To make sure everything smelled fresh and felt incredibly soft, I had washed my cloths the night before with a generous capful of my favorite lavender fabric softener. I took one swipe at the kitchen counter and stared in horror. Instead of lifting the grease, the cloth just smeared a cloudy, oily film across the surface. It was a complete disaster. It turned out that my well-meaning attempt to pamper my cleaning rags completely ruined their ability to grab dirt.
The Secret Film Ruining Your Cleaning Game
That stressful afternoon taught me a brutal lesson about how we care for our cleaning tools. Microfiber is a miracle material because of its microscopic, hook-like synthetic fibers that physically grab and hold onto dust, grease, and moisture. When you dump fabric softener into the washing machine, you are essentially coating those tiny hooks in a thin layer of synthetic wax. This waxy coating clogs the open spaces between the fibers, turning your high-tech cleaning tool into a useless piece of non-absorbent plastic. If you have noticed your cloths just pushing water around instead of absorbing it, you are likely dealing with this exact buildup. You can learn more about how this happens and how to rescue them in my guide on why your microfiber cloths stop working and how to fix them.
Are fabric softeners actually ruining your expensive cloths?
Yes, they absolutely are. It is not an urban legend designed to make you buy specialty detergents. According to textile manufacturing research, the silicone and quaternary ammonium compounds found in most household softeners are specifically engineered to bind to fabric fibers to make them feel slick. While this feels great on a bath towel, it completely destroys the static charge and capillary action that makes microfiber so effective for house cleaning. I made this mistake for years, wondering why my streak-free mirrors suddenly looked like a smudged mess. Once that coating is baked on by a hot dryer, your microfiber is practically blind to dirt. If you are preparing for a big transition and need every tool working at one hundred percent, avoiding this laundry trap is crucial. For those gearing up for a big transition, check out my move-out clean checklist to simplify your transition and keep your cleaning process seamless.
Have you ever pulled a freshly washed microfiber cloth out of the dryer, tried to wipe up a spill, and watched the water roll right off the fabric? Tell me about your cleaning frustrations in the comments below! Next, we are going to dive into how to strip that nasty buildup off your existing rags so you do not have to throw them in the trash.
How to Strip the Waxy Buildup Off Your Microfiber Cloths
To restore your clogged microfiber cloths, you have to treat them like a grease-stained engine block rather than a delicate silk blouse. Normal washing simply cannot break down the molecular bonds of the synthetic wax left behind by fabric softeners. Think of the softener coating as a stubborn layer of dried candle wax on a hardwood floor; pouring cold water on it does nothing. You need a chemical stripping process that safely melts and lifts that barrier without melting the polyester and polyamide fibers of the cloth itself. When I first tried to rescue my ruined cloths before a major move-out clean, I tried washing them three times with regular detergent. The result was a sodden, soapy mess that still repelled water. It was only when I stripped them using acidic and basic agents sequentially that they regained their famous electrostatic grip.
The Boiling Vinegar Bath Method
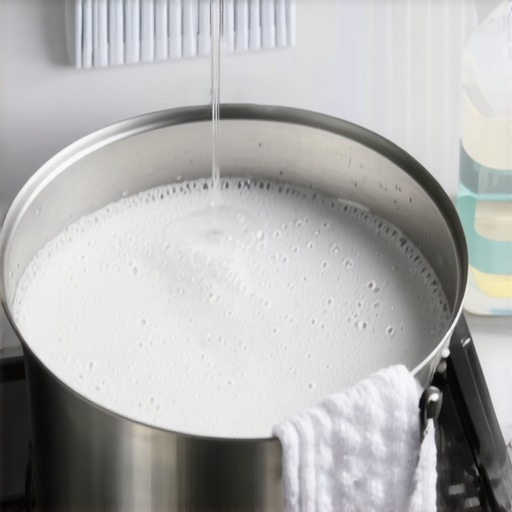
Your first line of defense is white vinegar, which acts as a natural acid to dissolve the alkaline wax compounds. Fill a large pot with water and bring it to a rolling boil. Drop in your damaged microfiber cloths and add a cup of distilled white vinegar. Turn down the heat to a gentle simmer and let the pot bubble for about fifteen minutes. You will actually see a oily, greyish scum rise to the water surface; this is the liquefied fabric softener releasing from the deep pores of the weave. This process is highly effective for preparing your cloths before diving into major projects like move-out cleaning strategies to secure your deposit.
The Baking Soda Wash Cycle
Once the vinegar bath has loosened the wax, you need to neutralize the remaining residue and wash it away completely. Drain the pot, squeeze out the hot water, and throw the damp cloths into your washing machine. Do not add any commercial laundry detergent, which often contains fragrances and optical brighteners that leave their own coatings. Instead, throw in half a cup of baking soda directly into the drum and run a hot cycle. Baking soda is a mild abrasive and deodorizer that scrubs away the microscopic debris loosened by the vinegar bath. This dual-step strip method is the same strategy used in professional house cleaning strategies for a sparkling home today to keep equipment performing like new.
The Correct Way to Dry and Store Your Restored Rags
How you dry your microfiber is just as important as how you wash them. High heat will literally melt the microscopic hooks, fusing them into a flat, non-absorbent plastic sheet. Always air-dry your cloths or use the lowest, no-heat tumble setting on your dryer. Keep them completely separate from cotton bath towels, otherwise your microfiber will act like a magnet and strip all the lint right off your cotton towels, rendering them useless for streak-free cleaning. If you are also tackling soft surfaces around your home, keeping your microfiber clean prevents transfer of oils during upholstery cleaning tips for a fresh home revival.
When you are staring down a looming lease expiration, the impulse to scrub every surface with maximum force is incredibly strong. However, one of the biggest mistakes I see people make during a frantic weekend of move-out cleaning strategies to secure your deposit is relying on chemical overkill. We have been conditioned to believe that if a little spray works well, half a bottle will work miracles. In reality, drowning your kitchen counters, bathroom tiles, and living room furniture in heavy soap concentrates creates a sticky, invisible residue that acts as a magnet for airborne dust, pet dander, and shoe grime.
This is what professional cleaners call the soil-attraction trap. Standard household detergents do not simply evaporate; they leave behind surfactant molecules designed to grab dirt. When not thoroughly rinsed with clean water, those leftover molecules continue doing their job, trapping new dirt the moment you walk across the floor or sit on the sofa. If you have ever wondered why your carpet is still dirty after you shampooed it, this chemical buildup is almost always the culprit. The soapy film binds to the fibers, pulling in dirt from the bottoms of your socks far faster than if you had just used plain hot water.
Why is dry soil removal more important than wet sanitizing?
According to research published by the Institute of Inspection, Cleaning and Restoration Certification (IICRC), up to 79% of soil in fabrics and carpets is dry particulate matter. This means that jumping straight to wet sprays, liquid disinfectants, or damp cloths actually turns that dry dust into a stubborn, muddy slurry that gets pushed deeper into the weave of your fabrics or the pores of your stone counters. It is why experienced technicians always recommend that you thoroughly vacuum or brush a surface before a single drop of liquid touches it. If you skip this critical step, you are not sanitizing; you are simply painting your home with liquefied grime.
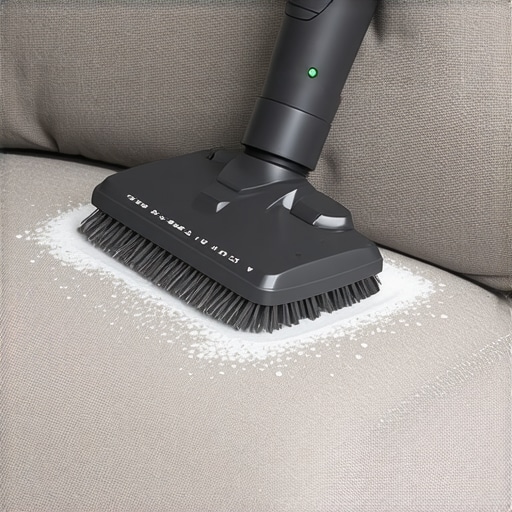
This rule is especially vital when dealing with delicate living room furniture. Applying wet mixtures directly to dry dust is the primary reason behind those ugly water ring stains on microfiber and suede couches. For a safer approach to preserving your furniture, reading up on the upholstery care secret for keeping your sofa looking new can save you hundreds of dollars in damage fees. Always start with a dry brush or vacuum crevice tool before bringing in your damp microfiber cloths.
Have you ever fallen into this chemical overkill trap and ended up with sticky floors or cloudy countertops? Let me know in the comments below! If you are currently packing up and want to ensure you get every penny of your deposit back without destroying your tools, check out my comprehensive move-out clean checklist to simplify your transition.
When you are in the thick of a stressful transition, maintaining your cleaning arsenal is probably the last thing on your mind. However, taking care of your gear is what separates frustrated amateur sweepers from efficient pros. Over the years, I have refined a strict maintenance system for my tools. I do this because using dirty, worn-out equipment simply recirculates old dust and allergens back into the air. It defeats the entire purpose of your hard work. By establishing a smart, consistent maintenance habit, you protect your investment in high-quality tools and guarantee your home remains genuinely clean.
How do I maintain my cleaning gear over time?
To keep your cleaning kit in peak condition, you need a structured approach to washing, inspecting, and storing your tools. I personally dedicate fifteen minutes every Sunday to cleaning the cleaners. I empty my vacuum canister, wash the foam filters with warm water, and use a pair of shears to cut away wrapped hair from the brush roller. For my microfiber cloths, I skip standard laundry detergents entirely and use a specialized, residue-free microfiber wash concentrate. This preserves the delicate polyamide fibers. If you want to establish a steady flow to keep your living space pristine without the weekend stress, integrating these tool-care habits into a daily house-cleaning routine to maintain perfection is an absolute game-changer.
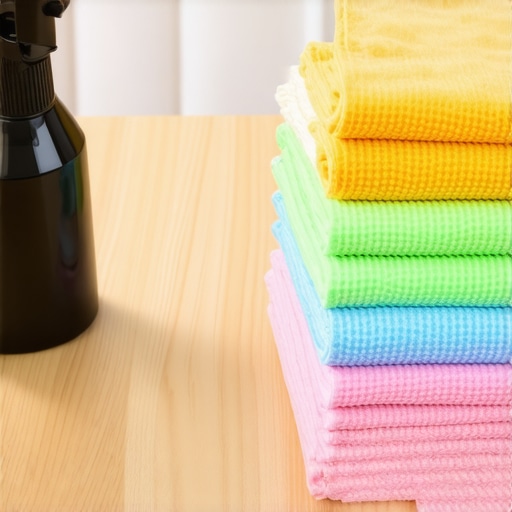
For hard surfaces, I rely heavily on high-quality commercial spray bottles with adjustable spray nozzles. Cheap plastic triggers fail constantly under the chemical stress of vinegar or alcohol-based mixtures. I personally use premium sprayers with Viton seals. These seals are chemically resistant and last for years without leaking or losing pressure. This level of preparation is exactly what makes professional house cleaning secrets from cleaning experts so effective. You waste zero time fighting with broken equipment when every single tool works flawlessly on demand.
Looking ahead, I predict that the future of home sanitation lies in advanced, self-cleaning materials. Manufacturers are already experimenting with photocatalytic titanium dioxide coatings embedded directly into microfiber cloths and appliance surfaces. When exposed to natural light, these coatings automatically break down organic matter on a molecular level. This means your cleaning cloths will essentially sanitize themselves while drying on the line. Until that technology becomes mainstream, however, we must rely on proper physical maintenance and smart washing habits to keep our homes healthy.
This careful maintenance is especially crucial for soft surfaces. If your tools are dirty, you will inevitably transfer old oils and grime directly back onto your furniture. This can ruin your fabrics. Keeping your gear spotless is the cornerstone of any successful ultimate upholstery care guide for lasting freshness. Now, I want to challenge you: take five minutes today to check your vacuum filter or strip just one load of your favorite cleaning rags using the boiling vinegar bath method described above. You will be amazed at how much more suction and absorbency you get back instantly.
When you are in the thick of a stressful transition, maintaining your cleaning arsenal is probably the last thing on your mind. However, taking care of your gear is what separates frustrated amateur sweepers from efficient pros. Over the years, I have refined a strict maintenance system for my tools. I do this because using dirty, worn-out equipment simply recirculates old dust and allergens back into the air. It defeats the entire purpose of your hard work. By establishing a smart, consistent maintenance habit, you protect your investment in high-quality tools and guarantee your home remains genuinely clean.
How do I maintain my cleaning gear over time?
To keep your cleaning kit in peak condition, you need a structured approach to washing, inspecting, and storing your tools. I personally dedicate fifteen minutes every Sunday to cleaning the cleaners. I empty my vacuum canister, wash the foam filters with warm water, and use a pair of shears to cut away wrapped hair from the brush roller. For my microfiber cloths, I skip standard laundry detergents entirely and use a specialized, residue-free microfiber wash concentrate. This preserves the delicate polyamide fibers. If you want to establish a steady flow to keep your living space pristine without the weekend stress, integrating these tool-care habits into a daily house-cleaning routine to maintain perfection is an absolute game-changer.
For hard surfaces, I rely heavily on high-quality commercial spray bottles with adjustable spray nozzles. Cheap plastic triggers fail constantly under the chemical stress of vinegar or alcohol-based mixtures. I personally use premium sprayers with Viton seals. These seals are chemically resistant and last for years without leaking or losing pressure. This level of preparation is exactly what makes professional house cleaning secrets from cleaning experts so effective. You waste zero time fighting with broken equipment when every single tool works flawlessly on demand.
The Hardest Lessons I Learned While Prepping for a Move-Out Clean
Through years of trial, error, and ruined fabrics, I discovered that the way we wash our gear is just as important as the way we wipe down our surfaces. The single biggest mistake is assuming all cleaning cloths can be tossed into the same wash cycle. Mixing cotton towels with synthetic microfiber will ruin your rags instantly by filling them with lint. I also learned that hot water is your best friend for melting grease out of fibers, but high dryer heat will permanently melt the microscopic polyester tips. Finally, never underestimate how quickly a dirty vacuum filter can redistribute dust right back onto your freshly wiped baseboards. Keeping your tools clean is the actual secret behind successful move-out cleaning strategies to secure your deposit.
The High-Performance Toolkit I Rely on Every Single Week
You do not need a closet full of expensive gadgets to achieve a spotless home, but investing in a few professional-grade supplies will save you hours of physical labor. Here are the specific tools I trust to get the job done right:
- Commercial-Grade Distilled White Vinegar: Unlike standard table vinegar, a 6% or higher acidity vinegar cuts through soap scum, fabric softener wax, and mineral deposits on contact.
- Residue-Free Microfiber Wash: This specialty detergent keeps your cloths split and absorbent without leaving behind the synthetic fragrances that clog fibers.
- Professional Spray Bottles with Viton Seals: These withstand acidic mixtures without leaking, ensuring you always get a fine, consistent mist.
- The Right Prep Strategy: Always vacuum first. If you are cleaning furniture, knowing why professional cleaners always vacuum the sofa before wiping it will prevent you from creating a muddy slurry on your fabrics.
Make Your Cleaning Tools Work for You Again
Now that you know how easily fabric softeners and chemical residues can compromise your tools, it is time to take action. Do not throw away your stiff, non-absorbent rags. Take five minutes today to run a small batch through a boiling vinegar bath or inspect your vacuum roller for tangled hair. Restoring your gear is the fastest way to make your next deep scrub feel effortless. Your tools are your frontline defense, so treat them with care and they will keep your living space looking brand new.
Have you ever had your microfiber cloths stop absorbing water after a trip through the laundry? Let me know down in the comments how you plan to revive them!