

I still remember the first night in my last apartment. I was exhausted, my back was aching from hauling boxes, and all I wanted was to see my favorite coffee mugs lined up in their new home. I opened the upper cabinet, saw it looked “white enough,” and started stacking. Big mistake. Three days later, I pulled out a bowl and felt a tacky, invisible film on the bottom that smelled faintly of old cooking oil. It turns out the previous tenant was a big fan of high-heat frying, and that sticky film on top of kitchen cabinets had migrated inside every single shelf. I had to unpack everything and wash every dish twice. It was a complete disaster. Moving is a fresh start, but your kitchen cabinets and pantry are often hiding the “ghosts” of meals past. Today, I am going to walk you through the exact move-in ritual I now use to make sure my food stays safe and my dishes stay actually clean.
The Invisible Grime Hiding in Your Pantry
Most people think a quick wipe with a damp paper towel is enough. It really isn’t. You need to look at the corners and the very back of the shelves. I once found a single, ancient grain of rice that had become a beacon for pests because I didn’t check the seams of a pantry shelf. If you are moving into a place where the previous owners weren’t exactly cleaning enthusiasts, you are essentially inheriting their ecosystem. You want to follow a move-in checklist for people who hate other peoples germs to really feel at home in your new space.
Is deep cleaning brand new cabinets actually worth the hype?
You might think brand-new, factory-installed cabinets are the exception, but they often carry fine sawdust, chemical residues, and adhesive smells that you don’t want near your cereal boxes. According to experts at the NSF International, the kitchen is statistically the germiest room in the house, often housing more coliform bacteria than the bathroom. Skipping the sanitizing step is a risk I am no longer willing to take.
Why You Must Start from the Ceiling Down
Just like how professional cleaners always start at the top of the room, your cabinet cleaning needs a top-down approach. If you clean the bottom shelves first, you will inevitably knock dust, hair, or old crumbs down onto them when you tackle the upper sections. It is about working smarter, not harder. Before you even think about laying down shelf liners or organizing your spice rack, you need to address the 3 germ hotspots in your kitchen that usually get ignored during a standard move-out. Have you ever opened a cabinet in a new house only to realize it felt slightly ‘tacky’ to the touch? Tell me about your most frustrating moving-day discovery in the comments below!
How to Tackle the First Layer of Grime
To get started, you do not need an arsenal of harsh chemicals. In fact, some of the most effective house cleaning secrets from cleaning experts involve simple, grease-cutting solutions that you probably already have under your sink. I remember my second move when I spent forty dollars on ‘heavy-duty’ industrial degreasers only to find that they stripped the luster right off the oak doors. Now, I stick to a concentrated mixture of warm water and high-quality dish soap. You want to use the dish soap trick for removing greasy buildup on kitchen cabinets because it breaks down the molecular bonds of old cooking oils without eating through the wood stain. Grab a microfiber cloth—not a sponge, which can trap grit and scratch the surface—and work in circular motions.
Work from the Highest Shelf Downward
As I mentioned before, gravity is your biggest enemy or your best friend. Start by wiping the very tops of the wall cabinets first. This is where the ‘dust-grease’ lives—that furry, grey coating that happens when airborne cooking fat meets household dust. If you ignore this, every time you open a cabinet door, microscopic particles will drift down onto your clean plates. Once the tops are clear, move to the interior ceilings of each shelf. Using house cleaning strategies for a sparkling home today means being methodical; if you miss the ceiling of the cabinet, you haven’t really cleaned it. 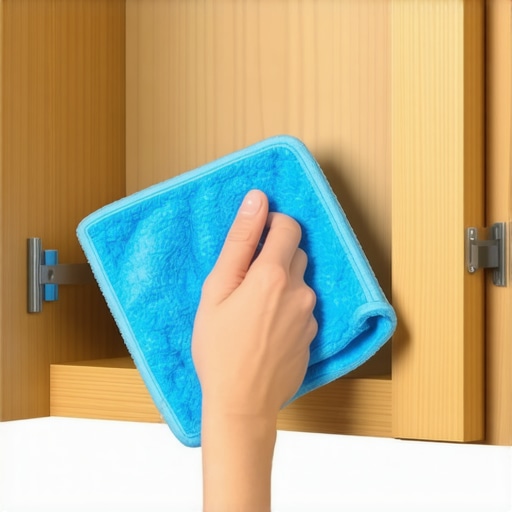
Kill the Bacteria Soap Alone Misses
While soap removes the visible gunk, it doesn’t always kill the ‘ghosts’ left behind by the previous tenants. You need to implement effective sanitizing methods for a germ-free home, especially if the previous residents had pets or didn’t prioritize hygiene. I once moved into a place where the pantry looked spotless, but a quick swipe with a sanitizing wipe revealed a colony of mold starting in a damp corner where a honey jar had leaked months prior. This is why sanitizing hacks for safe house transitions are non-negotiable. Use a solution of diluted white vinegar or a food-safe disinfectant to wipe down every surface after the initial scrub. This ensures that your sanitizing secrets for a safer house in 2025 include creating a sterile environment for your actual food.
Don’t Forget the Hinges and Tracks
The biggest mistake people make is only cleaning the flat surfaces. Look at the hinges. They are notorious for trapping hair and sticky residue. I use an old toothbrush—similar to the toothbrush trick for removing pet dander from baseboard crevices—to scrub the hardware. If your cabinets have sliding tracks or drawers, use a vacuum attachment first to pull out the hidden crumbs in your toaster that attract kitchen pests and other debris that often migrates into drawer slides. Finally, ensure the cabinets are bone-dry before you put in your liners. Trapping moisture under a liner is a recipe for mildew, which is exactly what a move-out clean checklist to simplify your transition is designed to prevent for the next person, but you are doing it for yourself now.One of the biggest mistakes I see people make—and I’ll admit, I did this for years—is the ‘spray and swipe.’ We’ve been conditioned by commercials to think that the moment a liquid hits a surface, the germs instantly vanish. In reality, most EPA-registered disinfectants require a ‘dwell time’ of anywhere from three to ten minutes to actually achieve their listed kill rate. If you are using effective sanitizing methods for a germ-free home, you have to let the surface stay visibly wet for the duration specified on the label. Wiping it dry after ten seconds is just a fancy way of spreading the bacteria around. According to the Environmental Protection Agency (EPA), failing to follow these dwell times means you aren’t actually disinfecting at all, just sanitizing at a much lower level.
Is steam cleaning enough to kill bacteria on high-touch surfaces?
I get asked this a lot by friends who want to avoid chemicals altogether. The answer is: it depends on the temperature and the speed. If you move the steamer too quickly, you aren’t hitting the 212°F threshold long enough to penetrate the biofilm of certain pathogens. It’s a great tool for a daily house cleaning routine to maintain perfection, but for a deep move-in sanitize, you need to be incredibly methodical. This leads me to a major ‘oops’ factor I see with natural cleaners. Everyone tells you to use vinegar and baking soda for everything. Please, for the sake of your deposit, don’t. I’ve seen beautiful kitchens ruined because someone tried to use vinegar on stone. You should definitely check out the vinegar-free way to clean granite countertops before you accidentally etch the surface of your new home. 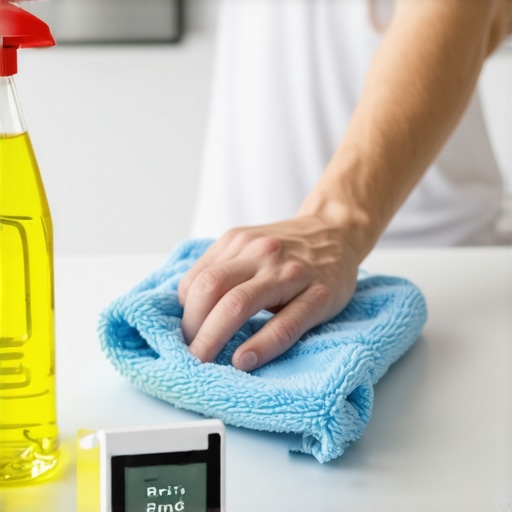 Another nuance often missed during the chaos of moving is the state of the upholstery. If you’re bringing your old couch into a new space, you might be tempted to give it a quick DIY scrub. However, if you don’t know how to treat s-coded upholstery fabric without ruining it, you could end up with permanent water rings or a destroyed texture. I learned this the hard way when I tried to ‘refresh’ a polyester blend with too much water and ended up with a musty smell that lasted weeks. It’s better to use upholstery cleaning tips for a fresh home revival that prioritize dry cleaning solvents when necessary. Even when you are doing a move-out clean checklist to simplify your transition for your old place, the same rules apply. Most people focus on the floors but forget that effective house cleaning secrets from cleaning experts usually involve the vertical surfaces. If you don’t clean the walls or the undersides of the counters, you’re leaving half the job unfinished. Have you ever fallen into this trap of ‘cleaning’ something only to realize you actually made it worse? Let me know in the comments! Using sanitizing secrets for a safer house in 2025 isn’t just about the tools you use, but the patience you have to let those tools work. Make sure you also check why you should never use baking soda on your marble countertops if your new place has high-end finishes—it’s a mistake that can cost thousands.I have a rule in my house now: if it doesn’t have a sealed HEPA system, it doesn’t cross the threshold. For years, I wondered why my allergies flared up right after I finished “cleaning.” It turns out I was essentially using a dust cannon. One of the most effective house cleaning secrets from cleaning experts is that the equipment matters just as much as the chemistry. If your vacuum isn’t airtight, why your vacuum filter might be making your allergies worse becomes painfully obvious as you see fine particles dancing in the sunlight the moment you turn the machine off. I personally switched to a Miele C3 because of its 12-stage filtration; it’s the only way I feel truly confident after a move-in deep clean.
How can I keep my house this clean without a 10-hour weekend scrub?
The secret isn’t a marathon session; it’s about scaling your efforts. Once you’ve done the hard work of a move-in sanitize, you need to transition to a daily house cleaning routine to maintain perfection. I use what I call the “high-touch rotation.” On Mondays, I focus on the “germ magnets”—the fridge handles, light switches, and remotes. This prevents the biofilm from ever getting a foothold. By learning how to schedule a deep clean that actually lasts more than a week, you stop living in a cycle of “filthy to pristine” and start living in a constant state of “clean enough to breathe.” 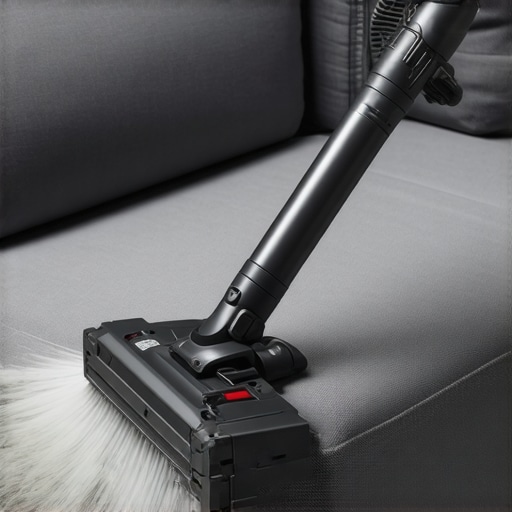 I also recommend investing in a dedicated upholstery tool with a motorized brush roll. Most people just use the “crevice tool” and call it a day, but that doesn’t pull the dander out of the deeper fibers. If you follow an ultimate upholstery care guide for lasting freshness, you’ll realize that regular extraction is the only way to keep a sofa from becoming a giant air filter for the room. According to the Carpet and Rug Institute (CRI), vacuums that lack a high-efficiency seal can allow up to 40% of captured dust to leak back through the housing, rendering your “sanitizing” efforts moot. Looking ahead, I predict we are going to see a massive shift toward AI-integrated sensors in home cleaning tools. We already have vacuums that detect floor types, but the next generation—part of the sanitizing secrets for a safer house in 2025—will likely include real-time microbial load sensors that tell you exactly when a surface is biologically clean, not just visually clean. For now, my best advice is to stop guessing. Grab your phone, set a timer for the dwell time on your disinfectant, and don’t touch that surface until the beeper goes off. Try this “timer challenge” on your kitchen counters tonight; you’ll be shocked at how long five minutes actually feels when you’re waiting to wipe.
Everything I Learned While Scrubbing Someone Elses Mess
After years of moving across different states, I’ve realized that the most dangerous germs are the ones you can’t see. We often focus on the obvious stains, but the real victory lies in conquering the microscopic environment. I no longer trust a ‘clean’ kitchen until I’ve checked the 3 germ hotspots in your kitchen myself. Another lightbulb moment was realizing that ‘all-natural’ isn’t always safe; protecting your surfaces is just as important as killing the bacteria. If you are questioning your techniques, always ask is steam cleaning enough to kill bacteria on high-touch surfaces before you ditch the disinfectant. Finally, remember that patience is a cleaning tool—never skip the dwell time on your sanitizers.
My Non-Negotiable Cleaning Arsenal
I don’t believe in cluttering my space with specialized bottles, but I do have a few trusted staples. First, a high-quality microfiber system is essential; I prefer those with color-coding to prevent cross-contamination between the bathroom and the pantry. Second, a professional-grade HEPA vacuum is a must to ensure you aren’t just moving dust around. I also swear by an ultimate upholstery care guide for lasting freshness because it covers the fabrics we often forget. Lastly, keep a stash of white vinegar and dish soap—they are the workhorses of any effective house cleaning secrets from cleaning experts for a reason.
#IMAGE_PLACEHOLDER_E#
Take Back Your Space
Moving is inherently stressful, but there is an incredible sense of peace that comes from knowing every inch of your new home has been properly addressed. You aren’t just cleaning; you are claiming your territory and ensuring your family’s safety. Use these sanitizing secrets for a safer house in 2025 to turn a house into a home that feels—and actually is—truly yours. You’ve done the hard work, now it’s time to enjoy the fresh start you deserve. Have you ever discovered something totally gross in a new place that the previous tenants missed? Let me know in the comments below!