
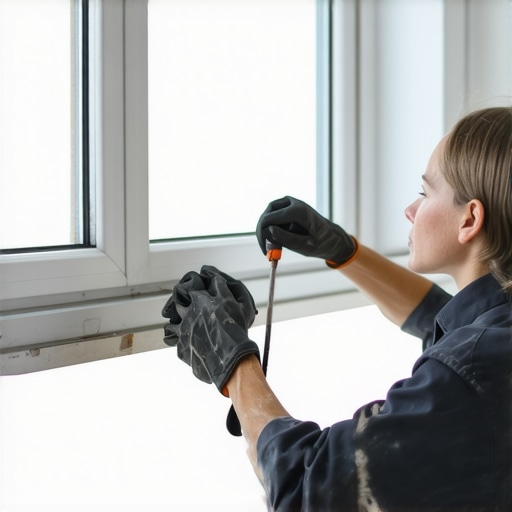
It was a typical Saturday morning when I finally decided to tackle that stubborn window track in my living room. You know the one—dust, grime, and that mysterious crusty buildup that’s been there for months. As I reached for my cleaning tools, I realized something: I was about to spend hours scrubbing and scraping, cursing every moment spent on this pesky task. Sound familiar?
Why Cleaning Window Tracks Feels Like a Never-Ending Battle
If you’ve ever tried to clean those narrow, grimy window rails, you probably know the frustration of battling stubborn debris that refuses to budge. The truth is, most of us overlook these tiny details—underestimating how much they impact your home’s overall cleanliness and your peace of mind. That crusty buildup isn’t just unsightly; it can harbor allergens and germs, making your space less healthy.
But here’s the thing—I discovered a simple trick that transforms this tedious chore into a quick, hassle-free fix. It’s a game-changer I wish I had known years ago! I’ll show you step-by-step how I finally conquered those crusty tracks, saving me hours every weekend—and I promise, it will do the same for you.
Is This Window Track Trick Actually Worth the Hype?
Initially, I was skeptical. I had made the mistake early on of using harsh chemicals that only seemed to make the grime worse, smearing and spreading instead of removing. That’s a common mistake many beginners make, assuming more aggressive cleaning means better results. But the real secret lies in a gentle approach combined with the right tools. Once I stopped scrubbing blindly and started using this method, I saw immediate results. Curious? Keep reading—I’m about to share the step-by-step process that’s worked wonders for me and countless others. Plus, if you’re gearing up for a move-out cleaning or just want that pristine window view, check out this [move-out cleaning strategy](https://spotlesscarpetz.com/move-out-cleaning-strategies-to-secure-your-deposit) to make sure your home shines from every angle.
Apply a Baking Soda Paste for Tough Grime
Start by creating a thick paste with baking soda and water—think of it as a natural scrub that lifts grime like magic. I vividly recall a morning when I tackled a particularly stubborn window track coated in years of dirt. I scooped a generous amount of this paste onto a toothbrush and gently scrubbed along the track’s edges. The gritty baking soda, combined with its gentle abrasive nature, dissolved the crusty buildup without scratching the surface. Using a toothbrush ensures precision, reaching into tight corners where rags can’t touch, and breaks down hardened debris efficiently.
Use a Spray Bottle for Gentle But Effective Loosening
Next, fill a spray bottle with a mixture of equal parts white vinegar and warm water. Spray liberally along the track, focusing on areas with residual grime. The vinegar’s acidity loosens stubborn residues—imagine it as acidic rain washing away hardened grime. When I did this, I noticed the crust starting to soften within minutes. Letting the solution sit for about 5 minutes enhances its effectiveness, making removal smoother and reducing the need for forceful scraping.
Scrape with a Plastic Putty Knife to Remove Residue
After the grime has loosened, use a plastic putty knife or an old credit card to gently lift the softened debris. This step is crucial—think of it as peeling off dried glue without damaging the underlying surface. I once used a metal scraper, which caused scratches, but switching to plastic made all the difference. Carefully slide the tool along the track, collecting the softened buildup, and wiping away debris with a microfiber cloth as you go. This approach minimizes mess and saves time on repeated cleaning.
Final Wipe-Down with a Damp Cloth for a Spotless Finish
Finish by wiping the entire track with a damp microfiber cloth dipped in warm water. This removes any remaining residue and leaves a fresh, clean surface. I remember a time when I skipped this step, only to realize dust and still-present grime made the window look cloudy. Proper wiping restores clarity, ensuring the track is free from leftover cleaning agents or dust that could hinder window operation.
Tip: Maintain Regular Upkeep to Prevent Build-Up
Regularly cleaning the window tracks—at least once a month—prevents grime accumulation. A quick wipe with a damp cloth and the occasional application of the baking soda paste can keep your windows looking new and functioning smoothly. For a comprehensive cleaning plan, check out this house cleaning strategy to maintain every corner of your home effortlessly.
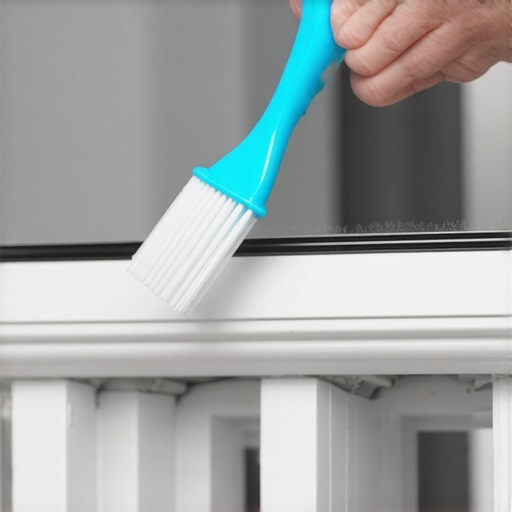 Many homeowners believe they know the best methods for cleaning, but some widely accepted ideas are actually misconceptions that hinder efficiency and effectiveness. For example, it’s a common myth that scrubbing harder will remove stubborn stains or grime. In reality, applying excessive force can damage delicate surfaces and make cleaning more difficult over time. Instead, using the right products and techniques, like targeted solutions or gentle agitation, yields better results.
Another misconception is that traditional chemical disinfectants are always necessary for sanitation. While effective in some cases, over-reliance on harsh chemicals can pose health risks, especially in homes with children or pets. Experts suggest that methods like steam cleaning or natural disinfectants, such as vinegar or hydrogen peroxide, can be just as effective when used appropriately, as supported by studies from the CDC on effective pathogen elimination.
A common mistake during move-out cleaning involves neglecting often-overlooked areas, such as behind appliances or inside ventilation vents. Over time, these spots accumulate grime and dust, which can jeopardize your deposit return or health. Failing to address such nuances shows a lack of attention to detail that professionals understand well; for tips on thorough cleaning, check out this move-out cleaning guide.
In terms of upholstery, many assume that regular vacuuming suffices to keep furniture fresh. However, deep cleaning using appropriate solutions or steam, when done correctly, can extend the lifespan of fabrics and remove hidden allergens. Beware of using harsh chemicals or over-saturating materials, which can cause damage or mold growth. For comprehensive upholstery care, see this ultimate guide.
What about sanitizing? A widespread error is believing that antibacterial sprays are necessary everywhere. In reality, over-sanitizing can eliminate natural beneficial microbes and create resistant strains. Natural methods like thorough cleaning with soap and water, or using EPA-approved disinfectants strategically, can effectively reduce germs without excess. Learn more about effective sanitizing strategies at this resource.
Remember, every cleaning method has its nuances. Knowing when to adapt your approach and understanding the science behind sanitation can save you time, preserve surfaces, and create a healthier living environment. Have you ever fallen into this trap? Let me know in the comments, and share your cleaning challenges or breakthrough tips!Effective house cleaning and sanitation aren’t just about the initial effort; they require the right tools and consistent maintenance to keep your home looking its best over time. Personally, I rely on a few key pieces of equipment that have proven their worth through years of use — and I highly recommend investing in quality tools to save time and ensure thorough cleanliness. One tool I swear by is a pair of extendable microfiber duster poles, which allow me to reach ceiling fans, high shelves, and behind furniture without the need for dangerous ladders. This not only prevents accidental falls but also minimizes dust displacement, leading to better air quality.
Another essential is a steam cleaner designed specifically for upholstery and carpets. Unlike traditional vacuums, a good steam cleaner kills bacteria and allergens deep within fabrics, offering long-term health benefits. I personally use a model with adjustable steam pressure, which helps me customize cleaning for delicate fabrics versus stubborn stains, aligning with the latest sanitizing insights from experts [source: https://spotlesscarpetz.com/sanitizing-secrets-for-a-safer-house-in-2025].
Maintenance doesn’t stop with tools — scheduling regular check-ups and replacements of equipment parts is crucial. For example, replacing vacuum filters and cleaning nozzle attachments every few months prevents buildup that can diminish cleaning power. A smart tip is to keep a cleaning journal digitally or on paper, noting when tools were last serviced, so you stay ahead of wear and tear.
Looking ahead, I believe the trend will lean toward smart cleaning solutions — robotic vacuums that intelligently adapt to your home’s layout and UV sterilization devices integrated into air purifiers. These innovations promise to make maintaining a spotless home easier than ever.
### How do I keep my cleaning tools in top shape over time?
The key is consistent maintenance—regularly inspect your tools, replace worn attachments promptly, and store them carefully to prevent damage. For example, washing microfiber cloths after each use and allowing them to air dry prevents mold and extends their lifespan. Simple steps like these ensure your tools continue to perform optimally, saving you money and effort in the long run.
If you’re ready to step up your cleaning game, try integrating a top-rated steam cleaner into your routine. Not only does it streamline upholstery and carpet maintenance, but it also enhances sanitation, creating a safer environment for your family. Curious about setting up a comprehensive maintenance schedule? Get in touch through our [contact page](https://spotlesscarpetz.com/contact-us-2) for tailored advice!
How Overdoing It Can Make Cleaning Worse
I once believed that scrubbing harder would make stains disappear faster. Turns out, excessive force damages surfaces and spreads dirt instead of removing it. Real progress came when I learned to be gentler and let the right tools do the work.
The Myth That Chemical Cleaners Are Always Necessary
I used to rely heavily on harsh disinfectants, thinking they were the only solution. Discovering natural alternatives like vinegar and baking soda, along with proper techniques, proved just as effective and much safer for my family and pets.
Overlooking Hidden Spots Costs More Than You Think
Neglecting tiny, often-forgotten areas like behind appliances or under furniture resulted in stubborn grime buildup and even damage over time. Paying attention to these details has saved me from costly repairs and headaches.
Investing in Quality Tools Pays Off
Rather than cheap, disposable cleaning supplies, I invested in sturdy microfiber cloths, a good steam cleaner, and extendable dusters. These tools made cleaning more efficient and enjoyable, reinforcing the importance of quality over quantity.
Consistency Trumps Intensity
Trying to blitz-clean once in a while only leads to frustration. Establishing a regular routine, like monthly window track maintenance, keeps grime at bay and transforms house cleaning from a chore into a manageable habit.
Resources That Have Elevated My Cleaning Routine
- Effective Sanitizing Methods: Learning about EPA-approved disinfectants and steam cleaning techniques through trusted sources helped me sanitize more effectively, reducing reliance on harsh chemicals. Find more insights at this resource.
- Move-Out Cleaning Strategies: A thorough move-out checklist ensures nothing is overlooked, helping secure my deposit and leave a great impression. Check out this guide for detailed tips.
- Home Maintenance Tips: Regular upkeep, like cleaning vents and behind appliances, saves time and prevents emergencies. Explore this strategy for a comprehensive approach.
Your Next Step Begins Today
House cleaning, move-out prep, and upholstery care are ongoing journeys, not one-time efforts. With the right knowledge and tools, you can turn these routines into empowering habits that create a healthier, happier home. Don’t wait—start now and watch your space transform effortlessly.
What cleaning tip or trick has made the biggest difference in your routine? Share your experience below—I’d love to hear your story!