
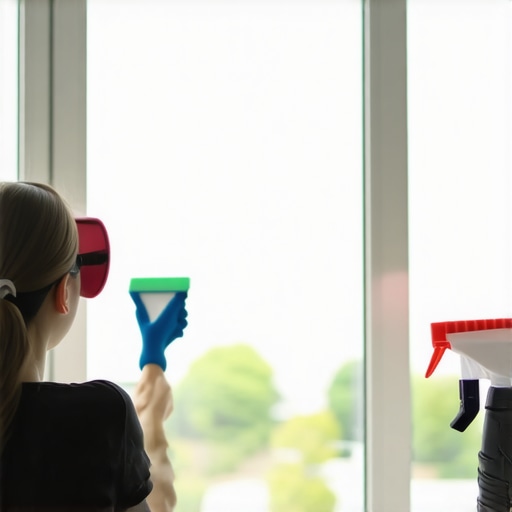
I remember the exact moment I realized my window tracks were embarrassing. It was a sunny Saturday morning, and I was trying to open my living room window only to be met with a stubborn, grimy mess that refused to budge. Moisture, dust, hair — all baked into those tiny grooves. It was a lightbulb moment for me. Why was I ignoring this tiny detail? How had I let it get so neglected when it’s right there, glaring every time I glance at the window?
Eventually, I decided enough was enough. I was determined to restore those tracks without spending hours or breaking the bank on a professional cleaning service. And guess what? It was easier than I thought. Today, I want to share that simple secret with you, so you can banish the built-up grime that makes your windows look tired and dull, and bring back that fresh, clean gleam.
Why Window Tracks Matter More Than You Think
It’s easy to overlook the importance of clean window tracks. Yet, they play a crucial role in your home’s appearance and functionality. Dirty tracks can cause windows to stick, rattle, or even get stuck completely. Beyond aesthetics, neglected tracks can harbor allergens, mold spores, and bacteria — leading to potential health issues, especially for allergy sufferers.
Cleaning window tracks doesn’t have to be a daunting task. In fact, with the right approach, you can restore their shiny, new look in just minutes. Think about it: every time you open your windows, wouldn’t you love that smooth glide and the satisfying sight of gleaming hardware? Plus, a quick refresh extends the lifespan of your windows and keeps your home feeling fresh. For more tips on maintaining your living space, check out my guide on [daily house cleaning routines](https://spotlesscarpetz.com/daily-house-cleaning-routine-to-maintain-perfection).
But, I’ll admit, I’ve made a common mistake early on — using just a damp cloth or generic sprays that don’t cut through the grime. That’s like trying to clean a greasy pan with dish soap on a cold day — it just doesn’t work. So, let’s dive into the proven method that actually gets results, and keeps your window tracks looking pristine.
If you’ve ever faced the frustration of sticky, dirty window tracks, keep reading. I promise, this simple trick will change your cleaning game and save you both time and money.
Ready to make those window tracks look brand-new? Let’s get started with the step-by-step process that’s foolproof, quick, and effective. Meanwhile, if you’re eager to tackle other overlooked spots, you might find [hidden grime behind appliances](https://spotlesscarpetz.com/the-grime-on-top-of-door-frames-that-ruins-your-final-walkthrough) surprising—and crucial—to clean before your next move-out inspection.
Prepare Your Workspace and Gather Supplies
Before you start, clear the area around your window to avoid accidents and ensure easy access. Grab cleaning essentials: a small brush (like an old toothbrush), microfiber cloths, a spray bottle with a mixture of equal parts distilled white vinegar and water, a putty knife or scraper, and a vacuum cleaner with a crevice attachment. I learned this step the hard way when I attempted to clean without gathering supplies first, only to realize I kept running back and forth—wasting time and risking missing spots.
Remove Loose Dirt and Debris
Start by vacuuming the window track thoroughly. Use the crevice tool to suck out loose dust, hair, and dirt lodged deep in the grooves. For stubborn debris, gently insert a putty knife or scraper to loosen it. I remember one time I used a metal butter knife and accidentally scratched the finish, so a plastic scraper or putty knife is safer. This is crucial because a clean surface ensures the cleaning solutions work effectively later.
Apply the Cleaning Solution
Spray the vinegar-water mixture generously along the entire length of the track, focusing on areas with visible grime or sticky residue. Let it sit for 3-5 minutes to break down grease and baked-in dirt — think of it as giving your grime a chance to loosen, much like letting a dish soak before scrubbing. In one messy weekend project, I used a store-bought all-purpose cleaner, but the vinegar solution proved more eco-friendly and effective against mineral deposits and soap scum.
Scrub the Grooves Thoroughly
Use the toothbrush or small brush to scrub along the grooves, working in gentle circular motions. Pay attention to corners and tight spots. Remember, relentless scrubbing isn’t necessary—aim for effective agitation. I once spent an hour scrubbing with a stiff-bristled brush, only to realize softer brushes work better without damaging surface coatings. Use a cloth dampened in the vinegar solution to wipe away loosened grime as you go—content that looks clean is motivating!
Clean Out Remaining Residue and Dry
Wipe the entire track with a microfiber cloth to remove any remaining dirt and solution. For stubborn spots, reapply the vinegar spray and scrub again. Then, dry the track with a dry microfiber cloth or paper towel to prevent water spots. I once skipped drying and noticed mineral streaks forming—lesson learned: dry thoroughly for a gleaming finish.
Lubricate and Test the Window
To ensure smooth operation, apply a silicone-based lubricant or spray protector to the track. Avoid WD-40—it’s a temporary fix and can attract more dirt. Once lubricated, slide the window back and forth to distribute the lubricant evenly. This simple tech unlike traditional oils prevents sticking and prolongs the cleanliness of your track. For comprehensive tips on maintaining all aspects of your home, check out [house cleaning strategies](https://spotlesscarpetz.com/house-cleaning-strategies-for-a-sparkling-home-today).
 Many homeowners believe that tackling house cleaning simply involves wiping surfaces and vacuuming regularly. However, there are nuanced mistakes that even seasoned cleaners often fall for, which can undermine the effectiveness of your efforts. For example, a prevalent misconception is that more frequent cleaning always equals better hygiene. In reality, overcleaning certain surfaces can cause wear or reduce their protective coatings, as discussed in expert guidance on effective house cleaning techniques.
Keep It Running with the Right Tools
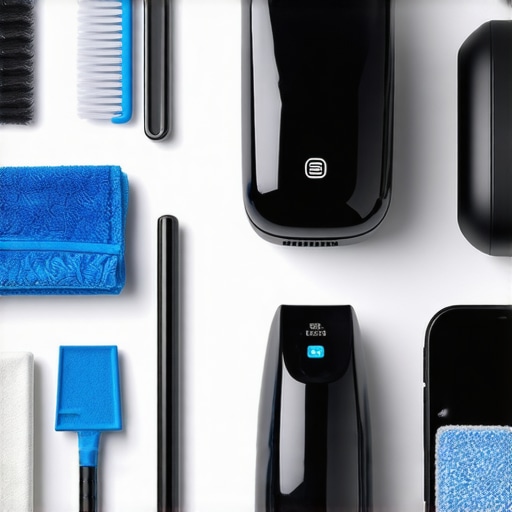
Maintaining your home’s cleanliness and hygiene over time requires more than just elbow grease—it demands the right equipment and a strategic approach. I’ve found that investing in quality tools not only makes cleaning more efficient but also prolongs the life of your surfaces and appliances. For example, I personally swear by a high-powered handheld steam cleaner for upholstery and tiles, as it disinfects without chemicals and easily reaches into grout lines and fabric textures, aligning with expert advice from this comprehensive upholstery guide. It saves me hours and ensures a deep clean that lasts longer.
Another often-overlooked item is a microfiber polishing cloth set, which I use daily. Microfiber’s fine fibers trap dust and microbes more effectively than traditional cloths, making them essential for surfaces, electronics, and even delicate fabrics. Over the years, I’ve refined my collection to include various textures—softer ones for screens, slightly coarser for kitchen appliances—helping me maintain a streak-free shine without product buildup. These tools are crucial to maintaining a hygienic environment, especially when preparing for move-outs or regular sanitizing routines.
Automate for Better Results
Automation tools are transforming home maintenance. I rely heavily on smart timers and sensors that activate my air purifiers and humidifiers based on air quality. This ensures consistent sanitation, reducing human error or forgetfulness, and aligns with the latest trends in smart home tech. For instance, integrating a smart vent system helps manage moisture and prevent mold growth in bathrooms and basements, extending the lifespan of building materials and keeping allergens at bay. As technology advances, expect these systems to become more intuitive and capable of predictive maintenance, further easing long-term upkeep.
Establish a Maintenance Routine That Lasts
Consistency is key. I recommend setting a weekly schedule that targets high-touch areas, upholstery, and fixtures. For example, incorporating a quick sanitizing session with a UV light wand — proven to neutralize microbes effectively — keeps surfaces continuously safe. To keep upholstery in top shape, I use a portable extractor as part of my routine, knowing that regular deep cleaning prevents dirt buildup and extends the life of furniture, as outlined in my upholstery maintenance tips. Small, regular investments and consistent routines prevent bigger, costlier problems down the road.
How do I maintain these tools and strategies over time?
Proper maintenance of your cleaning equipment is equally important. Regularly cleaning microfiber cloths prevents bacterial buildup and keeps them effective. For electronics like steam cleaners, I follow the manufacturer’s instructions for descale and filter checks, ensuring peak performance. Scheduling quarterly inspections of your humidifiers and purifiers can catch issues early, much like how routine house checks prevent larger problems. Staying disciplined with a maintenance calendar and investing in quality replacement parts will make your home easier to keep clean, well-sanitized, and ready for any unexpected move-out inspections or long-term health considerations.
Embracing these advanced tools and routines might seem like extra effort at first, but the payoff in ease and peace of mind is worth it. For a deeper dive into efficient cleaning hacks, I’d recommend exploring this guide on expert house cleaning techniques. Don’t hesitate—try incorporating a high-quality microfiber cloth or scheduling a quarterly tool check. Small steps today build the foundation for a spotless, healthy home tomorrow.
 Over the years, I learned that paying attention to overlooked details like window tracks can make a world of difference in maintaining a spotless home. That moment of realization taught me that even the tiniest areas deserve our attention because they affect not only aesthetics but also your home’s hygiene and longevity. When I finally tackled my window tracks with patience and the right tools, I discovered a secret that improved my cleaning routine for good, saving time and preventing costly repairs. If you’ve ever felt overwhelmed by stubborn grime, remember: small, consistent efforts with the right approach can lead to remarkable results. Embrace these forgotten spots—they hold the key to a truly pristine home environment that feels fresh every day.