
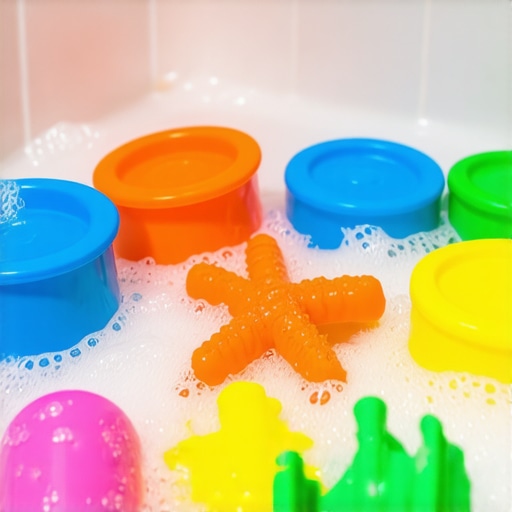
I will never forget the chilly Tuesday afternoon I watched my toddler happily chew on a plastic building block that had spent the previous hour wedged behind the toilet bowl. I froze. In that single, horrifying second, my brain scrambled through every cleaning product in my cabinet. I wanted to destroy the germs, sure, but I also realized that whatever chemical I sprayed on that block would inevitably end up right back in my kid’s mouth. It was a stressful wake-up call that sent me down a deep rabbit hole of researching safe sanitization. Many parents, in a panic, reach for harsh industrial disinfectants, but there is a much gentler, smarter way to keep your home healthy without introducing toxic residues.
The Great Toy Sanitizing Dilemma
Our homes are supposed to be safe havens, but plastic toys are absolute magnets for sticky fingers, dried drool, and microscopic bugs. When you are trying to maintain a pristine environment, perhaps even preparing for a big move where you need sanitizing hacks for safe house transitions, finding a balance between killing germs and keeping things non-toxic is incredibly tough. I used to think that blasting everything with heavy-duty bleach was the only way to be sure. I was wrong, and my eyes were opened to how easily we can over-chemicalize our kids’ play spaces.
Are commercial sanitizers actually doing more harm than good?
It is a completely valid fear. According to research on indoor environmental health, many common household disinfectants contain quaternary ammonium compounds, which can linger on plastic surfaces and potentially trigger childhood respiratory issues or skin irritation. That is why we need to focus on methods that break down the germ walls without leaving a toxic film behind. If you have ever wondered how to tackle this safely, you are in the right place. Today, we are going to dive into the exact methods that kill the bad stuff while keeping your peace of mind intact, similar to how you would approach the best way to sanitize plastic toys for your kids safely.
My First Big Cleaning Blunder
Early on in my parenting journey, I made the classic rookie mistake of throwing a delicate pile of battery-operated plastic toys directly into a sink full of boiling water and dish soap. The heat warped the battery casings, ruined the sound chips, and left me with a pile of melted, useless plastic. It taught me that not all plastics are created equal, and heat must be used with extreme caution. Just like mastering effective house cleaning secrets from cleaning experts, keeping toys clean is all about matching the right method to the right material. Have you ever accidentally ruined one of your child’s favorite toys while trying to clean it? Let me know in the comments below, because I would love to hear I am not the only one who has suffered a toy-melting tragedy!
Step-by-Step Guide to Safe Toy Sanitization
Keeping plastic toys clean does not mean you have to coat them in a layer of synthetic chemicals. I learned this the hard way when my daughter had a mild skin reaction to a commercial spray I used on her teething rings. I realized that keeping a clean home is a lot like cooking: the fewer mysterious ingredients you use, the better the final outcome. Whether you are performing a seasonal refresh or tackling a heavy-duty move-out clean, using gentle but effective techniques ensures your surfaces remain truly safe for small hands and mouths.
Phase 1: The Pre-Wash Scrub down
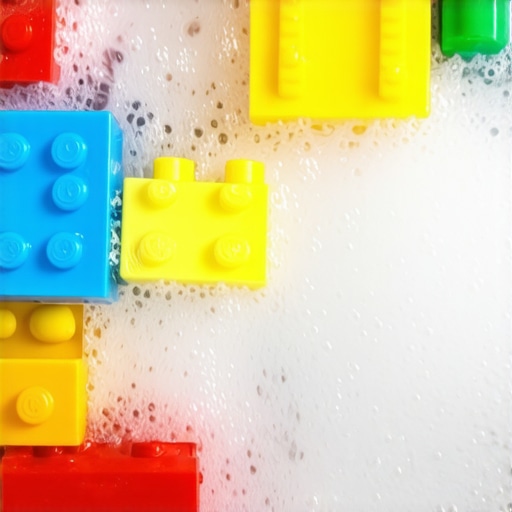
Before you even think about disinfecting, you must remove the physical grime. Think of it like washing your hands; soap and water loosen the physical dirt so the sanitizer can actually reach the surface underneath. If you skip this, bacteria can hide under dried syrup or dirt. Fill your sink with warm water and add a few drops of plant-based dish soap. Use a clean, dedicated sponge to scrub away the visible stickiness. I once tried to sanitize a plastic farm set that was covered in dried juice without pre-washing; the heat from my sanitizing spray essentially baked the sticky juice into a permanent, hard glaze. It was a messy disaster that taught me to never skip the pre-wash.
Phase 2: The Gentle Acid Bath
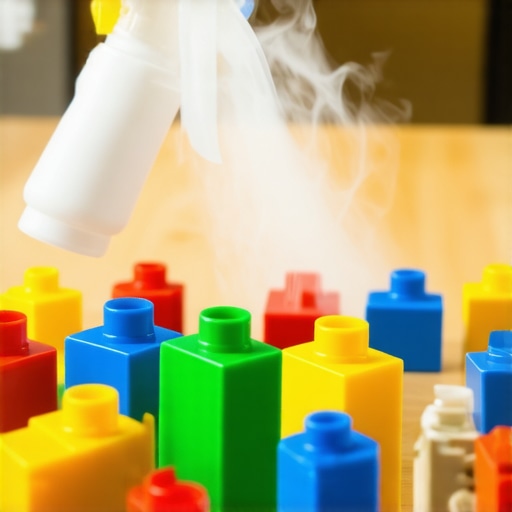
Once the toys are clean of physical debris, it is time to tackle the microscopic level. Instead of harsh bleach, lean on white vinegar. Vinegar is a natural acetic acid that acts like a gentle sledgehammer to common household germs without leaving any toxic residue behind. Mix equal parts warm water and white distilled vinegar in a spray bottle. Generously mist the plastic toys and let them sit for ten minutes. This contact time is crucial; sanitizing is not instantaneous, and the solution needs time to break down cell walls. If you have ever used vinegar for cleaning hard water stains, you already know how incredibly versatile and safe this household staple is.
Phase 3: The Complete Rinse and Air Dry
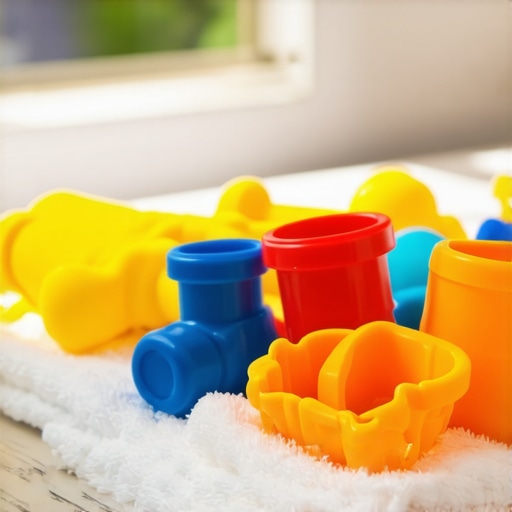
After the vinegar has done its job, rinse the toys thoroughly under cool, running water. While vinegar is completely safe to ingest, the strong smell can be off-putting to kids. Rinsing removes the acidic scent completely. Finally, lay the toys out on a clean towel to air dry. Do not use a standard bath towel to dry them by hand, as this can transfer fabric lint or old bacteria back onto the fresh plastic. This step is just as important as knowing why your microfiber cloths are leaving lint everywhere; using the wrong drying tool can easily undo all of your hard work. Let nature do the drying for a perfectly spotless, germ-free finish.
While the basic steps of washing and using mild acids like vinegar work wonders for everyday maintenance, there is a whole universe of nuance that most well-meaning parents overlook. In my years of obsessing over home hygiene, I have discovered that what we think is clean can actually be a breeding ground for invisible hazards. Let’s dig deeper into the science of sanitization and challenge some of the industry myths that might be putting your family at risk.
The Common Sanitizing Myths That Modern Parents Believe
Everyone says you should run plastic toys through the dishwasher on the sanitize cycle to kill every last bug. In my experience, however, this high-heat method actually does more harm than good. While it is true that extreme heat kills pathogens, most household plastic toys are made from polymers that release microplastics and chemical byproducts when exposed to temperatures exceeding 130 degrees Fahrenheit. A study published in the journal Environmental Science & Technology highlights how repeated heat exposure degrades consumer plastics, causing them to leach stabilizers into the environment. When you blast those toys in a dishwasher, you might be trading temporary bacteria for long-term chemical exposure. Instead of relying on raw heat, a targeted chemical barrier approach with safe, plant-based acids is infinitely safer for your child’s developing system.
Why is your sanitizing routine failing to protect your family?
The answer usually lies in a concept called contact time, or what experts call the “wet time.” Many parents spray a gentle cleaner onto a toy and immediately wipe it off with a dry rag. This does absolutely nothing to sanitize the surface. For any natural acid or gentle disinfectant to work, the surface must remain visibly wet for the entire duration specified by the manufacturer—usually between five to ten minutes. If you wipe it dry instantly, you are merely spreading the bacteria around. This is a common oversight whether you are doing a quick daily sweep or executing a meticulous move-out clean. Understanding the chemical dwell time is what separates amateur cleaning from professional-grade sanitization.
The Great Upholstery and Soft Toy Trap
Another massive trap is treating soft plastic, plush toys, and surrounding fabrics with the same methods you use for hard plastics. I once tried to use a vinegar mist on a mixed-material baby bouncer only to realize the fabric absorbed the moisture, trapping it against the inner plastic frame and creating a hidden mold colony. This taught me that soft surfaces require a completely different strategy. Just like mastering upholstery cleaning tips for a fresh home revival, you must ensure that moisture never sits stagnant in fibers or porous joints. If you cannot guarantee rapid airflow and quick drying, you are better off using steam sanitization rather than liquid solutions.
When you are cleaning up after an illness or preparing for a big transition, it is incredibly easy to overcomplicate things and make these high-heat or high-moisture mistakes. Have you ever fallen into this trap and accidentally ruined a toy or created a musty mess? Let me know in the comments below! If you want to dive deeper into protecting your living space, check out our comprehensive guide on effective sanitizing methods for a germ-free home to keep your entire household safe and healthy.
Once you understand the chemistry behind sanitizing and avoid those common high-heat blunders, you need to think about long-term maintenance. Keeping things clean shouldn’t feel like a never-end cycle of anxiety. Instead, it is about setting up a regular cadence and using the right specialized tools so you never have to resort to panic-cleaning again. I have spent years refining my personal toolkit, and I have found that consistency always beats chemical strength.
The Practical Tools I Use Every Single Week
I do not believe in buying highly specific, one-use plastic gadgets that end up clogging our cabinets. Instead, I rely on a few high-quality, versatile tools that make safe sanitization incredibly efficient. First, I use a medical-grade, fine-mist continuous spray bottle for my vinegar mixes. Unlike standard trigger sprayers that shoot heavy droplets and saturate fabrics unevenly, a continuous mister creates an ultra-fine fog. This allows the vinegar to cover the complex curves of plastic toys and nearby fabrics evenly without pooling, which is incredibly useful when practicing the ultimate upholstery care guide for lasting freshness in your living room.
Second, I highly recommend investing in a high-powered, handheld UV-C sanitizing wand. According to technical specifications from the Illuminating Engineering Society (IES), UV-C light at a wavelength of 254 nanometers effectively disrupts the DNA of microbial pathogens, rendering them harmless without any moisture or chemicals. I use my wand for battery-operated toys that cannot be washed, as well as for dry-treating delicate fabrics. It is a game-changer that completely removes the risk of warping plastic or trapping moisture in porous materials.
How do I maintain safe toy sanitization over time?
The secret to keeping toys clean without feeling overwhelmed is integrating a simple, recurring schedule into your life. Rather than trying to sanitize every single item in the house once a month, I use a rotating basket system. I keep a dedicated “wash me” basket in the playroom. When a toy gets dropped on the floor, licked, or taken outside, it goes straight into the basket. Every Friday afternoon, I spend just fifteen minutes processing whatever is in that basket using the three-phase method we discussed earlier. This proactive habit fits naturally into a daily house cleaning routine to maintain perfection throughout the rest of your home, preventing grime from piling up into an insurmountable mountain.
Where This Safe Cleaning Trend is Heading
Looking ahead, I predict we will see a massive industry shift away from synthetic chemical disinfectants toward bio-identical and light-based home sanitizing technology. Consumers are becoming incredibly smart about what they bring into their homes, and companies are finally noticing. We are already seeing the rise of stabilized hypochlorous acid—a completely non-toxic, food-safe sanitizer that our own white blood cells produce to fight infections—made easily at home with small electrolysis devices. Safe, chemical-free living is no longer a niche trend; it is the future of modern home care.
If you want to take your home wellness to the next level today, I challenge you to try one advanced tip: swap out your standard trigger spray bottle for a continuous fine-mist sprayer with your next batch of diluted white vinegar. You will be amazed at how much farther the solution goes and how evenly it coats those tricky plastic surfaces without leaving a single puddle behind!
What Experts Won’t Tell You About Chemical Dwell Times
Through my years of researching non-toxic household care, I have discovered that a truly healthy home relies on understanding molecular biology, not just buying green labels. Here are the core insights that completely changed my approach to germ management:
- Moisture is the enemy of safety: Many parents rush to douse everything in water or vinegar sprays, but failing to ensure rapid drying creates a perfect, dark breeding ground for mold spores inside hollow plastic structures.
- Heat alters molecular stability: Standard household plastics are not designed for repeated high-heat dishwasher cycles. Keeping temperatures below 130 degrees Fahrenheit is essential to prevent chemical breakdown and stabilizer leaching.
- Chemical residues attract more dirt: Commercial disinfectants often leave a sticky surfactant film behind. This film actually acts like glue, trapping new bacteria, dust, and grime faster than a clean, natural surface would.
The Simple Tools I Use Every Single Week
You do not need a closet stuffed with expensive, single-use specialty products to maintain a pristine, safe play space. Instead, I rely on a highly curated, minimalist toolkit that delivers professional-grade results without the chemical hangover:
- The Continuous Fine-Mister: Swapping my standard trigger spray bottle for a fine-mist continuous sprayer changed everything. It distributes diluted white vinegar in a micro-fog, preventing puddles and ensuring even contact time across complex toy shapes.
- Medical-Grade UV-C Wand: For delicate electronics, battery-operated plastic toys, and plush surfaces, I use a 254-nanometer UV-C wand. This kills pathogens on contact without introducing any moisture. This is especially helpful if you are also managing surrounding fabrics and want to follow the ultimate upholstery care guide for lasting freshness.
- Plant-Based Castile Soap: My absolute favorite pre-wash cleaning agent. It is completely free of synthetic fragrances and breaks down greasy finger oils naturally before the sanitizing phase begins.
Start Protecting Your Little Ones Today
Transitioning to a non-toxic home environment does not have to happen overnight. By simply shifting away from harsh industrial chemicals and embracing gentle, natural acids with proper contact times, you can easily maintain a sparkling, germ-free space. If you want to expand these safe habits to the rest of your living areas, explore my complete guide on effective sanitizing methods for a germ-free home to keep your family healthy and happy year-round. What is the trickiest plastic toy you have ever tried to clean? Let me know in the comments below!