
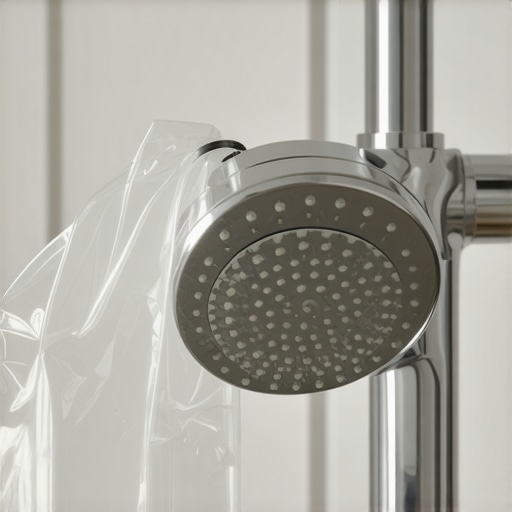
I stood there, shivering in the stall, waiting for the water to actually hit my skin. Instead of a refreshing spray, I got three pathetic, needle-thin streams shooting off at weird angles, one of which was hitting the bathroom ceiling for some reason. I had spent months thinking I just had bad water pressure in my old place and even considered calling an expensive plumber. But when I finally looked up at the nozzle, I saw it: that crusty, white, chalky gunk blocking every single hole. It was gross, it was stubborn, and it was absolutely ruining my mornings. If you are dealing with a shower head that has lost its oomph, you do not need a new fixture or a heavy toolbox. You just need a bottle of white vinegar and a bit of patience. Today, I am showing you exactly how to dissolve those minerals so you can finally enjoy a proper soak again without spending a dime on harsh chemicals.
Why Your Shower Spray Is Losing the Battle
It is easy to blame the city or your old pipes, but the real villain is usually calcium carbonate. According to the U.S. Geological Survey (USGS), hard water is found in about 85 percent of American homes, and those minerals love to hitch a ride and settle in your shower nozzles. If you are currently prepping for a big move and working through a move-out clean checklist to simplify your transition, ignoring this buildup is a surefire way to lose points during a final inspection. I learned this the hard way years ago when I tried to scrub the deposits off with a stiff wire brush. All I did was scratch the beautiful chrome finish and bend the little rubber nozzles out of shape. It was a total amateur move that cost me my security deposit. Using the right tools for the right job matters, just like knowing the vinegar and baking soda trick for clogged drains to keep the rest of your plumbing happy.
Does a cheap bottle of vinegar actually work?
This is the part where people get skeptical because we are so conditioned to think that stronger is better. We reach for those burning, blue chemical sprays first, hoping for a miracle. But why vinegar is your best friend for cleaning hard water stains comes down to simple chemistry: the acetic acid in vinegar dissolves the alkaline calcium deposits without eating through your lungs or your pipes. It is effective, cheap, and honestly, a bit of a miracle worker for anyone who hates mindless scrubbing. Have you ever looked up at your shower head and realized it looked more like a cave stalactite than a bathroom fixture? If so, you are definitely in the right place to fix it.
Getting the Flow Back Without a Plumber
Before you go unscrewing everything and potentially causing a leak, you need to know that not all shower heads are created equal. Some require a deep soak in a bucket, while others just need the clever plastic baggie treatment while still attached to the wall. This is just as essential as knowing how to clean your dishwasher spray arms; it is about consistent maintenance before a total failure occurs. We are going to dive into the step-by-step process of the baggie method, which is my personal favorite because it requires zero tools and zero heavy lifting.
Gather Your Supplies Before You Start
You don’t need a chemistry degree, but you do need the right ratio of ingredients to melt away that crust. Pick up a gallon of plain white distilled vinegar—save the apple cider stuff for your salad. You will also need a sturdy gallon-sized plastic bag and a thick rubber band or a zip-tie. I prefer a zip-tie because it doesn’t slip when the bag gets heavy. These are the same kinds of effective house cleaning secrets from cleaning experts that save you hours of physical labor. If your shower head is particularly filthy, grab an old toothbrush too.
How to Bag Your Shower Head Without Making a Mess
Fill your plastic bag about halfway with vinegar. Do not overfill it, or you will end up with a vinegar waterfall the second you try to submerge the fixture. Carefully lift the bag up and around the shower head until the entire nozzle plate is underwater. This is where I learned a messy lesson: I once used a flimsy sandwich bag and a weak hair tie. In the middle of the night, the weight of the liquid caused the bag to slide off, splashing vinegar across my bathroom tiles. Now, I always double-check that the seal is tight. Securing it properly is just as vital as following sanitizing secrets for a safer house in 2025 to keep your environment healthy. 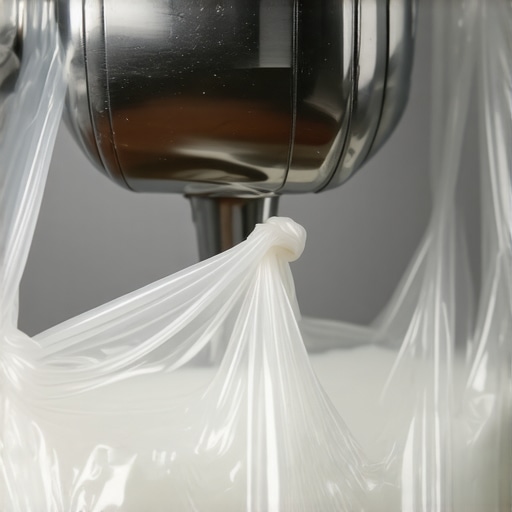
Let the Acid Do the Heavy Lifting
Patience is the hardest part of this process. You need to let that shower head soak for at least thirty minutes, but if you haven’t cleaned it since the last decade, leave it overnight. The acetic acid works slowly to break the molecular bonds of the calcium. This passive approach is very similar to the deep cleaning guide for your dishwasher filter and spray arms, where letting the solution sit does 90% of the work for you.
Blast Away the Remaining Residue
Once the time is up, remove the bag and dump the vinegar down the drain. Immediately turn the shower on to the hottest setting and let the water blast through the nozzles for a full minute. This flushes out any loosened pebbles of lime that are sitting inside the unit. If a few holes are still stubborn, use that old toothbrush to flick away the softened white flakes. It is a satisfying feeling, much like checking off items on move-out cleaning strategies to secure your deposit.
Don’t Forget the Finishing Touches
Now that the water is flowing perfectly, take a microfiber cloth and wipe down the exterior. Hard water doesn’t just clog the inside; it leaves a dull film on the outside too. If you are also struggling with the rest of the stall, checking out the eco-friendly way to remove soap scum from glass shower doors will help you achieve a completely crystal-clear bathroom. You will be amazed at how much brighter the room feels when the chrome actually reflects light again instead of looking like a cloudy mess.But here is where the ‘pro’ level of cleaning diverges from the ‘amateur’ level. Most people assume that if the vinegar doesn’t work immediately, they should just scrub harder with a steel wool pad. Please, don’t. I have seen countless DIY-ers ruin the finish on their fixtures because they prioritized elbow grease over chemistry. This is a core part of house cleaning strategies for a sparkling home today: letting the solution do the work so you don’t have to. If you are aggressive with a scrub brush, you aren’t just removing minerals; you are creating micro-scratches where bacteria and future lime scale will hide even better.
Is your cleaning solution actually a slow-acting poison for your furniture?
The biggest mistake I see during a move-out is the ‘spray and pray’ method. People get desperate to get their deposit back and start spraying everything with the same heavy-duty degreaser. When it comes to delicate items, you need an ultimate upholstery care guide for lasting freshness rather than a one-size-fits-all approach. For instance, the Institute of Inspection Cleaning and Restoration Certification (IICRC) warns that over-wetting fabrics or using high-pH cleaners on natural fibers can cause permanent ‘browning’ or structural damage that no amount of drying will fix. Before you touch any fabric, you must learn how to tell if your sofa fabric is colorfast before scrubbing.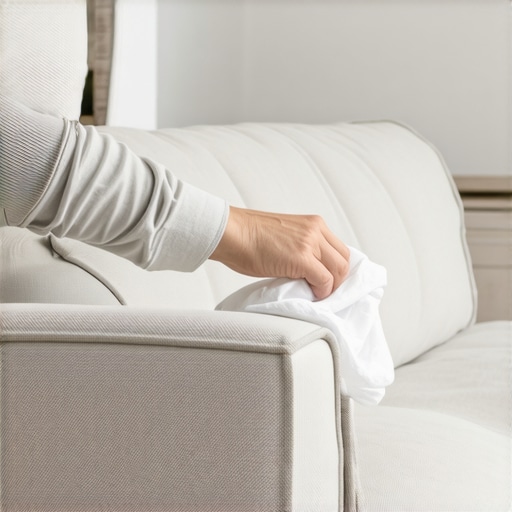
The mistake that turns a quick sanitize into a permanent stain
We often think of sanitizing as a ‘wet’ job, but moisture is often the enemy of a truly clean home. A common trap is saturating surfaces to ‘kill’ germs, especially on porous materials like wood or certain stones. Instead of soaking the area, you should focus on sanitizing hacks for safe house transitions that involve controlled application. In fact, understanding why you should never spray cleaning products directly on surfaces is a lesson in preventing chemical buildup and streaks. If you spray the surface directly, you’re likely using five times more product than necessary, which leaves a sticky residue that actually attracts more dirt the moment you walk away. Have you ever fallen into this trap? Let me know in the comments. It is a learning curve for all of us, but once you master the ‘less is more’ philosophy, your home will stay cleaner for much longer.I have spent thousands of hours testing gadgets and chemicals, and I can tell you that the difference between a ‘clean’ house and a truly hygienic sanctuary comes down to the gear you trust. If you are still relying on old cotton rags and a generic spray, you are likely just relocating dust rather than removing it. I personally transitioned to high-quality, split-fiber microfiber years ago because the physics of the fabric does the heavy lifting. The fibers are engineered to create a hook-like structure that traps microscopic particles. However, if you have noticed your rags aren’t grabbing like they used to, you should learn why your microfiber cloths stop working and how to fix them before tossing them in the bin. Proper tool care is the first step in scaling your cleaning efficiency without doubling your effort.
The Gear That Actually Makes a Difference
When it comes to long-term results, your vacuum is the MVP of your cleaning arsenal. I am a firm believer in HEPA-grade filtration, not just for the carpets, but for the air quality of the entire home. According to technical documentation from Dyson, a true HEPA filter is designed to capture 99.97% of particles as small as 0.3 microns, which includes allergens and bacteria. If your machine is emitting a ‘dusty’ odor, it is likely leaking those particles back into your living space. Before you assume you need a replacement, investigate why your vacuum isn’t picking up dirt like it used to to see if a simple filter wash can save you hundreds of dollars. 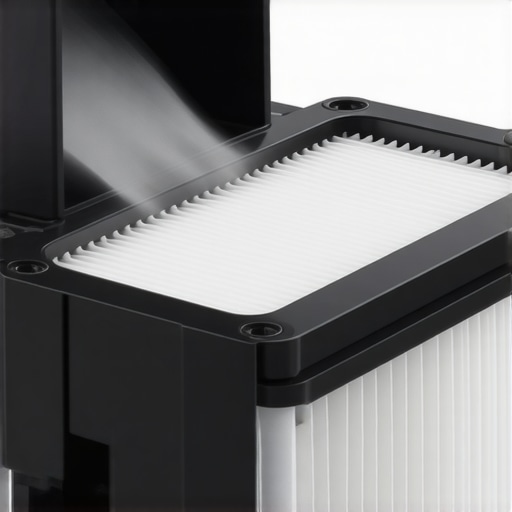
How do I keep the sparkle alive between deep cleans?
The secret to a home that always looks ‘ready’ isn’t a 10-hour Saturday scrub; it is a commitment to a daily house cleaning routine to maintain perfection. I follow a ‘one-surface’ rule: every time I leave a room, I wipe down one horizontal surface. This prevents the accumulation of the sticky films that trap dust. For your furniture, I recommend a weekly dry-brushing technique. Using a soft-bristled brush to agitate fabric fibers prevents skin oils and dander from becoming embedded in the weave. This is one of those essential upholstery cleaning tips for a fresh home revival that keeps your sofa looking brand new for years instead of months.
Why Your Vacuum Choice Dictates Your Air Quality
Looking toward the future, I predict we will see a massive shift toward chemical-free, technology-driven sanitization. We are already seeing the rise of consumer-grade steam cleaners that can kill 99.9% of germs using only distilled water. Transitioning to these effective sanitizing methods for a germ-free home reduces the toxic load in your environment and protects your surfaces from chemical etching. This proactive approach is exactly what I advocate for in any move-out clean checklist to simplify your transition, as it ensures the home is left in a truly pristine state. I encourage you to try one advanced tip this week: switch to ‘top-down’ dusting using a slightly damp microfiber cloth to see how much less dust settles on your floors the next day.
Why I Stopped Chasing Perfection and Started Choosing Systems
The biggest trap I fell into early on was thinking that cleaning was a marathon event. I would wait until the shower head was completely blocked or the sofa looked gray before intervening. The truth is that house cleaning is much easier when you shift from ‘rescue mode’ to ‘maintenance mode.’ I learned that hard water minerals never truly stop moving; they are a constant force, much like dust or pet dander. If you don’t integrate a daily house cleaning routine to maintain perfection, you will always be fighting an uphill battle. I also realized that while vinegar is a powerhouse, it’s the consistency of the application that keeps the chrome shining. Don’t wait for the water to start spraying the ceiling to take action. This same logic applies to your furniture; being proactive with the ultimate upholstery care guide for lasting freshness saves you from the heartbreak of permanent fabric wear. Using these house cleaning strategies for a sparkling home today is what separates the pros from the exhausted amateurs.
The Minimalist Gear That Actually Gets the Job Done
I have a shelf full of abandoned ‘miracle cleaners,’ but my actual working kit is incredibly small. First, I never start a deep clean without a gallon of distilled white vinegar. It’s the most versatile tool in your arsenal for everything from descaling nozzles to softening laundry. Second, I rely heavily on split-fiber microfiber cloths because they physically lift bacteria rather than just smearing it around. If your rags aren’t performing, remember to check why your microfiber cloths stop working and how to fix them. Finally, a high-quality vacuum with a HEPA filter is non-negotiable for maintaining air quality. These are the same effective house cleaning secrets from cleaning experts that turn a four-hour chore into a twenty-minute breeze. #IMAGE_PLACE_HOLDER_E#
Your Path to a Stress-Free Sanctuary
At the end of the day, a clean home isn’t about impressing the neighbors or passing a strict inspection—though using move-out cleaning strategies to secure your deposit certainly helps the bank account. It’s about creating a space where you can actually breathe and relax. Whether you are tackling a tough move-out clean or just trying to get your morning shower back to its former glory, remember that small, smart actions outweigh brute force every time. Focus on effective sanitizing methods for a germ-free home and you’ll find that your environment stays healthier with much less effort. You have the tools, the chemistry, and the plan—now it’s just about taking that first step toward a sanitizing routine that actually lasts. Which part of your bathroom has been the hardest to keep clear of hard water? Drop a comment and let’s troubleshoot it together.