
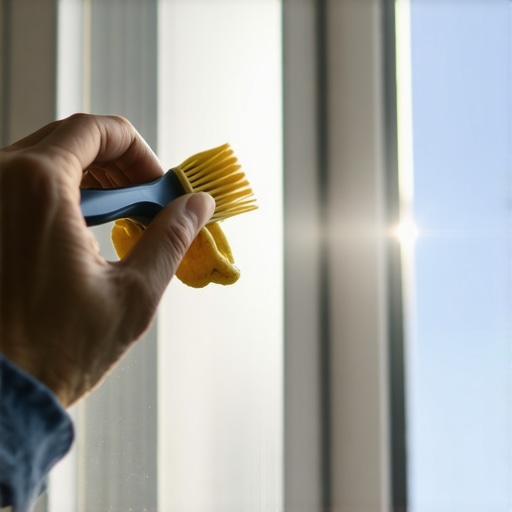
I remember the exact moment I realized my cleaning routine was a total sham. It was a breezy Saturday in April, and I went to slide open the bedroom window to let in that crisp spring air, and *crunch*. That sound—the sound of sand, dead flies, and year-old dust grinding against metal—made my skin crawl. I looked down and saw a thick, black crust filling the tracks that no vacuum attachment could ever reach. I spent forty minutes that day with a butter knife and a pile of ruined rags, and honestly? It still looked like a swamp. We’ve all been there, staring at that narrow gully of filth and wondering if it’s easier to just move houses than to scrub it clean. [image_placeholder]
The Black Sludge That Ruins Your Fresh Air
It’s easy to ignore the “out of sight, out of mind” parts of the house until the seasons change, but those grimy tracks are more than just an eyesore. Every time the wind blows through a dirty window, it’s carrying allergens and microscopic debris right into your living room. According to the American Lung Association, dampness and dust in window areas can quickly become breeding grounds for mold if neglected. I used to think a quick swipe with a paper towel was enough, but I was just pushing the dirt into the corners. It is one of those effective house cleaning secrets that pros know—you cannot just wipe; you have to dissolve and lift. I made the mistake of using way too much water early on, ending up with a literal puddle on my windowsill that nearly warped the wood. Now, I have refined a system that works in the time it takes to brew a pot of coffee. This isn’t just a light dusting; it is a house cleaning strategy that actually restores the smooth glide to your windows.
Is five minutes really enough for deep cleaning?
I know what you’re thinking. Your tracks haven’t been touched since the previous tenants moved out, and there is no way five minutes will cut it. I was a skeptic too, especially when I was knee-deep in a move-out clean trying to save my security deposit. But once you stop fighting the grime and start using a simple chemical reaction to do the heavy lifting, the dirt practically gives up. Whether you are doing upholstery cleaning or scrubbing baseboards, efficiency is everything. Have you ever looked at your window tracks and just decided to close the curtains and pretend they don’t exist? Tell me I’m not alone in my “track-shame”! Below, I’m going to show you the exact method to melt that gunk away without the butter knife or the frustration.
Clear the Loose Dust Before You Add Liquid
The biggest mistake I ever made—and I made it during a high-stakes move-out clean—was spraying liquid cleaner directly onto a pile of dry dust. Within seconds, it turned into a thick, gray cement that took an hour to scrape out with a toothpick. Learn from my misery: always start with a dry vacuum. Use the crevice tool to suck up the dead bugs, loose sand, and pet hair first. If your vacuum feels weak or leaves behind visible debris, you might need to check why your vacuum isn’t picking up dirt like it used to. A stiff paintbrush is also a secret weapon here; flick the bristles into the tight corners to dislodge the grit so the vacuum can actually grab it. 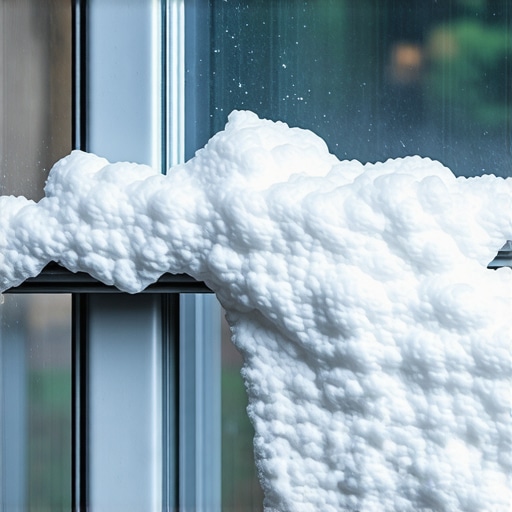
Let Chemistry Do the Heavy Lifting
Once the loose stuff is gone, you’re left with that stubborn, baked-on grime that seems fused to the track. Instead of scrubbing until your shoulders ache, sprinkle a thin layer of baking soda along the entire track. Now, here is where the magic happens: pour or spray a small amount of white vinegar over the powder. It’s going to fizz and bubble aggressively, which is exactly what you want. This reaction is one of the most effective house cleaning secrets because the carbon dioxide bubbles physically lift the dirt away from the metal surface. It’s the same logic behind the vinegar and baking soda trick for clogged drains, just applied to your windowsills. Let it sit for exactly two minutes. If you wait too long, the slurry dries back down into a crust; if you go too fast, the chemistry hasn’t finished the hard work for you.
The Quickest Way to Wipe it All Away
Grab a microfiber cloth or a handful of paper towels and simply drag them from one end of the track to the other. You’ll see a thick, dark sludge come up effortlessly, revealing the clean metal beneath. I remember doing this at my first apartment when I was terrified I wouldn’t get my security deposit back. I applied several move-out cleaning strategies to secure your deposit, and the landlord actually asked if I had replaced the tracks entirely. That is the power of a deep clean that relies on timing rather than elbow grease. For the narrowest grooves where your fingers can’t reach, wrap a thin cloth around a flat-head screwdriver—just be gentle so you don’t scratch the finish.
The Q-Tip Trick for Stubborn Corners
Even after a good wipe, the very corners often hold onto a tiny bit of dark residue that ruins the whole look. This is where you grab a handful of Q-tips. Dip them in a little vinegar and swirl them deep into the corners to pull out the last of the gunk. This level of detail is a core part of sanitizing hacks for safe house transitions. If you have sliding glass doors, this process also ensures the rollers don’t get gummed up with hair and grit, which saves you from an expensive repair bill or a door that sticks every time you try to use it. This isn’t just about vanity; it’s a daily house cleaning routine adjustment that keeps your home’s air quality high and ensures your windows operate as they were designed to.
Why Steam is Your Best Friend for Deep Sanitization
If you find that the grime is particularly oily, perhaps from a nearby kitchen or years of tobacco smoke, a handheld steamer can replace the vinegar. The heat melts the oils instantly. I’ve used this when helping friends with sanitizing secrets for a safer house in 2025, and it’s a game changer for windows that haven’t been opened in a decade. Just be careful not to hit the glass directly with the hot steam if it’s freezing outside, or you risk a crack.
…risk a crack.
Why More Soap Is Actually Your Worst Enemy
Most people assume that if a little cleaner is good, a lot of cleaner must be better. I used to be the queen of the “extra splash” of detergent when doing a move-out cleaning hacks ensure your deposit refund, thinking it would guarantee my deposit back. But here is the contrarian truth: excessive soap is a magnet for grime. According to the American Cleaning Institute, surfactants—the active ingredients in soap—are designed to attract dirt. If you don’t rinse them away perfectly, they stay on the surface, acting like a sticky trap for every speck of dust that floats by. This is exactly why your carpet is still dirty after you shampooed it; the leftover soap is literally pulling dirt out of your shoes and into the fibers.
Can your cleaning products actually make things dirtier?
Yes, especially if you are skipping the rinse phase. Whether you are using effective sanitizing methods for a germ-free home or just wiping down the window tracks we just discussed, the goal is to leave a neutral surface. If the surface feels tacky or “grippy,” you haven’t finished the job. For your window tracks, if you used the vinegar and baking soda method, a final wipe with a damp cloth—water only—is essential to remove the salts left behind by the reaction.
Stop Spraying Directly on Your Furniture
This is the “Oops” factor that ruins more furniture than actual stains. I see it all the time with upholstery cleaning tips for a fresh home revival—people spray a heavy mist of cleaner directly onto the fabric. This is a massive mistake. Liquid seeps into the foam padding where it can’t dry, leading to a musty smell or even internal mold. It’s a primary reason why you should never spray cleaning products directly on surfaces. Instead, spray your cloth, then wipe. This controls the moisture level and keeps the core of your furniture dry. 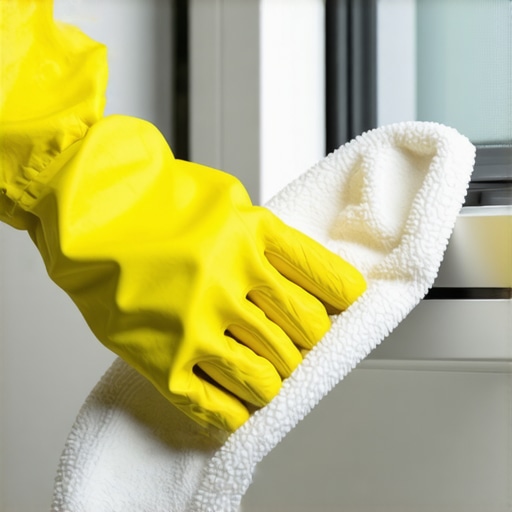
Don’t Confuse Sanitizing with Just Cleaning
We often use these terms interchangeably, but they are worlds apart. Cleaning is about removing visible dirt like our window track sludge, while sanitizing is about reducing bacteria to safe levels. The hidden nuance here is dwell time. Most sanitizers need to sit wet on a surface for 3 to 10 minutes to actually work. If you spray and immediately wipe, you’ve cleaned the surface, but you haven’t sanitized it. This is a critical distinction in sanitizing secrets for a safer house in 2025. Have you ever fallen into the trap of thinking a quick spray-and-wipe was enough to kill germs? Or maybe you’ve over-sudsed a rug and regretted it? Let me know in the comments!
The Specialized Gear in My Personal Cleaning Kit
I used to think a bucket and a sponge were enough, but as I got deeper into professional-grade maintenance, I realized that the right tools do 90% of the work. For example, when I am following my ultimate upholstery care guide for lasting freshness, I never reach for a standard scrub brush. I use a soft-bristled horsehair brush because it agitates the fibers without tearing them. This level of specificity is what separates a surface wipe from a deep restoration. I also became obsessed with microfiber GSM (grams per square meter). For glass and tracks, you want a low-pile, high-density cloth to prevent streaks, whereas for heavy scrubbing, a plush 600 GSM cloth is king. If you find your cloths are underperforming, it might be why your microfiber cloths are leaving lint everywhere; likely, they’ve been washed with fabric softener, which ruins the static charge. 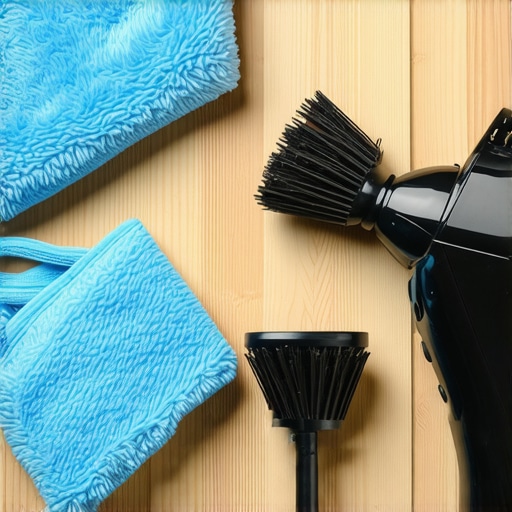
Consistency Is Better Than Intensity
The secret to a home that always looks staged for a magazine isn’t a 12-hour cleaning spree every Saturday. It’s about scaling your efforts. I transitioned my mindset to a daily house cleaning routine to maintain perfection. This means spending ten minutes a night resetting the high-traffic zones. When I’m preparing for a move-out clean checklist to simplify your transition, the job is ten times easier because the grime hasn’t had six months to petrify. According to the IICRC S520 Standard, moisture and organic load (dust) are the primary drivers of microbial growth; by keeping surfaces dry and dust-free daily, you are effectively sanitizing your home without even trying.
How do I maintain these deep-clean results without burning out?
The key is the ‘one-room-a-day’ method coupled with house cleaning strategies for a sparkling home today. Instead of looking at the whole house, I focus on one specific zone—like the window tracks we discussed earlier—and do it perfectly. This prevents the overwhelming feeling that leads to procrastination. You can even apply effective house cleaning secrets like ‘top-to-bottom’ cleaning even in small 15-minute bursts.
The Future of Home Sanitization and Maintenance
I predict we are moving toward a ‘proactive’ rather than ‘reactive’ cleaning era. With the rise of sanitizing secrets for a safer house in 2025, we are seeing more homeowners invest in HEPA-filtration vacuums and steam-based cleaners that eliminate the need for harsh chemicals entirely. This is better for your lungs and your furniture’s longevity. If you want to start upgrading your routine today, I challenge you to do one thing: go check the filters on your major appliances. Many people forget why you must clean the filter in your washing machine or dishwasher, but a clean filter means your machines aren’t just recirculating dirty water. Take five minutes to rinse a filter tonight—it’s the ultimate high-impact, low-effort win!
What Nobody Tells You About Chasing a Perfect Home
Over the years of refining my own routine, I’ve realized that the biggest hurdle isn’t the actual dirt; it’s the mental weight of the ‘unfinished’ job. Here are a few lightbulb moments that changed how I approach my chores:
- The ‘Half-Clean’ Trap: I used to think if I couldn’t deep clean the whole kitchen, it wasn’t worth starting. Now I know that cleaning just the window tracks is a massive win for air quality.
- The orange grout mystery: Sometimes, even after a deep scrub, surfaces look ‘off’ because of mineral buildup rather than dirt. I finally learned the reason your bathroom grout stays orange even after you scrub it, and it completely changed my product choice for tiles.
- Chemicals are not magic: No matter how expensive the spray, it cannot replace the mechanical action of a good brush or the lift of a vacuum.
My Non-Negotiable Arsenal for Every Deep Clean
I don’t believe in buying every gadget on the shelf, but there are four things I never start a house cleaning strategy without. First is a high-quality HEPA vacuum; if it’s not filtering the air, it’s just a dust-recirculator. Second, I swear by a single lemon for the kitchen—check out the trick to cleaning your microwave with a single lemon to see how acidity beats grime without chemicals. Third, I keep a dedicated stash of ‘retired’ towels for the heavy gunk. If those towels start to get a funk, you need to know how to get the mildew smell out of old towels so you aren’t spreading odors. Finally, a simple handheld steamer is the ultimate tool for sanitizing hacks for safe house transitions. [image_placeholder]
Reclaiming Your Space One Small Win at a Time
Your home is a place to live, not a museum. Don’t let the daunting task of a move-out clean checklist to simplify your transition or a massive upholstery project keep you from starting today. Whether you’re mastering sanitizing secrets for a safer house in 2025 or just wiping down a single windowsill, every small action builds the habit of a cleaner, healthier life. You have the tools, you have the science, and now you have the momentum. Have you ever tried a viral cleaning ‘hack’ that actually made a bigger mess than you started with? Let me know your funniest cleaning fails in the comments below!