
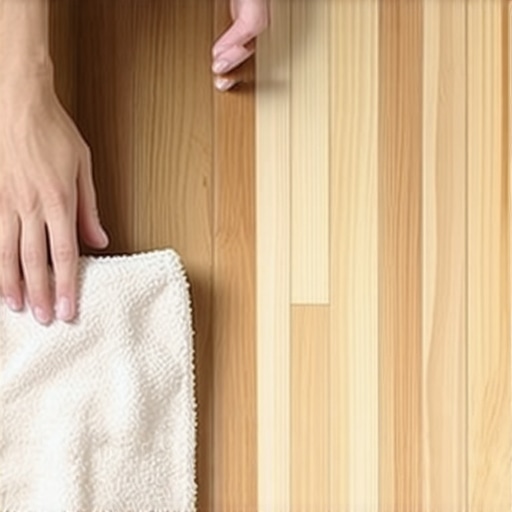
My first attempt at refreshing a wood floor was a total disaster. I stood there with a bucket of boiling water and a bottle of supermarket shine restorer, thinking I was a domestic genius. Instead, I created a milky, sticky mess that seemed to attract every piece of dog hair in a three-mile radius. It is a common trap: we see the dullness and think more wax is the answer, when the reality is that the existing layers have simply reached their expiration date. If your floors look yellowed or feel tacky, you are likely dealing with a build-up that no amount of buffing will fix. Today, I am going to show you how to peel back those years of gunk without hurting the precious timber underneath.
Stop Piling on the Polish and Start Over
The reason most people fail at floor maintenance is that they treat the floor like a sandwich, just adding layer after layer of product. Over time, these layers trap dirt and oxidize, which is why your wood floors are losing their shine over time. According to the National Wood Flooring Association, using incompatible maintenance products is the leading cause of premature finish failure. When I first started out, I made the amateur mistake of using an industrial-strength chemical stripper on a whim. It worked, alright—it ate right through the wax and the original 1940s polyurethane, leaving me with a weekend of sanding and a lot of regret. You do not need to be that aggressive. Whether you are performing a move-out clean checklist task or just doing a seasonal deep clean, the goal is a gentle chemical reaction, not a physical assault on the wood. This process is about patience and using the right house cleaning strategies for a sparkling home today to ensure the integrity of the grain remains untouched.
Is this really going to ruin my original finish?
The skepticism is healthy because the stakes are high. One wrong move with a metal scraper can leave permanent gouges. However, if you stick to the mineral spirits or a dedicated wax remover method we are discussing, the original finish stays safe. I have used these exact effective house cleaning secrets on everything from old Victorian pine to modern maple. Have you ever looked at your floors and realized they look more like a hazy bowling alley than a home? Let me know if you are currently staring at a yellowed mess and are afraid to touch it. We are going to get through this together, one square foot at a time.
Get the Right Solvent for the Job
Before you douse your floors in solvent, you need to confirm exactly what you are fighting. Grab a clean white cotton rag and a small bottle of odorless mineral spirits. Find an inconspicuous corner—behind a door or under where a rug usually sits—and rub a small patch. If the rag comes away with a brownish or yellowish residue, you have confirmed a wax build-up. If the rag stays clean but the floor is still dull, your finish might be physically worn down rather than just dirty. This simple diagnostic is one of those effective house cleaning secrets from cleaning experts that prevents the nightmare of using the wrong chemical on a perfectly fine finish. I remember skip-testing a floor once during a rushed job and ended up stripping a perfectly good sealer because I assumed the ‘cloudiness’ was wax. It was actually just moisture damage. Test first, always.
The Gentle Dissolve Technique
Mineral spirits act as a solvent, turning that hard, crusty layer of old polish back into a liquid state. Think of it like melting butter on a hot pan; you want the chemical reaction to do the heavy lifting, not your muscles. Work in small three-foot by three-foot sections. If you try to tackle the whole room at once, the spirits will evaporate before you can wipe them up, leaving you with an even stickier, more uneven mess than when you started. Pour a small amount of the solvent onto a clean cloth—never directly on the wood—and wipe with the grain. 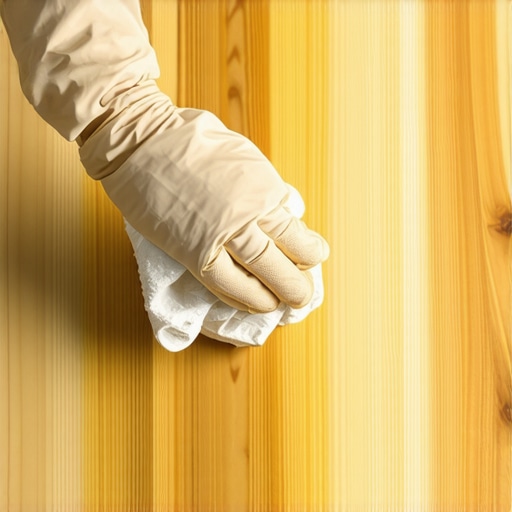
Wipe Away the Gunk in Layers
Once the wax feels soft and tacky, use #0000 grade steel wool or a coarse microfiber cloth to lift the sludge. You are not scrubbing for your life here; you are essentially ‘mopping up’ the dissolved wax. This is where house cleaning strategies for a sparkling home today focus on efficiency over brute force. During my first successful restoration, I used a plastic putty knife to try and scrape the softened wax, but it just smeared like peanut butter. I quickly learned that the secret is the absorption of the cloth. As soon as a rag gets saturated with that greyish wax-gunk, toss it and grab a fresh one. Using a dirty rag is a lot like why your vacuum is actually spreading more dust around—if the tool is full of the debris you are trying to remove, you are just moving the problem from one square inch to the next.
Keep the Air Moving and the Surface Dry
Solvents have a distinct odor and evaporate quickly, so ventilation is your best friend. Open the windows and set up a cross-breeze. If you are performing this as part of move-out cleaning strategies to secure your deposit, the last thing you want is the landlord walking into a house that smells like a chemical factory. Once a section is cleared of wax, wipe it down one last time with a fresh cloth dampened only slightly with mineral spirits to pick up any final microscopic traces. The floor should feel smooth and slightly dry to the touch, not tacky. If your fingers still ‘drag’ across the surface, there is still wax present. I once spent six hours on a landing because I kept trying to use the same two towels; once I switched to a bulk pack of shop rags, the job was done in forty minutes.
The Vinegar Myth is Ruining Your Hardwood
Everyone tells you that a splash of vinegar in a bucket of water is the ultimate natural way to keep things clean. In reality, that acidity is slowly eating away at the protective seal on your timber. While it might look clean for five minutes, you are essentially performing a micro-chemical peel on your investment. I have seen countless DIYers wonder why your wood floors are losing their shine over time despite their constant cleaning. The truth is that a neutral-pH cleaner is your only real friend here. A study by the Hardwood Manufacturers Association suggests that consistent exposure to low-pH cleaners like vinegar can eventually dissolve the cross-linking in the finish polymer chain, leaving the wood vulnerable to moisture. Using the wrong products is a common hurdle in any daily house cleaning routine to maintain perfection.
Steam Mops are Secret Wood Killers
One massive trap that even seasoned homeowners fall into is the allure of the steam mop. It feels like the ultimate tool for effective sanitizing methods for a germ-free home, but steam and wood are mortal enemies. The heat opens up the grain and forces moisture deep into the wood fibers. I have walked into jobs where the boards were literally cupping—turning up at the edges—because a well-meaning tenant used a steam mop for a week straight. 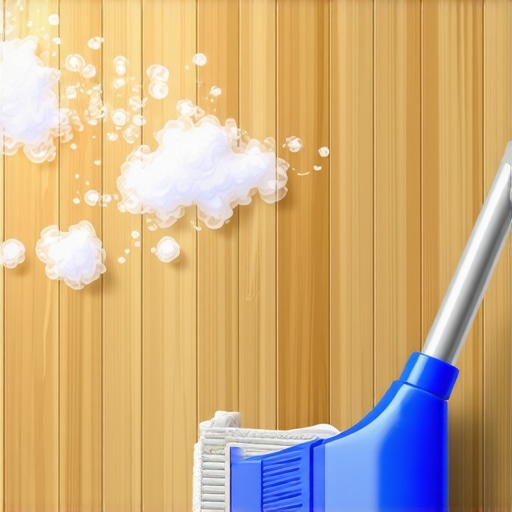 If you are working through a move-out clean checklist, put the steamer away. It is one of those move-out cleaning strategies to secure your deposit that can actually end up costing you the whole thing in floor repairs. High-pressure steam doesn’t just clean; it delaminates, causing the top layer of polyurethane to lift and cloud over. Once that bond is broken, no amount of buffing will fix it.
What if my floor still feels sticky after stripping the wax?
If you have gone through the mineral spirits process and the surface still feels tacky, you might not be dealing with wax at all. Sometimes, the finish itself has failed due to age or chemical incompatibility. This is the nuance that separates the pros from the amateurs. In these cases, the original finish has softened into a gummy residue that mineral spirits won’t properly dissolve. This is where effective house cleaning secrets from cleaning experts become vital: you may need a specific chemical wash or a screen-and-recoat. Have you ever fallen into this trap where the more you cleaned, the stickier things became? Let me know in the comments below, and we can troubleshoot your specific floor type together. It is about understanding the chemistry of your home, not just the elbow grease you put into it.
Switch to a Neutral pH Before It’s Too Late
Once you have successfully stripped away the hazy wax and grime, the worst thing you can do is go back to supermarket ‘all-purpose’ cleaners. Most of those are slightly alkaline, which, over time, can dull the very finish you just worked so hard to reveal. I personally swear by professional-grade, pH-neutral cleaners specifically formulated for polyurethane. I follow the technical guidelines from the National Wood Flooring Association (NWFA), which explicitly state that avoiding oil soaps is non-negotiable for long-term finish health. These soaps create a non-stick surface that makes it impossible to ‘screen and recoat’ your floors later, forcing you into a full, expensive sanding job down the line. To keep things pristine, you need a daily house cleaning routine to maintain perfection that prioritizes the chemistry of the wood. 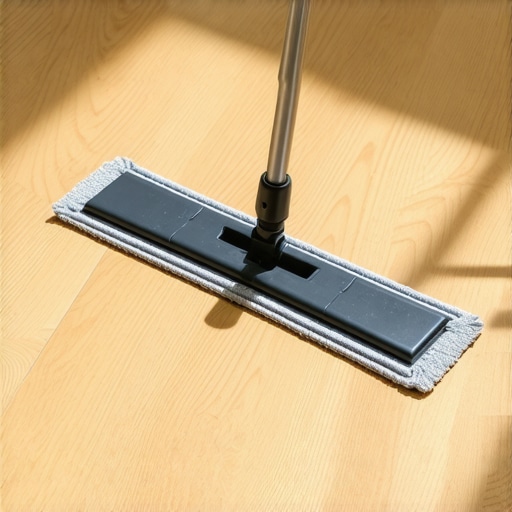
Stop Using String Mops Immediately
If you are still using a traditional string mop and a bucket, you are essentially pushing dirty water into the cracks of your wood boards. I switched to a 16-inch professional flat mop system with replaceable microfiber pads years ago, and I have never looked back. The reason is simple: control. A flat mop allows you to use the absolute minimum amount of moisture required to lift dust. When you use one of these house cleaning strategies for a sparkling home today, you ensure that no standing water sits in the tongue-and-groove joints, which is the primary cause of ‘telegraphing’ or edge-swelling. This level of care is especially vital if you are following move-out cleaning hacks ensure your deposit refund, as landlords will check the edges of the boards for water damage.
How do I keep my floors glowing for years to come?
Consistency beats intensity every single time. Instead of waiting for the floor to look ‘dirty,’ I suggest a quick dry-dusting every evening with a high-density microfiber head. This prevents grit from acting like sandpaper under your feet. This is one of the most effective house cleaning secrets from cleaning experts: the dust you see today is the scratch you see tomorrow. If you have high-traffic areas, consider a small runner rug with a breathable pad—avoid rubber backings, as they can trap gases and discolor the wood. By integrating these sanitizing secrets for a safer house in 2025, you are not just cleaning; you are preserving an asset. I predict we will soon see a massive shift toward ceramic-infused site-applied finishes that are even more resistant to scratches, but until then, physical prevention is your best tool. I want you to try this today: walk your floor in clean white socks after your next cleaning. If they pick up even a hint of grey, your cleaning method is leaving residue behind. Switch to a distilled water and neutral cleaner mix and see the difference in clarity immediately.
Hard-Earned Lessons from the Tacky Floor Trenches
Looking back at my early mistakes, the biggest revelation was that wood floors do not need more product; they usually need less. I used to think a dull floor was a hungry floor that needed another coat of polish. Now I know that a dull floor is usually a suffocated floor. One of the most effective house cleaning secrets from cleaning experts is simply knowing when to stop applying wax. If I could go back, I would tell myself that brute force is no substitute for the right chemical reaction. Also, ambient temperature matters more than you think; stripping wax in a freezing room takes twice as long because the build-up stays brittle and resists the solvent. Patience and chemistry always beat a heavy scrubbing brush.
My Non-Negotiable Gear for Wood Restoration
You do not need a van full of industrial equipment, but you do need three specific items that will change your results instantly. First, invest in a 16-inch professional flat mop system. It provides even pressure and prevents the pooling that ruins grain, making it a core part of any daily house cleaning routine to maintain perfection. Second, always keep a gallon of pH-neutral cleaner on hand; it is the only way to prevent that cloudy build-up from returning after you have finished stripping. Lastly, keep a supply of #0000 steel wool for those stubborn ‘gray’ areas where old polish has crystallized. These are the tools that help with move-out cleaning hacks ensure your deposit refund because they leave the wood looking genuinely restored rather than just superficially wiped.
Take the First Step Toward That Mirror Finish
Stripping years of build-up can feel like a daunting task, but the clarity you find underneath that gunk is worth every minute of work. Your home’s timber is a living history of your space, and it deserves to be seen clearly. Don’t wait until you’re moving out to address why your wood floors are losing their shine over time. Start with one small, inconspicuous corner tonight, see the wood grain pop, and I promise you will be hooked on the process. You have the knowledge and the right strategy now; all that is left is to clear the floor and begin the transformation. Have you ever tried a ‘natural’ floor cleaner only to find it left your wood looking worse than before? Let me know your experiences in the comments!