
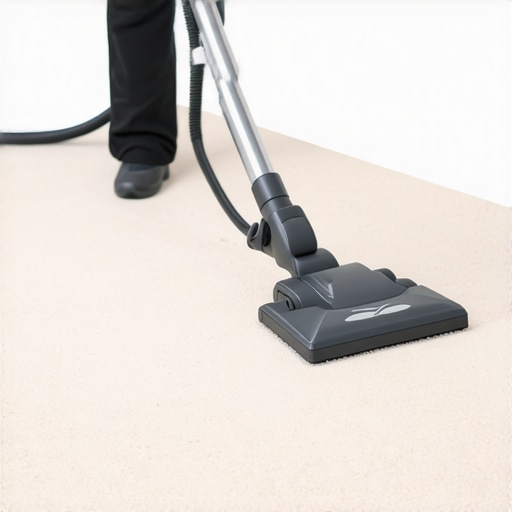
As I reached for the coffee mug one busy Saturday morning, I cursed under my breath. A stray candle wax dripped onto my pristine living room carpet during a cozy evening, and I panicked. Frantically, I grabbed paper towels and tried to blot it away, only to smear the wax deeper into the fibers. That moment felt like a miniature disaster—a reminder that even with the best intentions, accidents happen. But over time, I realized there’s a natural, effective way to lift wax from carpet without leaving a lingering mark, and I want to share that journey with you.
The Secret Is in the Technique, Not Harsh Chemicals
Ever since my early misadventures—when I tried scraping wax off with a butter knife (which only made things worse)—I’ve learned that patience and the right method make all the difference. Forget the-store-bought stain removers that promise miracles but often cause damage. Instead, I rely on natural techniques that preserve my carpet’s texture and durability. This approach isn’t just a matter of convenience; it’s about protecting your investment and maintaining a healthy home environment.
Is It Really Possible to Remove Wax Naturally and Safely?
Initially, I doubted that something as simple as a brown paper bag or ice cube could do the trick. My early mistake was rushing into forceful cleaning, which set the wax further into the fibers. A crucial lesson I learned is that patience and gentle, natural methods—like freezing the wax and lifting it carefully—are much more effective and safer for your carpet. According to experts, these methods avoid the risk of chemical residues and fiber damage, ensuring your carpet stays fresh and intact. For more advanced carpet care strategies, check out my comprehensive ultimate upholstery care guide.
Freeze and Scrape the Excess Wax
Start by preventing the wax from spreading further. I placed a few ice cubes in a plastic bag and pressed them onto the wax stain for about 10 minutes, hardening it. Using a plastic scraper or an old credit card, gently lifted the frozen wax. This initial step is like chipping ice off a windshield—firm but careful to avoid damaging fibers.
Apply a Brown Paper Bag and Iron
Lay a clean brown paper bag or a piece of parchment paper over the wax residue. Set your iron to a low heat setting with no steam. Gently press the iron onto the paper-bag-covered wax—this melts the wax, which is then absorbed by the paper. Move the paper as it collects wax, replacing it with fresh sections to maximize removal. I once did this while my toddler watched, and it worked like magic, leaving a mostly clear patch.
Use Natural Solvents to Break Down Residue
After removing the bulk of the wax, some stain might remain. Lightly dampen a cloth with a mixture of warm water and a few drops of dish soap or white vinegar. Gently blot the area, working to loosen any remaining wax particles. I avoided harsh chemicals to preserve the carpet fibers and kept the area from getting overly wet. Remember, patience is key—rushing can push wax deeper into the fibers.
Dry and Fluff the Fibers
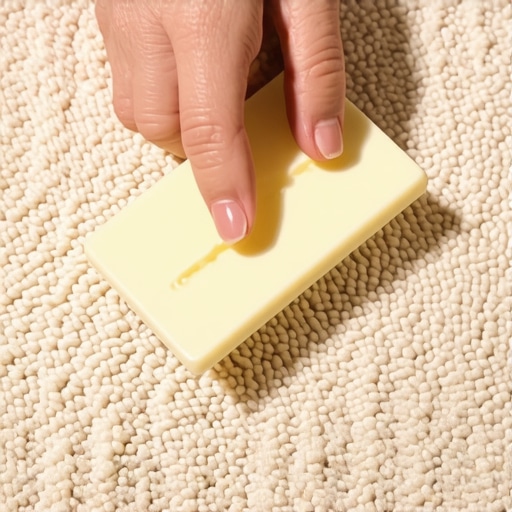
Once the area looks clean, blot it with a dry towel to lift excess moisture. To restore the carpet’s plush feel, I used a clean, dry sponge to lift the fibers gently. Allow the area to air dry completely, avoiding walking over it until dry. If needed, a fan or heater can speed up the process.
Optional: Deep Clean to Remove Any Remaining Stains
If traces of wax or stains remain, consider a deep clean using a carpet cleaner or professional upholstery cleaning tips. For comprehensive care, check out my guide on ultimate upholstery care. Regular maintenance not only removes wax but also keeps your carpet fresh and inviting.
Prevent Future Wax Mishaps
Finally, always be cautious during candles—use protective mats or trays and keep them away from drafts. Remember, applying these steps swiftly prevents wax from seeping into fibers, making clean-up much easier if accidents happen again. Proper move-out cleaning, including carpet care, is essential for securing your deposit—check out move-out cleaning tricks for more tips.
 Many homeowners and renters assume they understand the essentials of thorough move-out cleaning or upholstery care, but several nuanced mistakes often go unnoticed. One widespread myth is that using harsh chemicals guarantees spotless results—however, experts like those at professional cleaning tips reveal that natural and targeted cleaning strategies often yield better, safer outcomes. Relying solely on aggressive cleaners can damage delicate fibers, cause discoloration, and even compromise indoor air quality, especially if residues linger.
Are All Disinfectants Created Equal? Think Again
Commonly, people believe that stronger disinfectants always deliver superior sanitization. In reality, overusing potent chemicals can harm surfaces and contribute to resistant bacterial strains, according to recent microbiology studies. Sustainable, effective sanitization involves understanding contact times and selecting appropriate agents, as highlighted in sanitizing hacks. An advanced mistake I see often is neglecting to thoroughly clean behind or under furniture before sanitizing, which can trap bacteria and dust—your home won’t truly be clean until every hidden nook is addressed.
Another nuance is the misconception that move-out cleaning is primarily about surface wiping. In fact, deeper attention to high-touch areas, carpets, and upholstery is crucial. For example, many skip the vital step of pre-treating upholstery stains, which decreases cleaning efficacy. Incorporating methods from the ultimate upholstery care guide can help avoid costly re-cleaning or deposit deductions.
Additionally, advanced cleaning isn’t just about removing visible dirt but also about maintaining the longevity and appearance of your furnishings. Using the wrong cleaning products on delicate fabrics can lead to fiber degradation or color fading. For instance, applying vinegar on natural stone surfaces is a common mistake that users should avoid, as discussed in further cleaning secrets. Instead, selecting specialized, fiber-safe cleaners designed for each surface extends their life and preserves their aesthetic appeal.
Getting move-out cleaning right involves a careful balance: understanding the subtle differences between chemical efficacy and surface compatibility. It’s worthwhile to know which cleaning routines can be supplemented with natural solutions to decrease chemical dependency. For comprehensive strategies, explore my move-out cleaning hacks that ensure your security deposit is protected without resorting to over-aggressive methods. Have you ever fallen into this trap? Let me know in the comments.Maintaining your cleaning tools and methods is crucial to ensuring long-term results and efficiency. First, invest in a high-quality vacuum cleaner with HEPA filtration because it captures tiny dust particles and allergens, keeping your air clean and reducing the frequency of deep cleans. Personally, I swear by the Dyson V11 Absolute—its powerful suction and smart sensor system help me tackle everything from carpets to upholstery with ease. Additionally, using a steam mop periodically can eliminate bacteria without chemicals, making it ideal for families with children or pets. I recommend the Shark Genius Steam Pocket Mop for its quick heat-up time and reusable microfiber pads, saving money and reducing waste.
To ensure your tools stay in top shape, always clean your vacuum filters and brushes after each use, preventing clogs and maintaining suction power. A regular deep clean of your upholstery using a dedicated extractor—like the Rug Doctor Portable Spot Cleaner—can extend the lifespan of your furniture and keep it looking fresh. For storing your supplies, opt for airtight containers for chemicals and organize your tools in a modular system like the Rubbermaid FastTrack to avoid clutter.
Looking ahead, the trend is moving toward eco-friendly, smart cleaning devices that not only work efficiently but also monitor usage and performance. Tech integration like app-controlled vacuums and automated floor scrapers will become more prevalent, making routine maintenance almost effortless.
**How do I maintain my cleaning tools over time?** To keep your equipment functioning optimally, follow manufacturer instructions for regular maintenance, such as replacing filters, cleaning brushes, and checking cords. Using appropriate accessories for each task—like upholstery attachments for your vacuum—ensures thorough cleaning without damaging surfaces. Additionally, scheduling quarterly inspections to replace worn-out parts can prevent larger issues down the line.
For instance, maintaining your upholstery cleaner by following tips from the [Ultimate Upholstery Care Guide](https://spotlesscarpetz.com/ultimate-upholstery-care-guide-for-lasting-freshness) can dramatically improve its lifespan and performance. Don’t overlook simple actions like cleaning your machine’s water tank and filters; these small steps have a big impact.
If you’re interested in boosting your cleaning routine, I suggest trying the tips for maintaining your tools regularly—it’s a game-changer for consistent results and saving money in the long run. To get started, set a reminder every three months to inspect and clean your equipment thoroughly. Want personalized advice? Reach out through [Contact Us](https://spotlesscarpetz.com/contact-us) to discuss your specific needs and discover tailored cleaning strategies.
Hidden Pitfalls I Wish I’d Avoided Early On
One of my biggest misconceptions was believing that harsh chemical cleaners were the best choice for stain removal. Over time, I realized that natural methods, like freezing wax and gentle blotting, are gentler on fibers and often more effective. Another lesson learned was that rushing to scrub or scrape can embed stains deeper, making future cleaning more difficult. The most surprising insight was how vital proper ventilation and drying are—without them, stains and odors can linger long after cleaning. Lastly, I discovered that investing in quality tools, like a good vacuum with HEPA filters, significantly improves cleaning results and maintains my home’s health.
Tools and Resources That Transformed My Approach
My go-to resource is the Ultimate Upholstery Care Guide—it provided detailed techniques that preserved my furniture’s longevity. I rely on a powerful, yet gentle, vacuum like the Dyson V11 Absolute for everyday maintenance, which I trust for its filtration system. For deep cleaning, a portable extractor such as the Rug Doctor has been invaluable in restoring fibers without harsh chemicals. Additionally, I follow tips from professional cleaning blogs and forums, which share real-world, tested strategies that I couldn’t find elsewhere. These resources have collectively made my carpet care routine more effective and eco-friendly.
Your Next Step in Carpet Mastery
Cleaning and maintaining your carpets isn’t just about aesthetics—it’s about creating a healthier, more inviting home. By applying the insights and tools I’ve shared, you can achieve professional-level results without sacrificing safety or sustainability. Imagine walking into a fresh, spotless space where every fiber tells a story of care and effort. Now’s the perfect time to start making those small changes that lead to big differences. Remember, persistent effort and the right techniques turn cleaning from a chore into a rewarding ritual. Are you ready to elevate your carpet care game and see transformative results? Share your own tips or challenges in the comments below—I’d love to hear your story.