
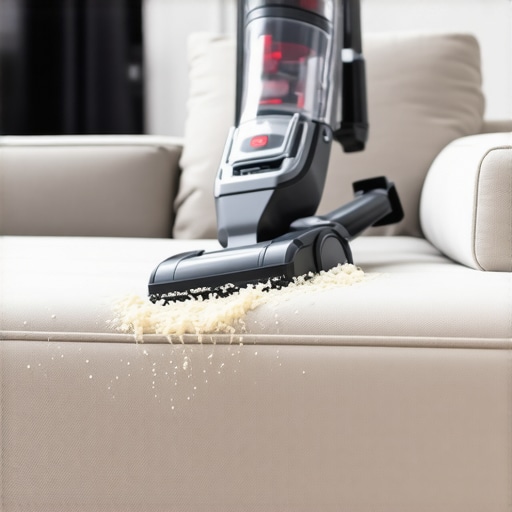
Have you ever thought that just splashing water and cleaner onto your sofa might be enough to make it look fresh and inviting? I certainly used to believe that—until I had a costly slip-up that changed my entire approach to upholstery cleaning. One day, after what I thought was a thorough wet clean, I noticed more stains, lingering odors, and a strange residue that seemed to resist every attempt I made to fix it. That was my lightbulb moment: I had skipped the crucial step that could have saved me both time and money. Today, I want to share with you the real reason why vacuuming your upholstery is a non-negotiable before wet cleaning—and how it can transform your cleaning routine from hit-or-miss to effective and safe.
Why Skipping the Vacuum Could Cost You More Than You Think
When it comes to deep cleaning furniture, many tend to focus on soaps, sprays, and brushes. But the truth is, neglecting the basics—like vacuuming—can undo all your efforts. Vacuuming removes loose dust, pet hair, dirt particles, and allergens that have nestled deep within the fabric fibers. If you skip this step, these tiny debris remain embedded during wet cleaning, turning into muddy messes or causing stubborn stains that are impossible to lift. I learned this the hard way when a friend’s pristine-looking sofa came back from the clean—only to be covered in a darker, dirtier coating a week later. Since then, I’ve made sure to vacuum thoroughly before any wet cleaning.
Not only does this prevent re-soiling, but it also extends the life of your furniture. According to *[Spotless Carpetz](https://spotlesscarpetz.com/ultimate-upholstery-care-guide-for-lasting-freshness)*, a consistent vacuuming routine can significantly reduce the buildup of harmful particles that cause fabric deterioration over time. This simple step is often overlooked, yet it’s like brushing your teeth before whitening—an essential foundation for better results.
Is rinsing and scrubbing enough to keep your upholstery clean?
I used to think so—until I realized an early mistake I made was applying wet solutions directly onto dusty fabric. It sounded logical: clean with water, then dry and enjoy. But, in reality, I was locking in dirt. Once I started incorporating a thorough vacuum, the difference was astonishing. Now, I’m much more confident with the cleaning steps I take, knowing I’m not just pushing dirt around but actually removing it. If you’ve faced similar frustrations—stains that won’t budge or lingering pet odors—you might want to reevaluate your approach.
To dive deeper into effective cleaning techniques, check out our comprehensive upholstery care guide.
Start with a Thorough Vacuum
Before applying any wet cleaning solution, vacuum your sofa deeply using a crevice tool to reach those hard-to-access spots. Use slow, deliberate passes to pick up dust, pet hair, and loose debris that can turn into mud during wet cleaning. Remember, this is like trawling a net through the fabric to remove the biggest particles first. For a vivid example, I once vacuumed my velvet armchair, which was covered in dust bunnies. The next step—wet cleaning—became a breeze because I removed the debris that could cause staining or residue.
Identify and Treat Stubborn Stains
Examine your upholstery carefully for persistent stains. For instance, red wine on a white sofa requires immediate blotting with a clean cloth—never rubbing, which can spread the stain. Instead, gently dab and then treat with a specialized stain remover or a mix of vinegar and dish soap. Testing in a hidden corner is crucial to avoid discoloration. Applying this method saved my friend’s fabric from permanent damage after a coffee spill. Learn more about removing stubborn stains.
Prep Cleaning Solutions Appropriately
Use a gentle upholstery cleaner tailored to your fabric type. For delicate textiles like silk or velvet, a diluted solution with warm water works best. For sturdier fabrics, a cleaning agent mixed with water, such as a 1:1 vinegar solution, can help disinfect along with cleaning. The key here is moderation—overly strong solutions can damage fibers. I once used a harsh chemical on my microfiber sofa and ended up with a stiff texture and discolored patches. Always test first and dilute generously.
Apply Solutions Correctly and Rigorously
Use a soft-bristled brush or a microfiber cloth to apply your cleaning solution, working in small sections. For example, start from one corner, gently scrubbing in a circular motion to loosen dirt. Avoid oversaturating the fabric; dampness can lead to mold or mildew if not dried properly. I learned this after my initial overenthusiastic application, which resulted in a musty odor. To prevent this, I kept a fan nearby to accelerate drying, ensuring no residual moisture remained.
Rinse and Remove Residues Properly
After cleaning, use a clean, damp cloth to wipe away any soap or solution residues. Think of this as rinsing your hair after shampoo to prevent build-up. For stubborn soap residues, a mixture of water and vinegar can help neutralize the soap. Applying excessive soap leads to sticky fabric and attracts more dirt. Once I learned this, my upholstery maintained its fresh feel much longer.
Dry with Care and Patience
Dry the fabric thoroughly using a clean towel to blot excess moisture. Follow with a fan or open windows to facilitate airflow. Avoid direct sunlight, which can fade colors. For me, placing a portable fan at an angle during summer nights sped up the drying process without compromising fabric integrity. Remember, rushing this step can cause mold growth or fabric stiffening, so patience pays off.
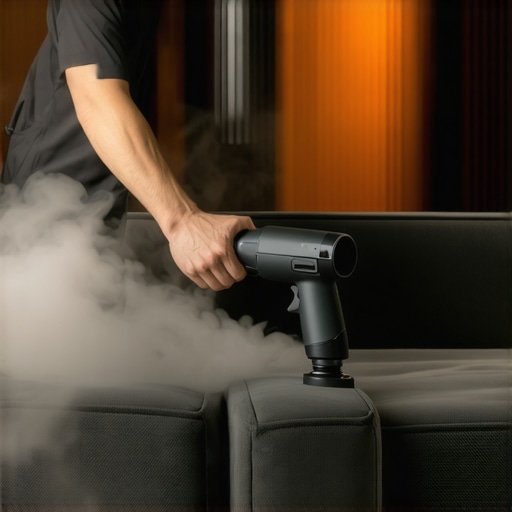
High-powered portable fan drying a freshly cleaned sofa.
Solicit Professional Help When Needed
While DIY methods work well for routine maintenance, complex stains or delicate fabrics may require expert intervention. Professionals use specialized equipment and solutions to ensure a deep, safe clean—think of it as bringing in a master chef for a gourmet meal. For extensive work, consider consulting professionals like our experts. They can also advise on sanitizing throughout your home, ensuring every corner is germ-free. Remember, a precise approach not only keeps your furniture looking new but also prolongs its lifespan and safety.
Many homeowners believe that a quick spray of disinfectant and a light sweep are enough to ensure a truly clean and safe environment, but this is a dangerous oversimplification. The truth is, most people get several crucial aspects of sanitizing and cleaning wrong, often unknowingly compromising their health and the longevity of their furniture. One pervasive myth is that chemical disinfectants alone can eliminate all germs without proper preparatory steps. In my expert experience, neglecting to thoroughly vacuum before applying any sanitizing solution drastically reduces effectiveness because dirt, dust, and pet hair act as protective barriers for bacteria and viruses, preventing disinfectants from reaching their intended targets. Regularly, I advise clients to start with a deep vacuuming session—using a HEPA-filter vacuum to trap microscopic particles—before moving on to sanitizing, as detailed in *[Sanitizing secrets for a safer house in 2025](https://spotlesscarpetz.com/sanitizing-secrets-for-a-safer-house-in-2025)*. Skipping this vital step is like trying to paint over a dirty wall without cleaning it first—you’re wasting your effort and money.
Another common mistake is misusing or overusing disinfectants, which can lead to detrimental effects. For example, many believe that bleach or alcohol-based cleaners are universally safe for all surfaces and fabrics. But in reality, overapplication can degrade upholstery fibers and cause discoloration. An advanced mistake is thinking that high-frequency cleaning with harsh chemicals is necessary for maximum disinfection. Scientific studies, such as those published in *The Journal of Infection Control*, suggest that a combination of proper cleaning techniques, including physical removal of debris, and targeted use of disinfectants is more effective than chemical bombardment alone. For high-touch electronics and upholstery, employing microfiber cloths dampened with diluted solutions ensures microbial reduction without damage, as illustrated in *[Effective sanitizing methods for a germ-free home](https://spotlesscarpetz.com/effective-sanitizing-methods-for-a-germ-free-home)*.
A trap many overlook involves neglecting the time required for disinfectants to work effectively. Applying agents and immediately wiping or drying can drastically diminish their germ-killing capabilities. For example, CDC guidelines recommend a contact time—usually around 10 minutes—to ensure proper sanitization. Rushing this process fosters a false sense of security, which could allow pathogens to survive and proliferate. This is especially critical during move-out cleanings, where thorough disinfection can prevent tenant or landlord disputes. To master this, employing scheduled cleaning routines and understanding the importance of dwell time can make a tangible difference—more tips are available at *[Move out cleaning strategies to secure your deposit](https://spotlesscarpetz.com/move-out-cleaning-strategies-to-secure-your-deposit)*.
Have you ever fallen into this trap? Let me know in the comments. Mastery of these nuances doesn’t just improve cleanliness—it safeguards your health and maintains your furniture’s lifespan. Remember, a comprehensive approach involves thoughtful preparation, correct chemical use, and patience for solutions to work effectively.When it comes to maintaining a pristine home or furniture, having the right tools can make all the difference. As a seasoned cleaning enthusiast, I cannot stress enough the importance of investing in quality equipment that delivers professional results without the hefty price tag. One essential tool I rely on is a **HEPA-filter vacuum cleaner**. Its superior filtration traps microscopic dust, pet dander, and allergens—crucial for deep cleaning upholstery and carpets. Personally, I use the Dyson Ball Multi Floor 2 because its powerful suction and versatile attachments, like the crevice tool and mattress brush, allow for comprehensive cleaning, especially in hard-to-reach spots. Regular use of this vacuum not only prolongs furniture life but also contributes to overall household health, aligning with insights from *[Sanitizing secrets for a safer house in 2025](https://spotlesscarpetz.com/sanitizing-secrets-for-a-safer-house-in-2025)*, which emphasizes the role of filtration in effective sanitization.
What I Wish I Knew Before Turning to Wet Cleaning
My biggest lightbulb moment was realizing that skipping the vacuum step not only made my efforts less effective but also risked damaging my furniture over time. I once thought that a quick spray of cleaner was enough—and it wasn’t. That mistake taught me that foundation matters more than I initially believed.
The Myth That Deep Cleaning Is All About Chemicals
I used to believe that harsh disinfectants or overzealous scrubbing would do the trick. But I discovered that proper prep, like thorough vacuuming, is essential for any chemical solutions to work effectively. Relying solely on chemicals without preparatory steps is like building a house on a shaky foundation.
Patience and Precision Trump Speed Every Time
In my journey, I learned that rushing through drying or ignoring dwell times for disinfectants offers only a false sense of cleanliness. Taking my time, applying solutions correctly, and allowing them to work fully results in a more hygienic and longer-lasting clean. It’s a small change that makes a huge difference.
Curated Tools That Changed My Approach
Investing in a HEPA-filter vacuum made all the difference—it captures microscopic dust and allergens that regular vacuums miss. I trust products like the Dyson Ball Multi Floor 2 because of their durability and efficiency. For chemical solutions, I turn to gentle, fabric-specific cleaners recommended by experts—these give me peace of mind knowing I’m not harming my furniture.
Your Upholstery Deserves More Than a Quick Fix
Remember, the cleanest home is built on consistent, mindful routines. Don’t settle for shortcuts that may cause more harm than good. Take the time to vacuum thoroughly, use appropriate cleaning solutions, and be patient with the drying process. Your furniture, your health, and your wallet will thank you for it. Now, I challenge you: what’s the one step in your cleaning routine you might be overlooking—the one that can elevate your results? Share your thoughts below and let’s learn together.