
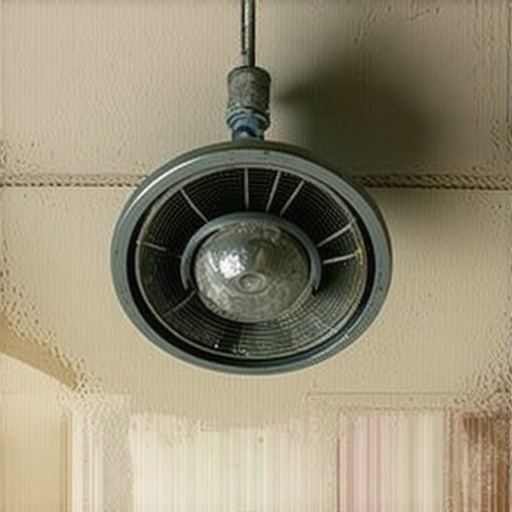
One evening, after a quick shower, I reached for the bathroom light switch, expecting a bright, crisp space to get ready for bed. Instead, I was met with an overwhelming musty smell, and my allergies flared up worse than ever. It was a lightbulb moment that made me realize the importance of properly maintaining my bathroom exhaust fan—the very thing supposed to keep my space fresh. Turns out, the grime and dust that hide behind those fan grilles are more than just dirt; they’re breeding grounds for mold, bacteria, and allergens that can seriously impact your health.
Why Your Bathroom Fan Could Be Making Allergies Worse
Over time, the exhaust fan in your bathroom collects dust, soap scum, and even mold—invisible particles that trigger allergic reactions, asthma, and other respiratory issues. When not cleaned regularly, this grime becomes a potent allergy amplifier, circulating allergens right into your breathing zone every time you turn the fan on. I used to think a quick wipe around the grille was enough, but I soon learned that the buildup on the internal blades and housing can be extensive, hidden from sight yet harmful.
Imagine every shower releasing a cloud of allergenic particles into the air—that’s what happens when your fan is clogged with grime. Studies have shown that mildew and mold spores can colonize moist, dusty environments like bathroom fans, aggravating allergies and even causing infections in sensitive individuals [source: CDC]. So, neglecting this simply designed appliance isn’t just an aesthetic issue; it’s a health hazard.
Thinking about skipping the cleaning because it seems like a hassle? Trust me, I’ve been there. But neglect only makes things worse—more dust, more mold, darker, grimy buildup. The good news is, with a few straightforward steps, you can breathe easier and keep your bathroom a haven rather than a hazard.
Are you tired of sneezing every time you step into your bathroom? If that sounds familiar, keep reading. I’m going to walk you through the essential cleaning tips that will eliminate grime, improve air quality, and help you breathe easier again.
Is Scrubbing Behind the Fan Worth the Effort?
Early on, I made the mistake of cleaning only the visible parts of my fan, thinking that was enough. Spoiler alert: it’s not. Dust and mold lurk in the hidden internal parts, and neglecting these areas means you’re just circulating contaminants. A thorough clean can seem intimidating at first, but I’ll show you how simple it can be—no special tools required, just a bit of patience and some elbow grease. Ready to reclaim your fresh air? Let’s dive into the step-by-step process that will transform your bathroom—and your allergies.
And if you want to get even more tips on keeping your entire home allergen-free, check out my post on [effective sanitizing methods for a germ-free home](https://spotlesscarpetz.com/effective-sanitizing-methods-for-a-germ-free-home), which includes strategies for bathroom tiles, vents, and beyond.
Disassemble the Fan Carefully to Access Hidden Dirt
Start by turning off the power to your bathroom fan at the circuit breaker to avoid any electrical hazards. Use a sturdy ladder or step stool to reach the fan. Remove the grille or cover using a screwdriver if necessary, keeping track of screws and clips. As I did last month, I gently laid the cover aside, revealing a thick layer of dust, cobwebs, and mold—remarkably similar to what I imagined during my initial cleaning attempts. Carefully detach the internal blades and housing if possible, preparing for thorough cleaning.
Deep Clean Internal Components with the Right Tools
Use a Vacuum and Brush for Loose Debris
Attach a brush or vacuum hose to remove loose dust and debris. I used a handheld vacuum with a brush attachment to loosen and suck up the accumulated dust. This step is like brushing off leaves from a garden sculpture—essential before any wet cleaning.
Apply a Mild Cleaning Solution
Mix warm water with a few drops of dish soap or mild detergent. Dampen a microfiber cloth or soft brush with the solution and scrub all internal surfaces—blades, housing, and motor vents. Be gentle to avoid damaging sensitive parts. I used an old toothbrush to reach tight spots, which significantly reduced mold buildup and restored the fan’s efficiency.
Remove Mold and Grime Using Natural or Commercial Cleaners
Prepare a mixture of white vinegar and water (equal parts) for a natural disinfectant. Spray liberally on all surfaces, especially areas showing mold or soap scum. For stubborn stains, a commercial bathroom cleaner can be effective, but ensure proper ventilation. Wear gloves and a mask, as I learned firsthand during my first major cleaning session—mold spores can trigger allergic reactions.
Sanitize and Protect with Proper Drying
After scrubbing, wipe all parts with a clean, damp cloth to remove residue. Let the components dry completely—this prevents future mold growth. Use a clean towel or allow air drying in a well-ventilated space. I made sure to leave everything open overnight, which drastically lowered humidity and prevented immediate mold return.
Reassemble and Test for Proper Function
Once dry, reattach the blades and cover, securing all screws and clips. Turn the power back on and switch on the fan. Observe for unusual noises or vibrations—a sign I caught last time that indicated a loose part. If everything runs smoothly, you’ve successfully revitalized your bathroom exhaust system and reduced the health risks associated with neglect.
Maintain Regular Cleaning for Long-Term Air Quality
Make it a habit to clean your fan quarterly. Incorporate this into your routine with other house cleaning tasks, like those described in the daily house cleaning routine. Regular maintenance prevents buildup, keeps your air fresh, and safeguards your health from allergens and mold spores. Remember, a little effort pays off in healthier, fresher bathrooms, reducing allergy flare-ups and promoting better airflow every time you shower.
Many homeowners assume that following standard cleaning routines is enough to ensure a truly germ-free, fresh home. However, beneath the surface lies a web of misconceptions and overlooked nuances that can undermine your efforts. Let’s dig deeper into what most people get wrong and how to elevate your cleaning game.
Is Scrubbing Enough, or Are You Missing Critical Spots?
While many focus on visible dirt, the real danger often lurks in areas people neglect, like behind appliances or inside ventilation ducts. These hidden spots harbor bacteria, mold, and dust mites, which can compromise indoor air quality and trigger allergies. For example, a study by the National Air Quality Service highlights that unseen contaminants in concealed spaces can be sources of persistent indoor pollutants, making thorough, targeted cleaning essential. Don’t just wipe the surface—invest in inspecting and cleaning these unseen reservoirs of grime. 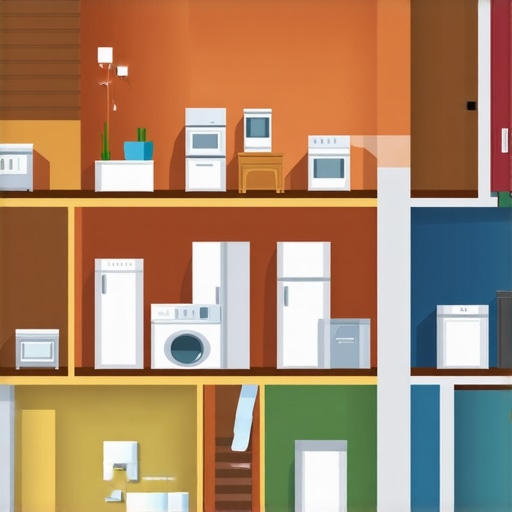
**Image prompt:** Cross-sectional view of a home highlighting hidden dust and mold buildup behind appliances and in ventilation ducts.When it comes to maintaining a spotless and allergen-free home, having the right tools makes all the difference. I personally swear by a high-quality, cordless HEPA vacuum like the Dyson V11 Toxic Residue, which effortlessly traps dust, pet hair, and mold spores from deep within carpets and upholstery. Its cordless design allows me to navigate tight spaces, like behind the toilet or under furniture, without hassle. For tackling bathroom exhaust fans, I rely on a soft-bristled degreasing brush and a microfiber duster with an extendable handle, enabling access to those hard-to-reach spots without disassembly. These tools are not just convenient—they significantly improve cleaning efficiency and results.
In addition, I recommend using a digital moisture meter such as the Protimeter Surveymaster to monitor humidity levels in your bathroom. Keeping humidity below 50% discourages mold growth, and this device helps ensure your efforts toward a healthier environment are successful over time. A small investment in a steam cleaner like the McCulloch MC1385 often pays dividends; it sanitizes surfaces thoroughly without the use of harsh chemicals and is perfect for deep cleaning tiles, grout, and even curtains.
Looking ahead, trends suggest that smart cleaning devices equipped with IoT capabilities will become more prevalent. Imagine receiving real-time alerts about mold buildup or humidity spikes right on your smartphone—that’s the future of home maintenance. Transitioning to these innovative tools can save time, reduce chemical reliance, and provide peace of mind.
### How do I maintain my cleaning tools to keep them working effectively?
Regular maintenance involves brushing off vacuum filters, replacing or cleaning HEPA filters every 3-6 months, and checking for clogs in hoses and brushes. For steam cleaners, I drain and wipe down the tank after use and store the device in a dry, cool place to prevent mold and mildew. Remember, a well-maintained tool performs better, lasts longer, and makes your overall cleaning routine more effective. For detailed tips on caring for your upholstery and extending its lifespan, check out my comprehensive guide on [upholstery cleaning tips for a fresh home revival](https://spotlesscarpetz.com/upholstery-cleaning-tips-for-a-fresh-home-revival).
If you’re serious about long-term results, investing in these tools and maintaining them properly will ensure your home stays healthier, cleaner, and more comfortable. Ready to level up your cleaning game? Try using a steam cleaner on your bathroom tiles this week—it’s a game-changer for embedded grime and mold! For more expert secrets on efficient house cleaning strategies, visit [house cleaning strategies for a sparkling home today](https://spotlesscarpetz.com/house-cleaning-strategies-for-a-sparkling-home-today).
The Unexpected Truth About Hidden Germ Hideouts
One of the most eye-opening lessons I learned during my cleaning journey is that the biggest threats aren’t always visible. Behind bathroom appliances, within ventilation ducts, and beneath furniture, silent reservoirs of mold, bacteria, and dust mites lurk, quietly undermining your efforts for a healthy home. Discovering these hidden spots made me realize that regular surface cleaning isn’t enough; comprehensive inspections and targeted deep cleaning are essential to truly protect your loved ones from allergens and infections.
My Go-To Tools That Revolutionized My Cleaning Approach
If you’re serious about beating grime and allergens, investing in quality tools is non-negotiable. I swear by a cordless HEPA vacuum for carpets and upholstery, which captures even microscopic particles, and an extendable microfiber duster for those hard-to-reach ceiling fan blades and vents. Using a steam cleaner for tiles and grout has transformed my bathroom from a mold magnet into a fresh haven. Trust me, these tools make cleaning less of a chore and more of a rewarding ritual that yields tangible results.
Embrace the Power of Routine and Mindful Maintenance
Establishing a regular cleaning schedule isn’t just about tidiness; it’s a strategic move to maintain air quality and prevent allergen buildup. Quarterly reviews of your bathroom fan, monthly disinfection of high-touch surfaces, and annual deep cleans of upholstery can dramatically reduce health risks. Making these routines a non-negotiable part of your home care fosters a healthier environment and saves you from costly professional interventions down the line. Think of it as investing in your family’s long-term well-being, one small step at a time.
The Benefits of Seeing Hidden Dirt as Your Ally
Initially, I dreaded uncovering the dirt lurking behind appliances and inside vents. But viewing these hidden spots as allies rather than enemies transformed my cleaning mindset. They became opportunities to improve my home’s air quality and hygiene standards. Every time I cleaned a concealed corner, I felt a surge of satisfaction knowing I was actively reducing allergens and creating a safer space for my family. This proactive approach has made cleaning less daunting and more empowering.