
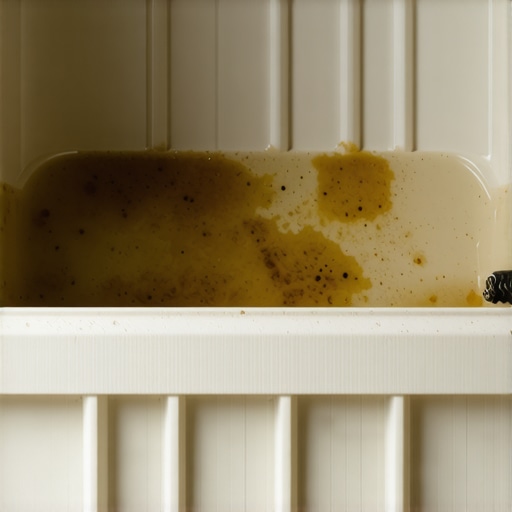
I was standing in my kitchen last Tuesday, staring at a perfectly empty trash bin, yet the air still smelled like a week-old tuna sandwich. It was maddening. I had just finished my usual routine, even going as far as looking into sanitizing secrets for a safer house in 2025, yet this invisible funk persisted. It felt like a personal failure. I had scrubbed every counter, but that phantom odor lingered. I realized then that the bag is just a flimsy barrier, and let’s be honest—barriers leak. Have you ever found yourself sniffing the walls or the floor because you couldn’t figure out where that one sour scent was coming from? If you’ve been there, I feel your pain, and I’ve got some good news. Today, we are going to stop masking the scent and actually kill the source of that kitchen ghost once and for all.
The Invisible Biofilm Living in Your Bin
The truth is, we often treat our trash cans like indestructible vaults. We throw in a bag and assume whatever happens inside stays inside. But I learned the hard way that bags are porous. Liquid—leaks, meat juices, or that half-empty soda—inevitably finds its way to the bottom of the plastic liner. For years, I just sprayed a little air freshener and moved on. That was my biggest mistake. It turns out that domestic trash cans are absolute magnets for bacteria. A well-known study by microbiologist Dr. Charles Gerba at the University of Arizona found that kitchen trash cans are among the most germ-filled spots in any home, often hosting more colonies than a bathroom floor. Simply changing the bag doesn’t touch the microscopic biofilm growing on the plastic walls. You need to get deeper, using effective house cleaning secrets from cleaning experts to truly neutralize the source.
Is buying a brand-new trash can the only real solution?
I used to think so. I actually went through three different bins in two years because I was convinced the plastic was just “poisoned” by the smell. It sounds ridiculous now, but when you’re desperate for a fresh-smelling home, you’ll try anything. You might be worried that the odor has permanently leached into the material, especially if you’re dealing with cheaper, porous plastic. I’m here to tell you that you don’t need to throw away your bin or buy expensive specialty liners. You just need to stop ignoring the surfaces that the bag touches. We often focus so much on the waste itself that we forget about the 3 germ hotspots in your kitchen that soap alone won’t fix, and your trash bin is definitely one of them.
Why the Bag Isn’t a Magic Shield
The bag is a suggestion, not a seal. Every time you toss something heavy or sharp into the bin, you risk a micro-tear. These tiny leaks pool at the bottom, creating a stagnant pond of bacteria that thrives in the dark, warm environment of your kitchen. I spent way too long ignoring that sticky residue at the bottom, thinking a new bag would just cover it up. It doesn’t; it just traps the moisture. If you’ve also noticed your kitchen smelling off even when the trash is gone, you might want to check the 2-minute fix for a smelly garbage disposal while you’re at it, because kitchen odors rarely travel alone. They like to hang out together in the spots we forget to scrub.
To finally banish that ghostly kitchen odor, you have to stop treating the trash bin like a passive object and start treating it like a high-contact surface that requires a protocol. If you have been relying on a quick spray of disinfectant, you are just putting a tuxedo on a goat. You need to break down the biological bonds of the grime that has likely bonded to the plastic over months of neglect.
Give Your Bin a Chemical-Free Power Bath
The most effective way to reset your trash can is to perform a full immersion soak. I learned this the hard way last July after a rogue rib bone from a Sunday BBQ punctured my bag. I didn’t realize it until the entire garage smelled like a swamp two days later. A simple wipe-down did nothing because the juices had seeped into the micro-scratches of the plastic. I ended up dragging the bin to the driveway and filling it halfway with boiling water and a cup of oxygen bleach. By letting it sit for thirty minutes, the heat and oxygen lifted the proteins right off the surface. If you want to avoid harsh fumes, you can learn how to sanitize your cutting boards using salt and lemon and apply those same acidic principles to your bin’s interior for a natural refresh. This soak is one of those effective sanitizing methods for a germ-free home that people often skip because it takes time, but it is the only way to kill the bacteria at the root.
Why Hot Water is Your Secret Weapon Against Grease
Grease is the glue that holds odors in place. Think of your trash can like a giant, greasy frying pan. If you try to wash a pan with cold water and soap, the grease just smears around. The same thing happens in your bin. You need water that is at least 140 degrees Fahrenheit to melt the fats found in food waste. This is similar to the process used for how to get grease off kitchen cabinets without removing the finish; you need heat to liquefy the residue so the soap can actually surround the particles and carry them away. Once you have scrubbed the interior with a long-handled brush, rinse it with a high-pressure hose to knock loose any remaining biofilm from the corners and crevices.
The Newspaper Trick to Stop Leaks Before They Start
Prevention is where most people fail. Once the bin is dry—and it must be bone-dry to prevent mold—line the bottom with two or three layers of old newspaper or a heavy-duty paper grocery bag before you put in the plastic liner. This acts as a secondary absorbent layer for those inevitable micro-tears. It is a simple addition to your daily house cleaning routine to maintain perfection. I started doing this after that BBQ disaster, and it has saved me from at least three potential ‘trash juice’ floods since then. The paper traps the moisture before it can sit and stagnate against the plastic, which is the primary cause of that lingering sour smell.
Scrub the Lid or Regret it Later
We often forget the lid because we rarely touch the underside, but that is where steam and condensation from hot food waste collect. This moisture creates a literal rain of bacteria-laden droplets that fall back onto your clean bag. If you are preparing for a move and want to keep things pristine, incorporating this into your sanitizing hacks for safe house transitions will ensure you aren’t leaving behind a hidden biohazard for the next tenant. Use a dedicated sponge to scrub the hinges and the underside of the lid, as these are the tight spaces where mold loves to hide and multiply in the dark.
Most people think that if a surface looks shiny and smells like artificial lemons, it is clean. I used to be one of them until I realized that I was just layering chemicals over grime. The biggest mistake I see—and I’ve made it myself—is the over-reliance on heavy-duty disinfectants without proper mechanical cleaning first. In my experience, if you don’t physically remove the biofilm, you’re just sanitizing the top layer of gunk, leaving a buffet of bacteria underneath. It’s like trying to paint a rusty car; it looks good for a week, then the underlying rot ruins everything. This is a crucial part of effective house cleaning secrets from cleaning experts that many beginners miss.
Why More Chemicals Often Mean More Dirt
Here is a contrarian view for you: stop using so much soap. We are conditioned to believe that more bubbles equal more clean, but in the world of professional restoration, we know that surfactant residue is the enemy. When you use too much cleaner on your floors or upholstery, it leaves behind a sticky film. This film acts as a microscopic magnet for dust and pet dander. This is exactly why your fabric sofa still smells after using store-bought deodorizers; the product creates a tacky environment where new odors can settle and thrive. To truly reset your home, you need to focus on extraction and rinsing rather than just application. Have you ever fallen into this trap of adding more product to solve a smell, only to have it come back worse a few days later? Let me know in the comments.
What happens when professional-grade steam cleaning isn’t enough?
Sometimes, heat and water aren’t the answer, especially when dealing with delicate materials. According to the Institute of Inspection Cleaning and Restoration Certification (IICRC), using the wrong temperature or PH-balanced cleaner can permanently set a stain or even shrink the backing of your furniture. This is the ultimate “oops” factor. I once saw a friend try to steam clean an “S-coded” fabric couch, only to have it develop permanent water rings and a stiff texture. If you are dealing with specialty items, you must know how to treat s-coded upholstery fabric without ruining it before you even think about plugging in a machine. This level of nuance is what separates a basic tidy-up from a professional-grade ultimate upholstery care guide for lasting freshness.
The Move-Out Trap That Professional Cleaners Wish You Knew
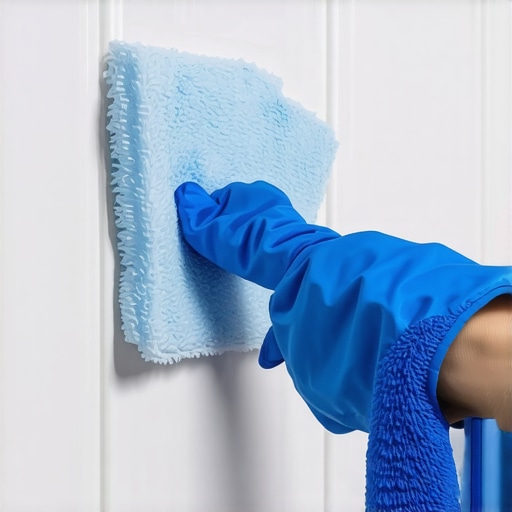
When you’re preparing for a transition, the pressure is on to get that security deposit back. Most people spend hours scrubbing the center of the floors but completely ignore the vertical surfaces and hidden tracks. Landlords don’t just look at the floor; they look at the “grime lines” on the walls and the buildup in the sliding door tracks. I always recommend that you always dust your walls before a move-out clean because moisture from cleaning sprays can turn that fine wall dust into a muddy streak that is nearly impossible to remove without repainting. This is a common pitfall in many move-out cleaning strategies to secure your deposit. By tackling the dry soil first, you ensure that your liquid sanitizers can actually reach the surface they are intended to clean, rather than just floating on a layer of dust.
The secret to a truly sanitized home isn’t found in a stronger bottle of bleach; it’s found in the sequence of your actions. Whether you are performing a daily house cleaning routine to maintain perfection or a deep dive into effective sanitizing methods for a germ-free home, remember that cleaning is a physical process, and sanitizing is a chemical one. You cannot have the second without successfully completing the first. Stop masking the ghosts of past messes and start stripping them away at the source.
After years of trial and error, I have realized that the difference between a house that looks clean and a house that actually feels sterile comes down to the hardware you keep in your utility closet. If you are still relying on a grocery-store sponge and a generic upright vacuum from a decade ago, you are essentially fighting a forest fire with a water pistol. To maintain the results of a deep scrub, you need to transition into a maintenance mindset that treats your living space like a high-performance machine. This isn’t just about effort; it is about using the right mechanical advantages to ensure that the effective sanitizing methods for a germ-free home you’ve implemented actually stick for more than forty-eight hours.
Stop Fighting Your Tools and Start Investing in Extraction
I used to think a vacuum was just a vacuum until I realized that mine was essentially a dust-recycling machine. If you smell that ‘dusty’ scent when you turn your machine on, it is a sign of internal failure. Personally, I switched to a sealed HEPA-system vacuum because I was tired of seeing a layer of fine silt settle back on my furniture just an hour after cleaning. This is a common issue discussed in the ultimate upholstery care guide for lasting freshness; if your tools are blowing allergens back into the room, your sanitizing efforts are wasted. I also recommend a high-quality horsehair brush for dusting delicate surfaces; unlike synthetic fibers that just move dust around, natural hair traps the particles so you can actually remove them from the environment.
Beyond vacuums, the most underrated tool in my arsenal is a pressurized 1-gallon sprayer. Instead of tiring my hand out with a trigger bottle, I use this to apply even, fine mists of pH-balanced cleaners to large surfaces. This ensures that I don’t over-saturate fabrics, which is a major concern when you are trying to figure out how to treat s-coded upholstery fabric without ruining it. It allows for professional-grade control at a fraction of the cost. If you’re serious about maintenance, stop buying the cheap plastic sprayers that break after three uses and get a industrial-grade compression sprayer.
How do I maintain a high level of sanitization over time?
The secret is the ‘low-moisture’ rule. The biggest enemy of a clean home is excessive water. Whether I’m cleaning a kitchen counter or a velvet chair, I use the least amount of liquid possible. Moisture is the catalyst for mold and bacterial regrowth. According to technical documentation from the Institute of Inspection Cleaning and Restoration Certification (IICRC), moisture trapped in sub-flooring or upholstery backing is the primary cause of secondary odor issues. By sticking to a daily house cleaning routine to maintain perfection that focuses on dry soil removal and localized spot cleaning, you prevent the need for aggressive, wet deep-cleans that can degrade your furniture over time.
The Future of Home Health and the Rise of Smart Sensors
As we look toward 2025 and beyond, I predict that home cleaning will become much more data-driven. We are already seeing the emergence of smart vacuums that can detect ‘bio-load’—essentially identifying areas with high concentrations of bacteria or allergens that the naked eye can’t see. I believe we will soon have hand-held sensors that tell us exactly when a surface needs to be sanitized, moving us away from ‘calendar-based’ cleaning and toward ‘need-based’ cleaning. This will be a game-changer for move-out cleaning strategies to secure your deposit, as you’ll be able to prove a space is scientifically clean. For now, I strongly urge you to try the dry-extraction method: before you ever touch a wet rag to your walls or upholstery, use a vacuum with a brush attachment to remove 90% of the soil. It sounds simple, but it is the single most effective way to keep your home’s air quality high. If you want to see a real difference today, go always dust your walls before a move-out clean or even just a seasonal refresh; you will be shocked at how much ‘invisible’ dirt you’ve been living with.
The Hard Truth About My Kitchen Scent Battles
Reflecting on my journey from a ‘scent-masker’ to a true ‘germ-killer,’ I’ve realized a few things that changed everything for me. First, the ‘clean’ smell we buy in bottles is often just a perfume for filth. I learned that why your vacuum cleaner is making the house smell worse is usually due to trapped bacteria inside the machine itself, not just the floor. Second, scrubbing is non-negotiable; no amount of spray can replace the mechanical action of breaking up a biofilm. Finally, moisture is the enemy—if you leave a surface damp, you’re just inviting the odor back for a second round.
My Go-To Toolkit for a Sterile Sanctuary
If you want to stop guessing and start winning, you need the right gear. I personally swear by a sealed HEPA vacuum to ensure I’m not just recycling dust. I also use a heavy-duty nylon brush for trash bin corners and a pressurized compression sprayer for even application of sanitizers. For those delicate areas, knowing the best way to lift dust from delicate fabric lampshades helps maintain that high-level finish without damage. These tools aren’t just gadgets; they are the difference between a surface that looks clean and one that truly is.
Reclaiming Your Home One Room at a Time
You don’t have to tackle the whole house in a single weekend. Start with the trash bin, then move to the dishwasher, and slowly work through your daily house cleaning routine to maintain perfection. By applying these sanitizing secrets for a safer house in 2025, you are doing more than just cleaning; you are creating a healthier environment for everyone who steps through your door. If you ever feel overwhelmed by a specific mess, don’t hesitate to contact us for expert advice or a deep-clean reset. You’ve got the knowledge now—go use it.
Have you ever found a smell in your kitchen that you just couldn’t kill no matter how hard you scrubbed? Let me know your biggest ‘odor ghost’ in the comments below!