
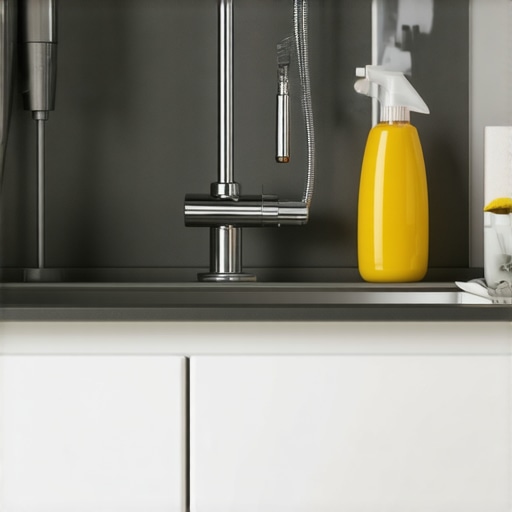
I remember the day I got the keys to my last apartment. The sun was shining, and I had visions of hosting dinner parties with ease. But then, I opened the cabinet door under the kitchen sink. It wasn’t just dusty; it was a graveyard of mysterious sticky residue, a few stray hairs from someone I’d never met, and a scent that I can only describe as ‘forgotten dampness.’ I almost closed the door and pretended it didn’t exist. We’ve all been there, haven’t we? You’re exhausted from the move, your back hurts from lifting boxes, and that dark corner feels like a problem for ‘future you’ to solve next month. But here is the truth: if you don’t tackle that space now, it will haunt your kitchen’s hygiene forever. Today, I’m going to show you exactly how to transform that neglected cavern into a clean, safe zone for your home. We aren’t just wiping it down; we are reclaiming a vital part of your home before you even think about organizing your pots. [image]
Stop Putting Your Clean Supplies on Dirty Floors
I made a massive mistake in my first rental. I thought a quick spray of some generic ‘everything cleaner’ was enough. Spoiler alert: it wasn’t. I ended up with a persistent musty smell that drifted into the whole kitchen every time I opened the door to grab a trash bag. I had followed a generic move-out clean checklist to simplify your transition when I left my old place, but I didn’t have a plan for the new one. It turns out, that area under the sink is a magnet for moisture and unwanted guests like silverfish or even worse. According to the National Center for Healthy Housing, damp indoor environments can facilitate mold growth in as little as 24 to 48 hours, especially in enclosed cabinets where airflow is virtually non-existent. That is why sanitizing hacks for safe house transitions are so vital during your first week in a new place. If you find a leak, don’t just put a plastic bowl under it and call it a day. Fix it, dry it, then scrub. Once you’ve handled the grime, you can focus on the aesthetics, like the secret to making your stainless steel sink shine like new. But first, we go deep into the cabinet to remove the years of previous tenants’ neglect. I used to be the person who just tossed their sponges in there and hoped for the best. After finding a colony of mildew on my ‘clean’ supplies, I changed my ways. Have you ever opened a cabinet in a new home and immediately wanted to move back out? Tell me your ‘under-the-sink’ horror stories in the comments!
Is it really worth the effort for a place no one sees?
You might think, ‘It’s behind a wooden door, who cares if there’s a little dust?’ I used to think that too until I realized I was keeping my dish soap, sponges, and why your kitchen towels smell musty even after washing right next to old leak stains and potential allergens. Gross, right? If you wouldn’t eat off that surface, why would you store things that clean your food-related items there? Cleaning this spot is the foundation of a daily house cleaning routine to maintain perfection. If the base is dirty, everything you put on top of it is compromised. We’re going to use simple, household tools to ensure this space is as clean as possible. I once tried to use a wire brush on a particle board cabinet floor—don’t do that. It shredded the wood and made it even more prone to water damage. Stick with me, and I’ll make sure you don’t repeat my rookie errors. We will cover how to strip out the old liners, treat the surface, and prevent future messes.
Empty Every Single Corner First
To truly reclaim the space under your sink, you have to be ruthless. Remove every single item, from that half-empty bottle of window cleaner to the mysterious pile of plastic bags. Think of this like a reset button for your kitchen’s hygiene. I once made the mistake of cleaning around a heavy box of detergent in an old apartment, only to find three months later that a small leak had been pooling underneath it the whole time. By the time I found it, the wood was soft and the smell was unbearable. Don’t repeat my laziness. Once the cabinet is empty, inspect the back corners for dampness or those tell-tale dark spots that signal mold. If things look wet, you must dry them completely before applying any products.
Look for the Warning Signs of Water Damage
Before you reach for the soap, check the pipes. Run the tap and feel the P-trap for any drips. If you find a leak, that is your priority. Even the most effective sanitizing methods for a germ-free home won’t work if the area stays wet. While you’re at it, don’t forget to look up at the drain assembly; the proper way to sanitize your bathroom sink drain is a skill that translates perfectly to the kitchen, ensuring that no foul odors are creeping up from the pipes into your storage area.
Scrub Away Years of Grime and Bacteria
Now that the area is clear and dry, it’s time for the heavy lifting. I recommend a mixture of warm water and a mild degreaser to cut through the film of old grease and dust that inevitably coats these cabinets. Using a microfiber cloth is essential here—it acts like a magnet for particles rather than just pushing them around. In my last move-in, the cabinet floor was so sticky I thought I’d have to replace the wood. I used a technique similar to the only way to clean sticky residue from new appliances, applying a specialized cleaner and letting it sit for five minutes before gently lifting it with a plastic scraper. It worked like a charm and saved me a huge headache. 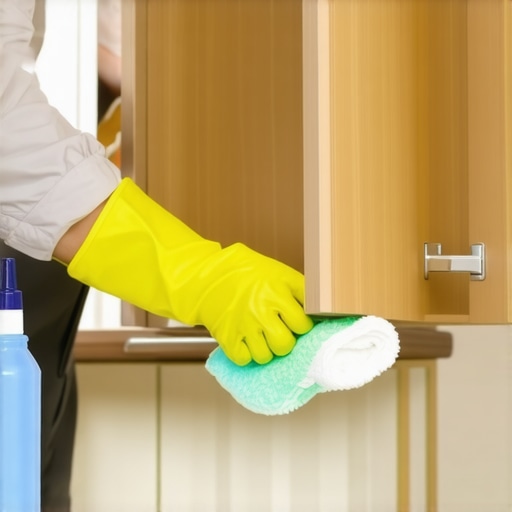
Banish the Sticky Mess Left Behind
If there is old contact paper that is peeling or bubbling, rip it out. Old liners are the perfect hiding spots for crumbs and pests. Once the old liner is gone, use a sanitizing spray to kill any lingering bacteria. This isn’t just about making it look good; it’s about making it safe. Implementing these house cleaning strategies for a sparkling home today will ensure your new kitchen starts on the right foot. Wipe down the walls, the floor of the cabinet, and even the inside of the door. When I finished my first deep scrub, the air in the kitchen literally felt lighter.
Seal and Protect the Surface
After the cabinet is sanitized and bone-dry, consider a protective barrier. A high-quality, non-adhesive shelf liner is a lifesaver. It protects the wood from future leaks and makes your next deep clean ten times easier. I prefer the ribbed plastic kind because they catch small spills and can be tossed in the dishwasher. Think of it like an insurance policy for your cabinet floor. You aren’t just cleaning; you’re future-proofing your home.
Bleach Won’t Fix Every Problem
Most people assume that if they pour enough bleach on a problem, it simply disappears. In my experience, that is exactly how you ruin your cabinets and leave yourself with a false sense of security. Bleach is excellent for non-porous surfaces like ceramic, but many under-sink areas are made of porous particle board or unfinished plywood. Bleach contains a significant amount of water, and if the chlorine evaporates before the water dries, you’re actually providing the moisture mold needs to thrive deep inside the wood fibers. It’s a classic ‘beginner’ mistake that I see even seasoned homeowners make. To get the best results, you need to look beyond the hardware store shelf and utilize effective house cleaning secrets from cleaning experts who prioritize long-term prevention over quick, caustic fixes.
Why does my cabinet still smell even after a deep scrub?
The answer usually lies in what experts call ‘dwell time.’ According to the Environmental Protection Agency (EPA), most disinfectants need to remain visibly wet on a surface for a specific duration—often up to ten minutes—to actually eliminate the bacteria and viruses they claim to kill. If you spray and wipe immediately, you’re essentially just performing a ‘clean,’ not a ‘sanitize.’ This distinction is one of the most overlooked sanitizing secrets for a safer house in 2025. You have to let the product do the heavy lifting for you. However, you must be extremely careful with how you apply these liquids to avoid structural damage. 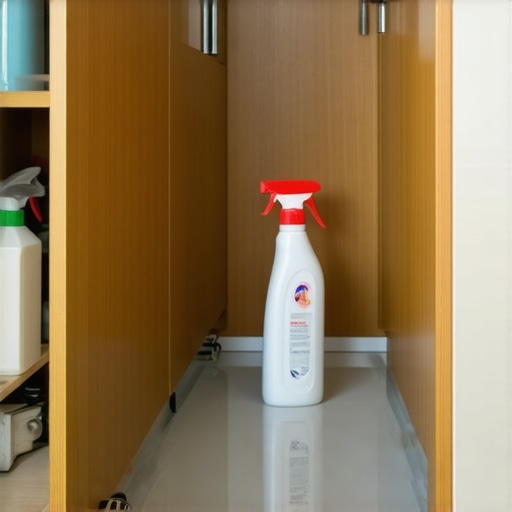
Stop Spraying Directly Onto the Wood
Here is the ‘oops’ factor that almost cost me my security deposit in my early twenties: why you should never spray cleaning products directly on surfaces. When you spray directly into a cabinet, the pressurized mist settles into the unsealed cracks and joints where the wood panels meet. Over time, this trapped moisture causes the wood to swell, warp, or even delaminate. Instead, the expert method is to spray your cloth—preferably a high-quality microfiber—and then wipe. If you’ve noticed why your microfiber cloths are leaving lint everywhere, it’s likely because you’ve compromised the fibers by washing them with cotton or using high heat. A ruined cloth won’t pick up the microscopic debris you’re trying to remove. This attention to detail is what separates a casual surface-level wipe-down from a professional-grade restoration. If the area under your sink is adjacent to a fabric-skirted island or a nearby rug, you also need to check for secondary contamination. Malodors are notorious for migrating, which makes upholstery cleaning tips for a fresh home revival essential if that ‘damp’ smell has settled into your kitchen textiles. Have you ever fallen into the trap of ‘spray and immediate wipe’ only to find the grime came back a week later? Let me know in the comments how you handle your deep cleans!
Don’t Let the Grime Creep Back In
Once you have achieved that sparkling baseline, the real challenge begins: keeping it that way. I have found that the best foundation for a daily house cleaning routine to maintain perfection is simply visibility. If you cannot see the back of your cabinet, you will not see the leak starting. This is why I swear by clear acrylic bins for my supplies. They do not just organize; they act as a secondary spill tray. When you transition your focus to other high-traffic areas, perhaps following an ultimate upholstery care guide for lasting freshness, you will appreciate that the ‘engine room’ of your kitchen—the sink cabinet—is already on autopilot. Maintaining this space requires a monthly check-in where you pull the bins out, wipe the liner, and look for moisture. If you treat this like a scheduled maintenance task rather than an emergency chore, you will never have to deal with that ‘forgotten dampness’ smell again.
Upgrade Your Arsenal with These Professional Picks
To get professional results, you have to stop using the same rag for every surface. I personally use 400 GSM (grams per square meter) microfiber cloths specifically for my deep cleans. If you have noticed why your microfiber cloths are leaving lint everywhere, it is a sign that the fibers have broken down or they were low-quality to begin with. High-GSM cloths are denser and trap more bacteria. I also recommend investing in a cheap, pinless moisture meter. According to the IICRC S500 Standard for Professional Water Damage Restoration, moisture mapping is the only way to truly ensure structural integrity after a spill or leak. I use my meter to check the cabinet floor once a month; if the reading is above 15% moisture, I know I have a silent leak behind the wall before it ever turns into mold. This is one of the most effective house cleaning secrets from cleaning experts that saves thousands in cabinet replacements. 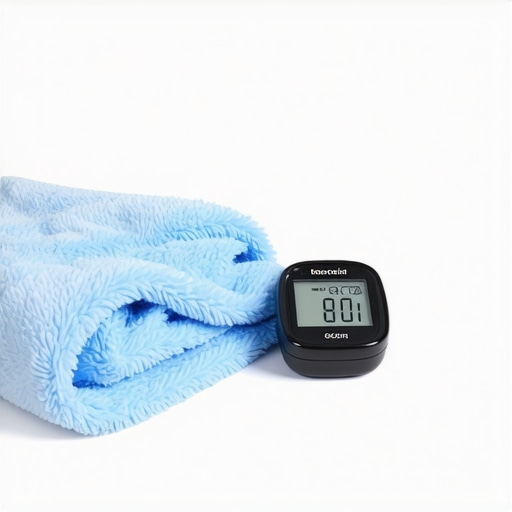
How can you keep this space pristine for the long haul?
Consistency is the secret sauce. Every time you finish a bottle of dish soap, take thirty seconds to wipe down that specific quadrant of the cabinet. It is a ‘micro-habit’ that prevents the build-up of those stubborn rings. I predict that in the next few years, we will see a massive shift toward smart home integration here, with built-in leak sensors and UV-C sanitizing lights becoming standard in high-end cabinetry. Until then, we rely on our tools and our eyes. If you are struggling with other areas of the home, remember that house cleaning strategies for a sparkling home today rely on preventing the mess before it bonds to the surface. Grab a moisture meter and check your cabinets this weekend—it is the single best way to protect your kitchen’s health and your home’s value.
What No One Tells You About Kitchen Cabinet Hygiene
I spent years thinking a quick wipe was enough, but the real secret to a healthy kitchen lies in the biology of the cabinet floor. Most renters overlook the fact that the area under the sink is a high-traffic zone for microscopic bacteria due to the constant presence of moisture and darkness. One of the biggest lightbulb moments in my journey was realizing that the musty ‘old house’ smell isn’t inevitable; it is usually a sign of active microbial growth hidden in the porous grain of the wood. If you ignore the dwell time required for disinfectants, you are essentially just moving the dirt around without killing the pathogens. I have learned that taking thirty minutes to do this properly during your first week can save you months of frustration and health concerns. These sanitizing secrets for a safer house in 2025 emphasize that patience is your best cleaning tool. [image]
Build Your Under-Sink Restoration Kit
To treat this space like a pro, you need to step away from the grocery store sponges. My personal toolkit consists of 400 GSM microfiber cloths, a non-adhesive ribbed liner, and a pinless moisture meter to detect hidden leaks behind the cabinet wall. I trust these tools because they provide measurable results rather than just a shiny surface. When I moved into my current place, I used the checklist for deep cleaning your pantry before moving in as a template for my cabinets, ensuring every corner was vacuumed and treated before a single bottle of soap was placed inside. If you want to protect your living space, you should also look into move-out cleaning hacks ensure your deposit refund strategies, as they often contain the most rigorous deep-cleaning techniques applicable to any move-in scenario.
Reclaiming the Heart of Your Kitchen
Setting up a clean foundation under the sink isn’t just about chores; it is about taking ownership of your environment and ensuring your home is a sanctuary. Once that cabinet is sealed and organized, it becomes the anchor for your daily house cleaning routine to maintain perfection throughout the rest of the house. You deserve a kitchen that feels fresh the moment you walk through the door. Now that you have the knowledge to transform this forgotten space, what is the most surprising thing you have found lurking under a kitchen sink in a new home? Let me know your horror stories or success stories below!