
I’ll never forget the Tuesday I realized my ‘spotless’ kitchen was actually a biohazard. I had just finished a marathon cleaning session, the counters were gleaming, and I felt like a domestic hero. Then, I caught a whiff of my dishcloth. It smelled like a damp basement. That was my wake-up call: soap is great for grease, but it’s a total lightweight when it comes to the heavy-hitting germs living in your kitchen. We spend so much time on daily house cleaning routines to maintain perfection, but we often overlook the microscopic guests that soap simply can’t evict. Today, I’m pulling back the curtain on the three specific spots where your soap is failing you and showing you how to actually protect your family based on my own trial and error.
Your Kitchen Is Probably Dirtier Than Your Bathroom Floor
It sounds like a scare tactic, but it’s the cold, hard truth. I used to think that as long as I saw bubbles, I was winning the war against germs. I was making a classic rookie mistake: confusing ‘clean-looking’ with ‘sanitized.’ While soap is an emulsifier that lifts dirt and oil, it doesn’t necessarily kill the pathogens that cause foodborne illnesses. In fact, a study by NSF International found that the kitchen is often the germiest room in the entire home, frequently housing more E. coli and salmonella than the toilet seat. We need to stop relying on just the basics and start looking at sanitizing secrets for a safer house in 2025 to keep things truly healthy.
Is standard dish soap really not enough for a deep clean?
I used to be the biggest skeptic of ‘extra’ steps. I figured if it was good enough for my dishes, it was good enough for my counters. But after a nasty bout of cross-contamination that I traced back to my ‘clean’ cutting board, I realized I needed a better strategy. You need to understand effective sanitizing methods for a germ-free home if you want to move beyond surface-level shine. Whether you are doing a routine wipe-down or a full move-out clean, these hotspots require a targeted approach. Have you ever scrubbed your kitchen for hours only to feel like it still wasn’t ‘safe’ for food prep? It’s a frustrating cycle, but breaking it is easier than you think once you know where the real culprits are hiding. [image_placeholder_1]
Why Your Sponge Is a Tiny Bacteria Resort
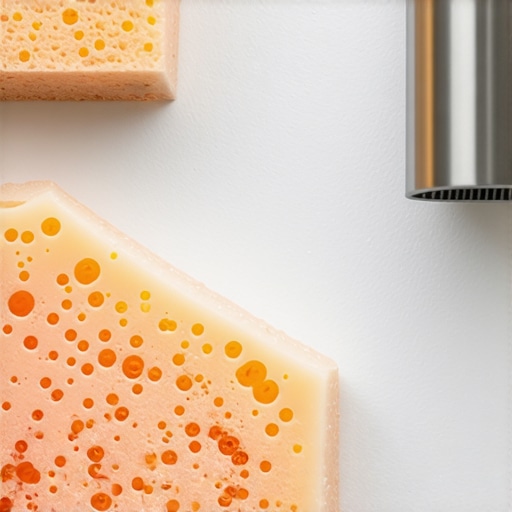
My biggest early mistake was holding onto sponges until they practically fell apart. I thought a quick rinse in soapy water made them new again. I was essentially just washing my plates with a concentrated colony of germs. Since sponges are porous and stay damp, they are the perfect breeding ground for bacteria. You might think you’re cleaning, but you’re often just spreading why your cleaning sponge is the dirtiest object in your house all over your ‘clean’ surfaces. Soap alone won’t penetrate those pores to kill what’s growing inside. It takes heat or specific sanitizing agents to clear out those microscopic squatters. This realization changed how I looked at every tool in my kitchen drawer. If the thing I use to clean is filthy, nothing else stands a chance. We have to be smarter about the tools we use to maintain house cleaning strategies for a sparkling home today or we are just spinning our wheels.
Give Your Counters Three Minutes to Breathe
To truly sanitize, you have to embrace the concept of ‘dwell time.’ I used to think that spray-and-wipe was the gold standard, but I was wrong. Most disinfectants require at least three to ten minutes of contact with the surface to actually kill the bacteria. Think of it like marinating a steak; you can’t just dip the meat and expect flavor. You need to apply the solution and walk away. I learned this the hard way after a massive Thanksgiving dinner where I ‘cleaned’ as I went, only to realize I was just spreading turkey juices across every square inch of my granite. Now, I follow effective house cleaning secrets from cleaning experts and let the sanitizer sit while I load the dishwasher. This simple pause is the difference between a shiny surface and a safe one.
Stop Spreading Germs with a Dirty Sponge
If your sponge smells, it is already too late. You are essentially painting your counters with a biofilm of bacteria. To fix this, you need a rotation system. I keep two sponges on the go: one is in use, while the other is being treated. You can learn how to sanitize your dish sponge without melting it by using the microwave or the dishwasher on a high-heat cycle. I once tried to ‘clean’ a sponge by just soaking it in cold soapy water, and by the next morning, it smelled like a swamp. Now, it goes into the microwave for 60 seconds while damp—this blast of steam acts like a miniature pressure cooker for microbes. 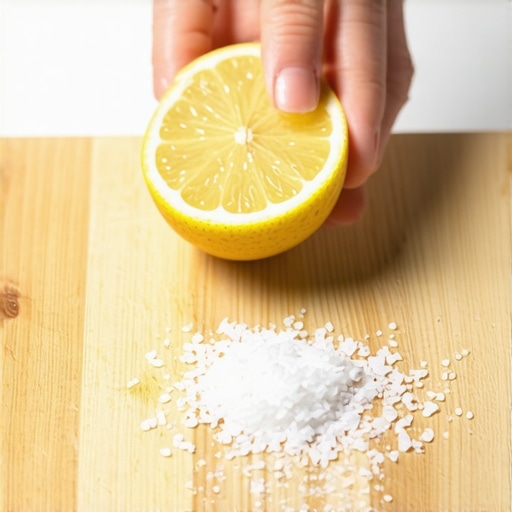
The Right Way to Handle a Raw Chicken Disaster
Cutting boards are the most dangerous items in your kitchen because they are full of microscopic grooves. When you prepare meat, those grooves act like bunkers for bacteria. Standard dish soap is great for the surface, but it doesn’t always reach the bottom of those knife marks. You need to know how to sanitize cutting boards after preparing raw chicken using more aggressive methods. I prefer a two-step approach: a hot soapy scrub followed by a specialized sanitizing spray or a natural acid like lemon and salt. For those who want a deeper level of clean, is steam cleaning enough to kill bacteria on high-touch surfaces is a question worth asking, especially for heavy-duty butcher blocks.
Mastering the Art of the Two-Stage Wipe
Don’t jump straight to the sanitizer. If there is visible grease or crumbs, the sanitizer won’t even reach the surface. It gets stuck in the ‘gunk.’ Stage one is always the ‘de-clutter and degrease’ phase using warm water and soap. Once the surface is physically clean, then you apply your effective sanitizing methods for a germ-free home. This is just as important as knowing upholstery cleaning tips for a fresh home revival when you are trying to keep the rest of your house healthy. I remember trying to sanitize a sticky honey spill with a disinfectant wipe; it just created a sanitized, sticky mess. Clean first, sanitize second—it’s a non-negotiable rule. Using the 5-minute trick for a truly sanitized kitchen cutting board after every meal has saved me more than a few stomach aches.Most people believe that the more soap you use, the cleaner the surface will be. In my experience, this is the single most expensive mistake you can make. When I first started obsessing over my home’s health, I would douse my sofa in cleaner, thinking I was being thorough. Instead, I created a ‘sticky’ situation. Soap is designed to attract dirt, and if you don’t rinse it perfectly, that residue remains active, grabbing every dust particle and pet hair that passes by. This is known as re-soiling, and it’s why your fabric sofa still smells after using store-bought deodorizers or looks darker just weeks after a scrub. To avoid this, you need to master the art of the ‘rinse and extract’ or use a specialized upholstery cleaning routine to maintain perfection.
Soap Residue Is Your Couch’s Worst Enemy
In the world of professional restoration, the IICRC (Institute of Inspection Cleaning and Restoration Certification) warns that chemical residue is a leading cause of premature textile wear. When soap stays in the fibers, it doesn’t just attract dirt; it can actually weaken the fabric over time. This is a nuance most DIYers miss. I’ve seen beautiful linen chairs ruined because someone tried to ‘spot clean’ with a heavy detergent and forgot to neutralize the PH. If you are looking for ultimate upholstery care guide for lasting freshness, the secret isn’t more product—it’s more thorough extraction. If you leave soap behind, you’re essentially laying out a welcome mat for new germs. 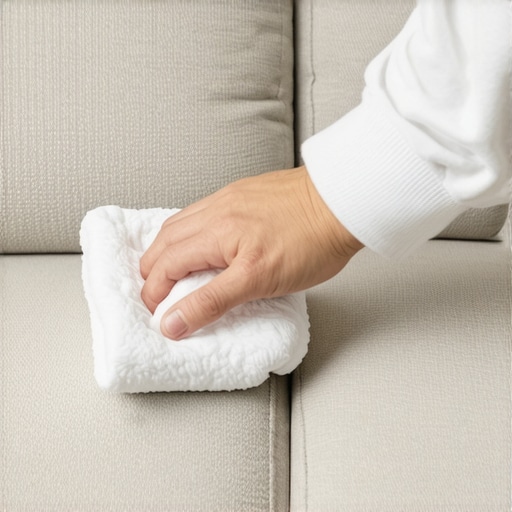
How do you treat S-coded fabrics without causing permanent water rings?
This is the advanced question that separates the amateurs from the experts. Many high-end sofas come with an ‘S’ cleaning code, which means ‘solvent only.’ If you touch these with a drop of water, you’ll end up with a permanent tide mark that is nearly impossible to remove. I learned this the hard way on a vintage velvet piece. You have to know how to treat s-coded upholstery fabric without ruining it by using dry-cleaning solvents and very specific agitation techniques. It’s also vital to remember: why you should never use hairdryers on wet fabric spills. High heat can set a stain or shrink the fibers of delicate materials, turning a small accident into a permanent blemish.
Stop Losing Your Deposit Over Hidden Dust Traps
When it comes to a move-out clean, most people focus on the middle of the floor, but landlords focus on the edges. I used to think a quick vacuum was enough until I lost $200 from a security deposit because of the ‘dust shadows’ on my baseboards. To truly succeed, you need move-out cleaning strategies to secure your deposit that include more than just a surface wipe. You have to look for the 7 hidden dust traps renters forget during move-out inspections, like the tops of door frames and the tracks of the sliding glass doors. These are the nuances that indicate to a professional inspector whether a home has been maintained or just ‘faked.’ For those transitioning to a new place, I always recommend checking out a move-out clean checklist to simplify your transition. Have you ever fallen into the ‘more soap is better’ trap only to find your rug looking grimy a week later? Let me know in the comments below!That sticky film is the ghost of cleaning past, and the only way to banish it is to stop feeding the cycle with cheap, high-alkaline detergents. When you over-apply soap, you aren’t just cleaning; you’re essentially applying a microscopic glue to your carpet or sofa. I learned this the hard way after my living room rug became a magnet for every piece of lint in the house. If you’ve ever noticed a fine layer of dust on your bookshelf just an hour after vacuuming, you’re not crazy—you’re likely a victim of a saturated filter. I used to ignore my vacuum’s maintenance until I realized that airflow forcing particles back out through the seals explains why your vacuum filter is actually spreading dust around your home.
Your Vacuum Is a Dust Grenade Without Regular Maintenance
For a long time, I treated my vacuum like a magical box that just ate dirt. In reality, it’s a precision machine that requires its own cleaning routine. When the airflow is restricted, the motor has to work twice as hard, and you might start noticing a hot, metallic odor. Knowing why your vacuum smell might mean the motor is dying can save you hundreds of dollars in replacement costs. I personally recommend using a vacuum with a true HEPA filter. According to the Department of Energy (DOE-STD-3020-2015), these filters must trap 99.97% of particles as small as 0.3 micrometers. If your filter is generic or dirty, you are essentially just stirring up the smallest, most irritating allergens and blowing them into your breathing zone. This is exactly why your vacuum is actually spreading more dust around, making it the most common reason for persistent dust issues in the home. 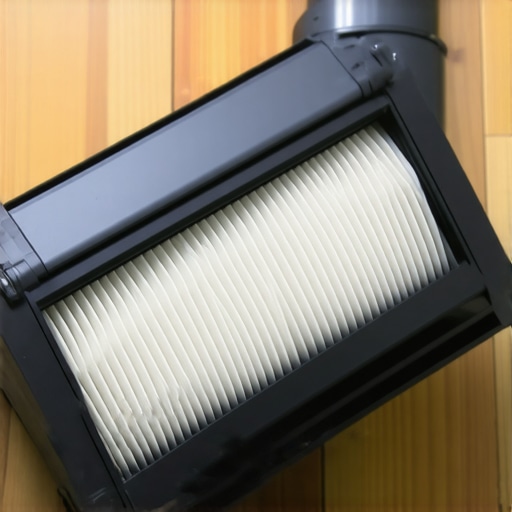
How can I keep my house sanitized without making it a full-time job?
The secret to long-term success isn’t a massive cleaning spree every Saturday; it’s the low-residue lifestyle. I’ve transitioned to using pH-neutral cleaners for almost everything. This prevents that sticky buildup that attracts dirt in the first place. For my furniture, I follow the ultimate upholstery care guide for lasting freshness, which emphasizes light, frequent extraction rather than heavy chemical soaking. By keeping the residue low, the clean actually lasts longer. I’ve also started experimenting with UV-C light wands for non-washable items. While is steam cleaning enough to kill bacteria on high-touch surfaces is a great question for floors, UV-C is a game-changer for electronics and delicate fabrics that can’t handle moisture. If you manage these small details, your routine becomes more about maintenance and less about rescue operations.
The Future of Home Cleaning Belongs to Specialized Sensors
I predict that within the next few years, we won’t just be guessing where the germs are. We are already seeing the rise of vacuum cleaners with built-in particle counters and upholstery cleaners that use multi-spectral light to identify organic stains. The trend is moving toward data-driven hygiene. We won’t just scrub; we will monitor. Integrating these tools with sanitizing secrets for a safer house in 2025 will allow us to target specific hotspots like high-touch remotes and light switches with surgical precision. This is a massive shift from the spray and pray methods of the past. For now, my best advice is to start with your tools. Go to your utility closet tonight and check that vacuum filter. If it’s gray and furry, replace it immediately. You’ll be amazed at how much better your home feels when your tools are actually working for you, not against you.
The Hardest Lesson I Learned About Cleaning Residue
After years of scrubbing, I finally realized that ‘clean’ doesn’t have a scent. If your home smells like a perfume factory, you’ve likely left behind chemical residue that is already attracting new dirt. One of my biggest lightbulb moments was discovering how to get rid of the sticky film on top of kitchen cabinets without just adding more soap to the problem. It turns out that most of our house cleaning routines fail because we are layering product rather than removing it. I used to think bubbles meant progress, but now I know that clear, residue-free surfaces are the real goal for a healthy environment. My transition to a low-residue lifestyle meant fewer scrubbing sessions and a home that actually stayed fresh longer.
The Specific Gear I Trust for a Real Deep Clean
I don’t believe in buying every gadget on the shelf, but a few key items have changed how I maintain my space. I always recommend a vacuum with a certified HEPA filter, because why your vacuum filter is actually spreading dust around your home is the first thing I check when someone complains of persistent dust. [image_placeholder_final] I also swear by pH-neutral cleaners for my sofa; following the ultimate upholstery care guide for lasting freshness has saved my furniture from that crunchy, soapy feeling that attracts pet hair like a magnet. Finally, invest in a good set of microfiber cloths and color-code them so you never accidentally cross-contaminate your living room with bathroom germs. These simple tools, combined with a consistent schedule, are the foundation of any successful home maintenance plan.
Reclaim Your Space One Room at a Time
Transitioning from just ‘cleaning’ to actually ‘sanitizing’ is a journey of small habits rather than one-off marathons. You don’t have to be perfect on day one, but starting with your high-touch surfaces today will make a massive difference in your family’s health. By adopting these sanitizing secrets for a safer house in 2025, you can rest easy knowing your home is a true sanctuary. Reclaiming your space from invisible guests is about working smarter, not harder, and choosing the right tools for the job. Remember, a healthy home isn’t just about how it looks to guests, but how it protects the people living inside it. Have you ever struggled with that stubborn sticky film on your kitchen cabinets? Let me know in the comments below!